Sterilizing Mason Jars

One of the most important things about canning and making preserves is actually making sure they will last.

Sterilizing.jpg

The best way to do this is by sterilizing your jars and lids before putting your food in them. In the early days I ruined a lot of food because my jars weren’t properly sterilized and the contents went bad.

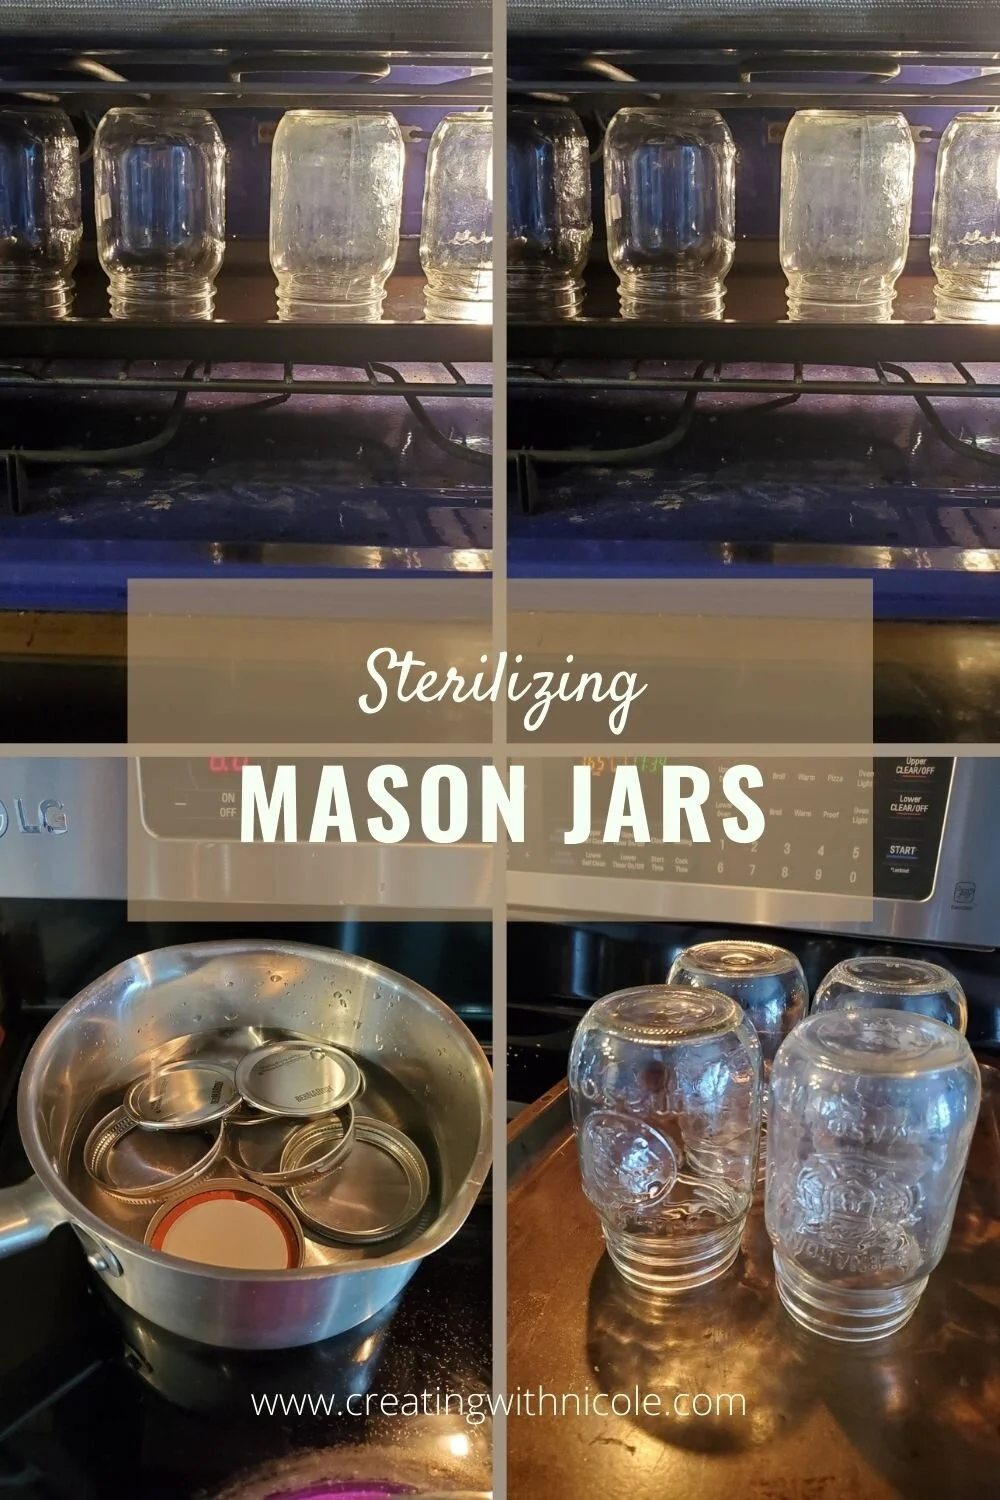
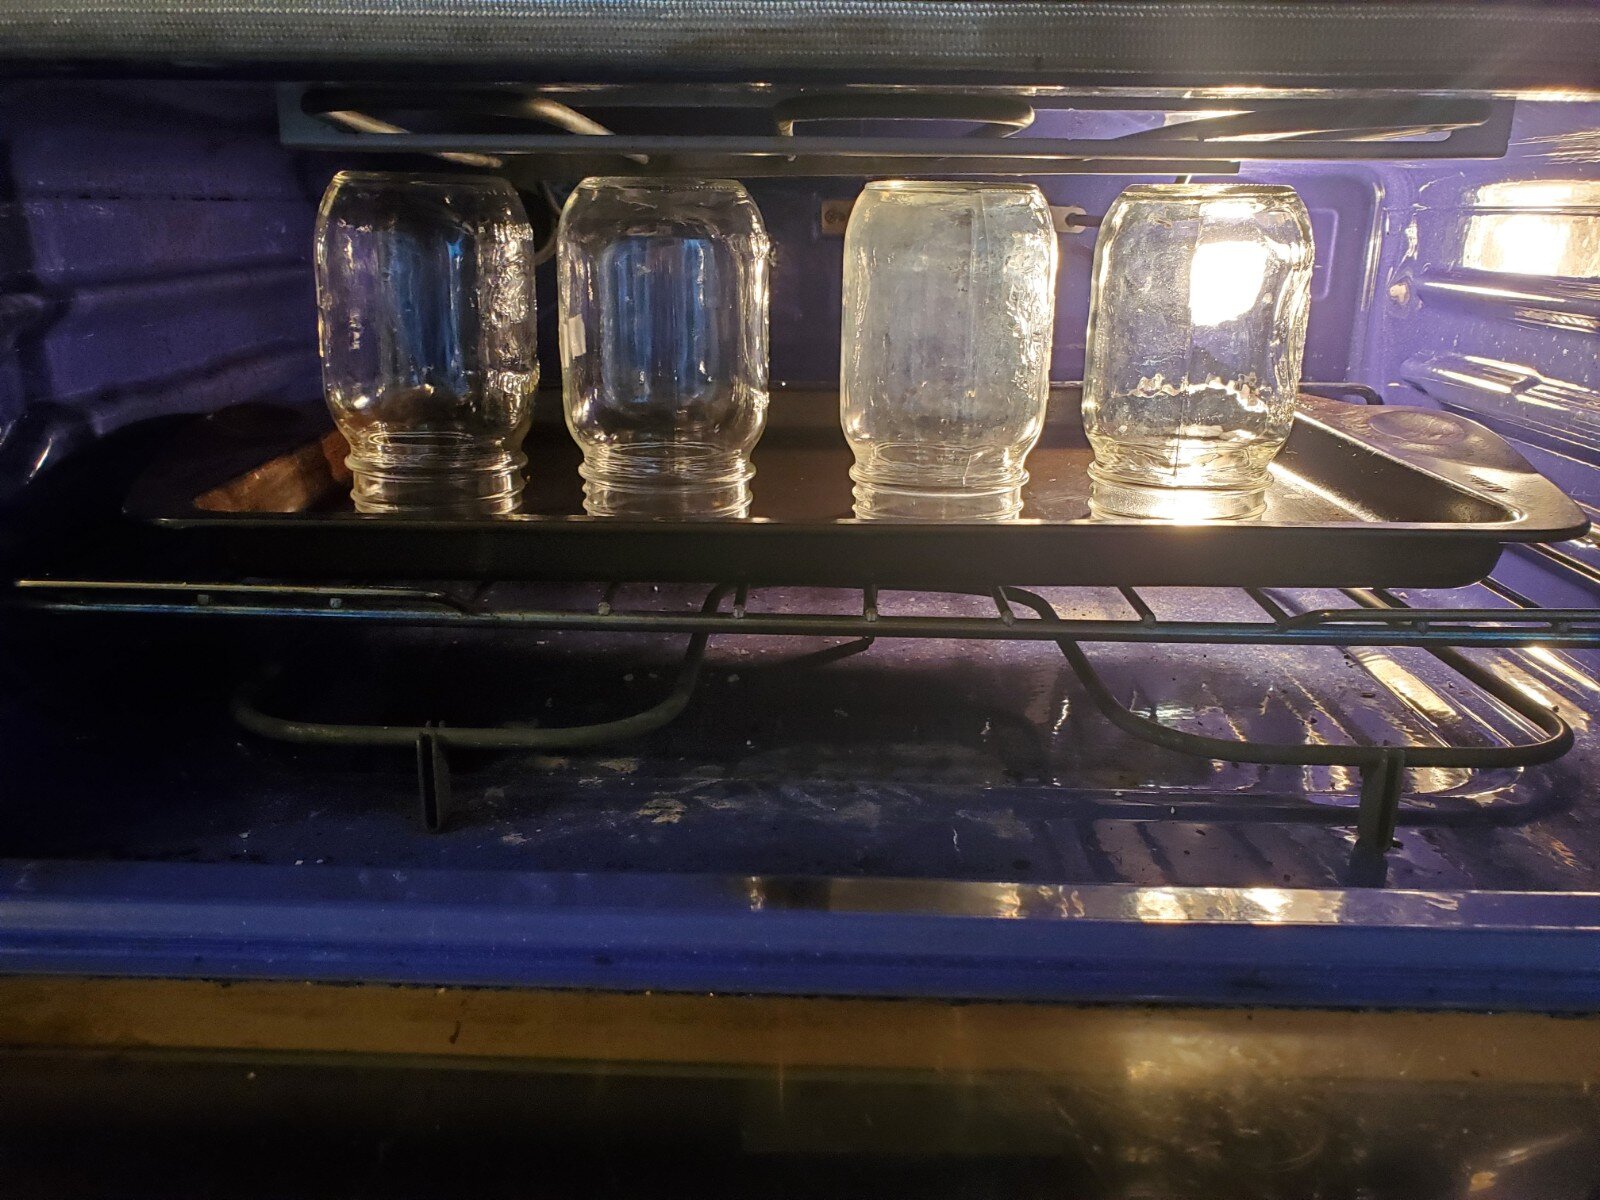
To sterilize your jars:

  1. Clean them first (either in the dishwasher or hand wash), let them dry completely.

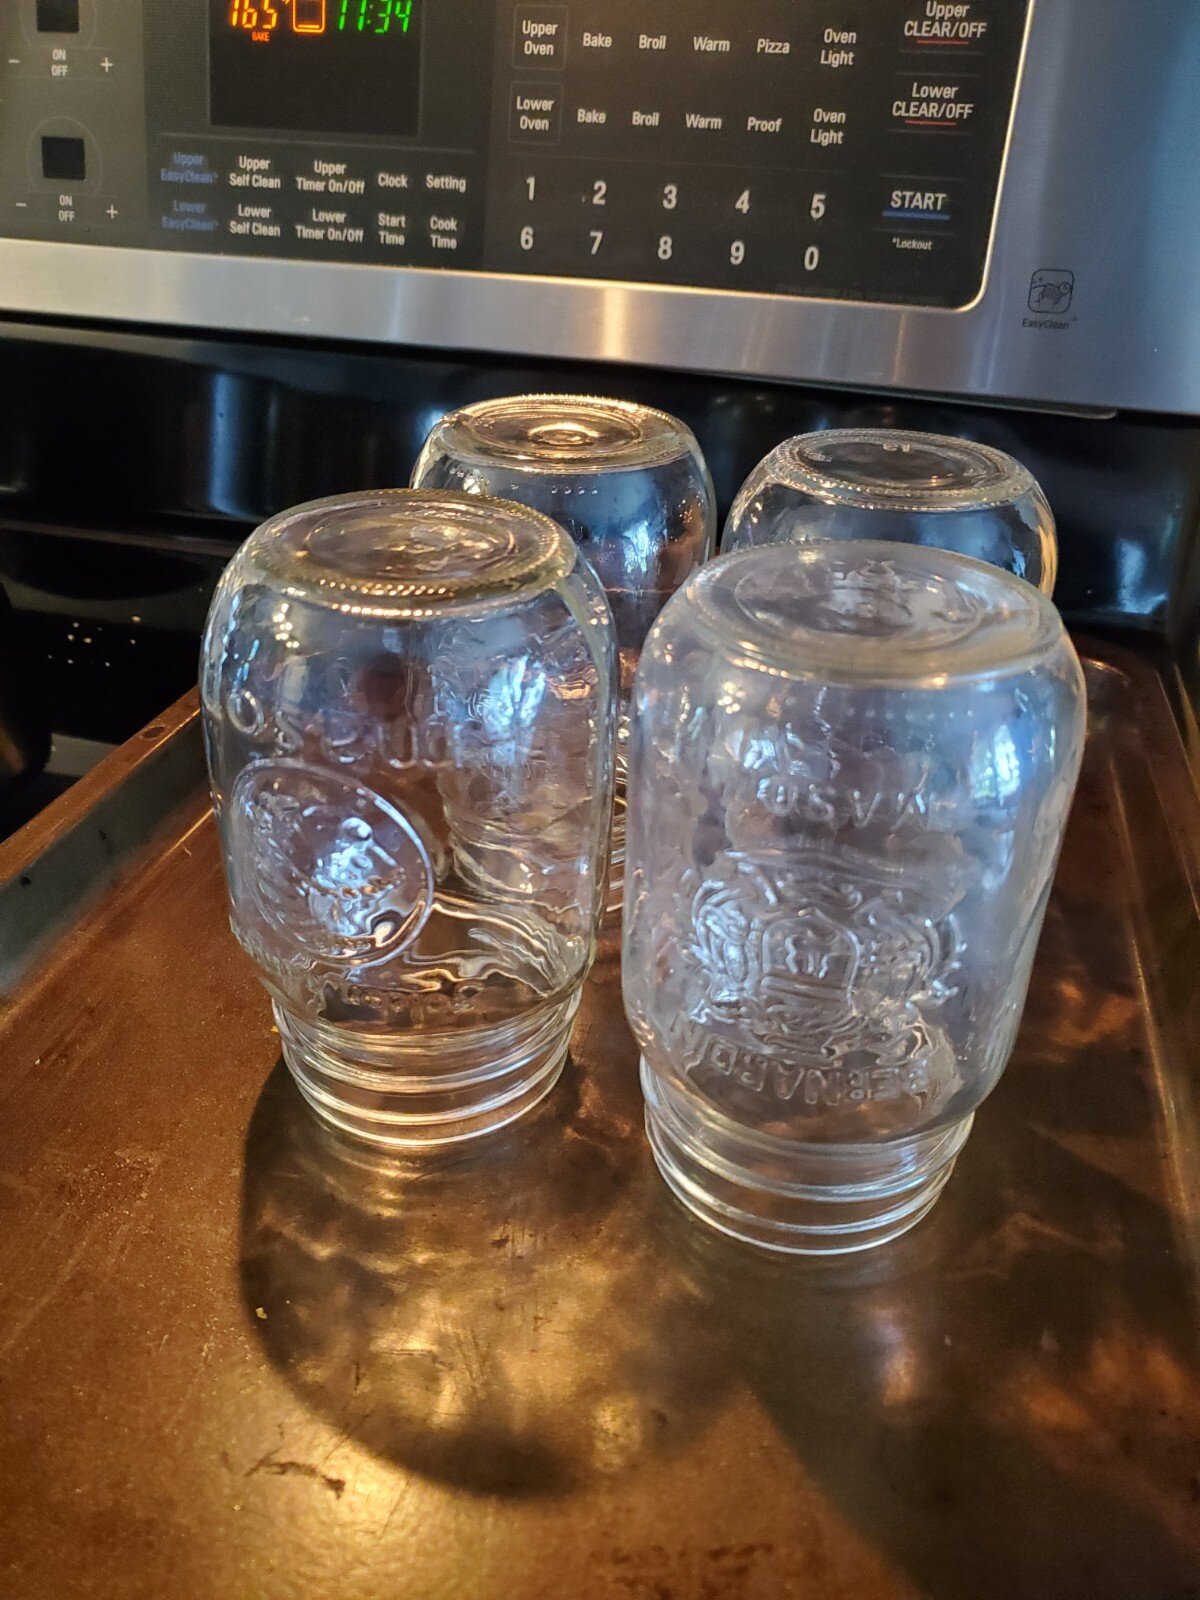
  2. Preheat oven to 200 degrees farehneight.

  3. Place the jars on a cookie sheet, or you can place directly on the wire rack in the oven.

  4. Bake for 20 minutes, this should kill any bacteria on the glass.

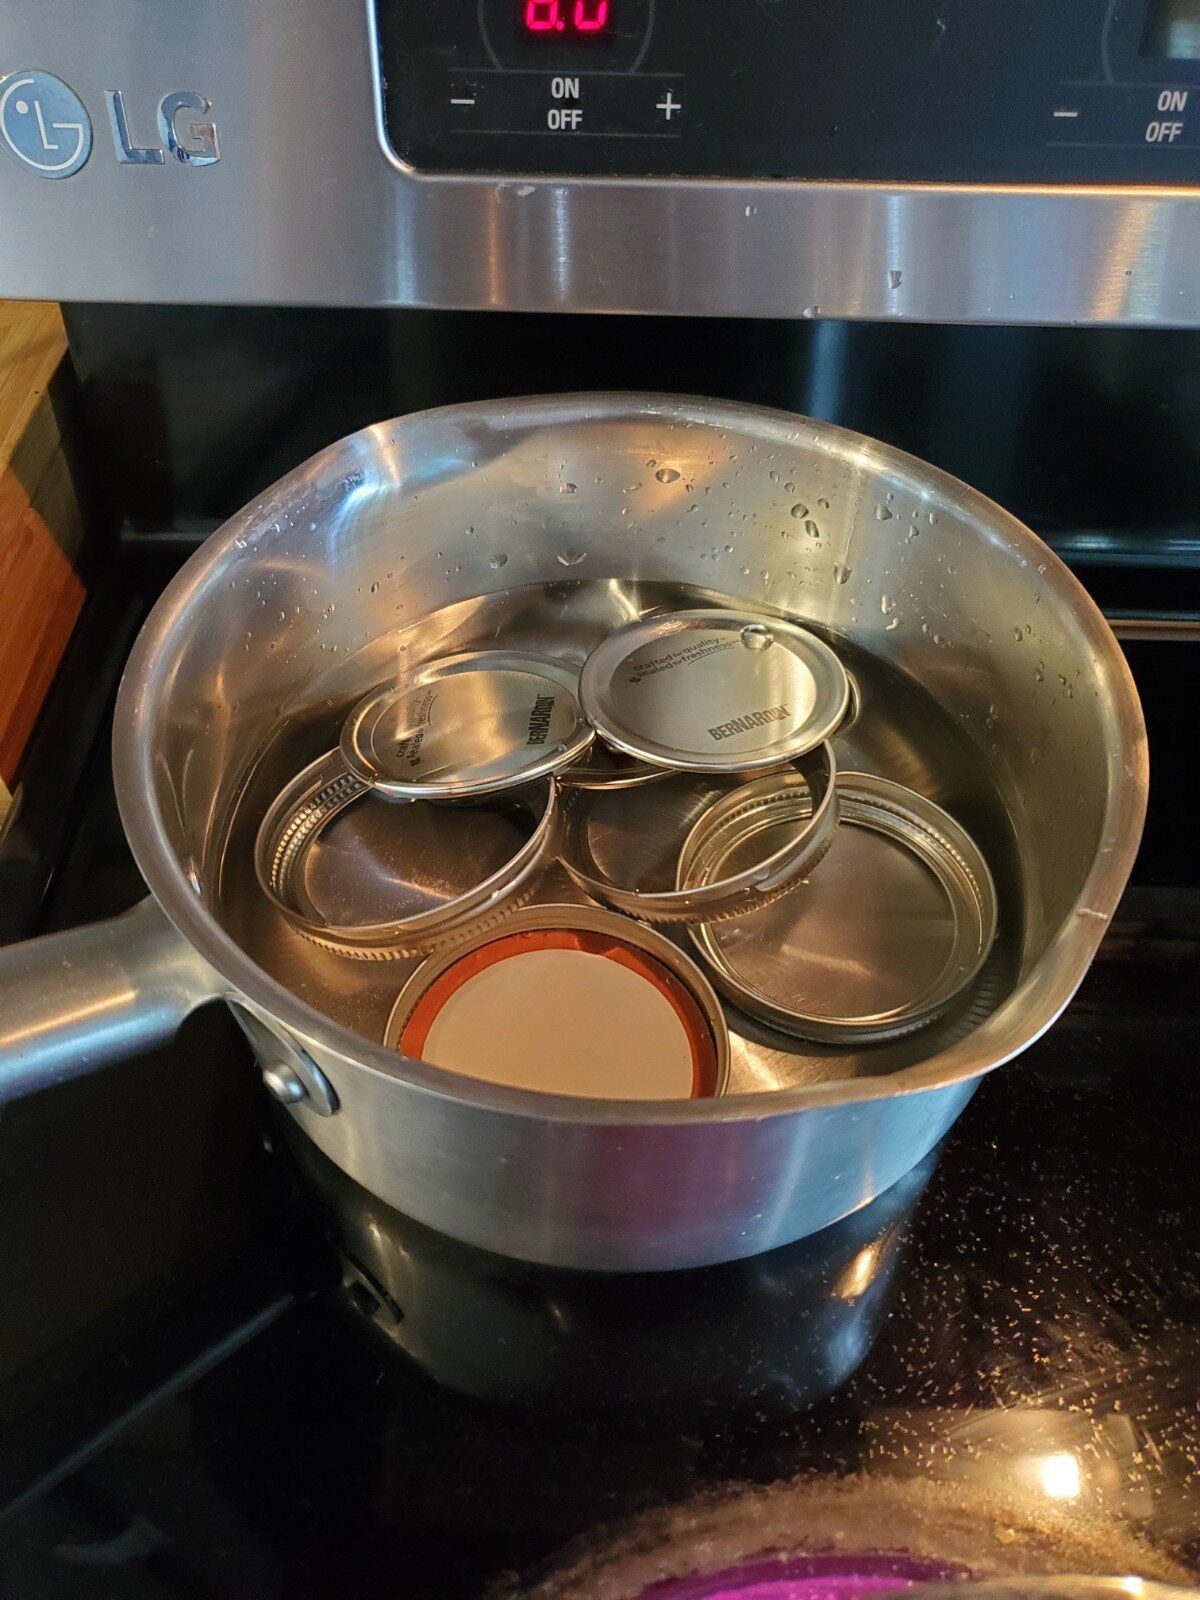
To sterilize your lids:

  1. Place lids and rings into a pot of water, just enough water to cover them.

  2. Bring water and lids to a boil.

  3. Let boil for a few minutes.

  4. Keep them in the hot water until you are ready to can.

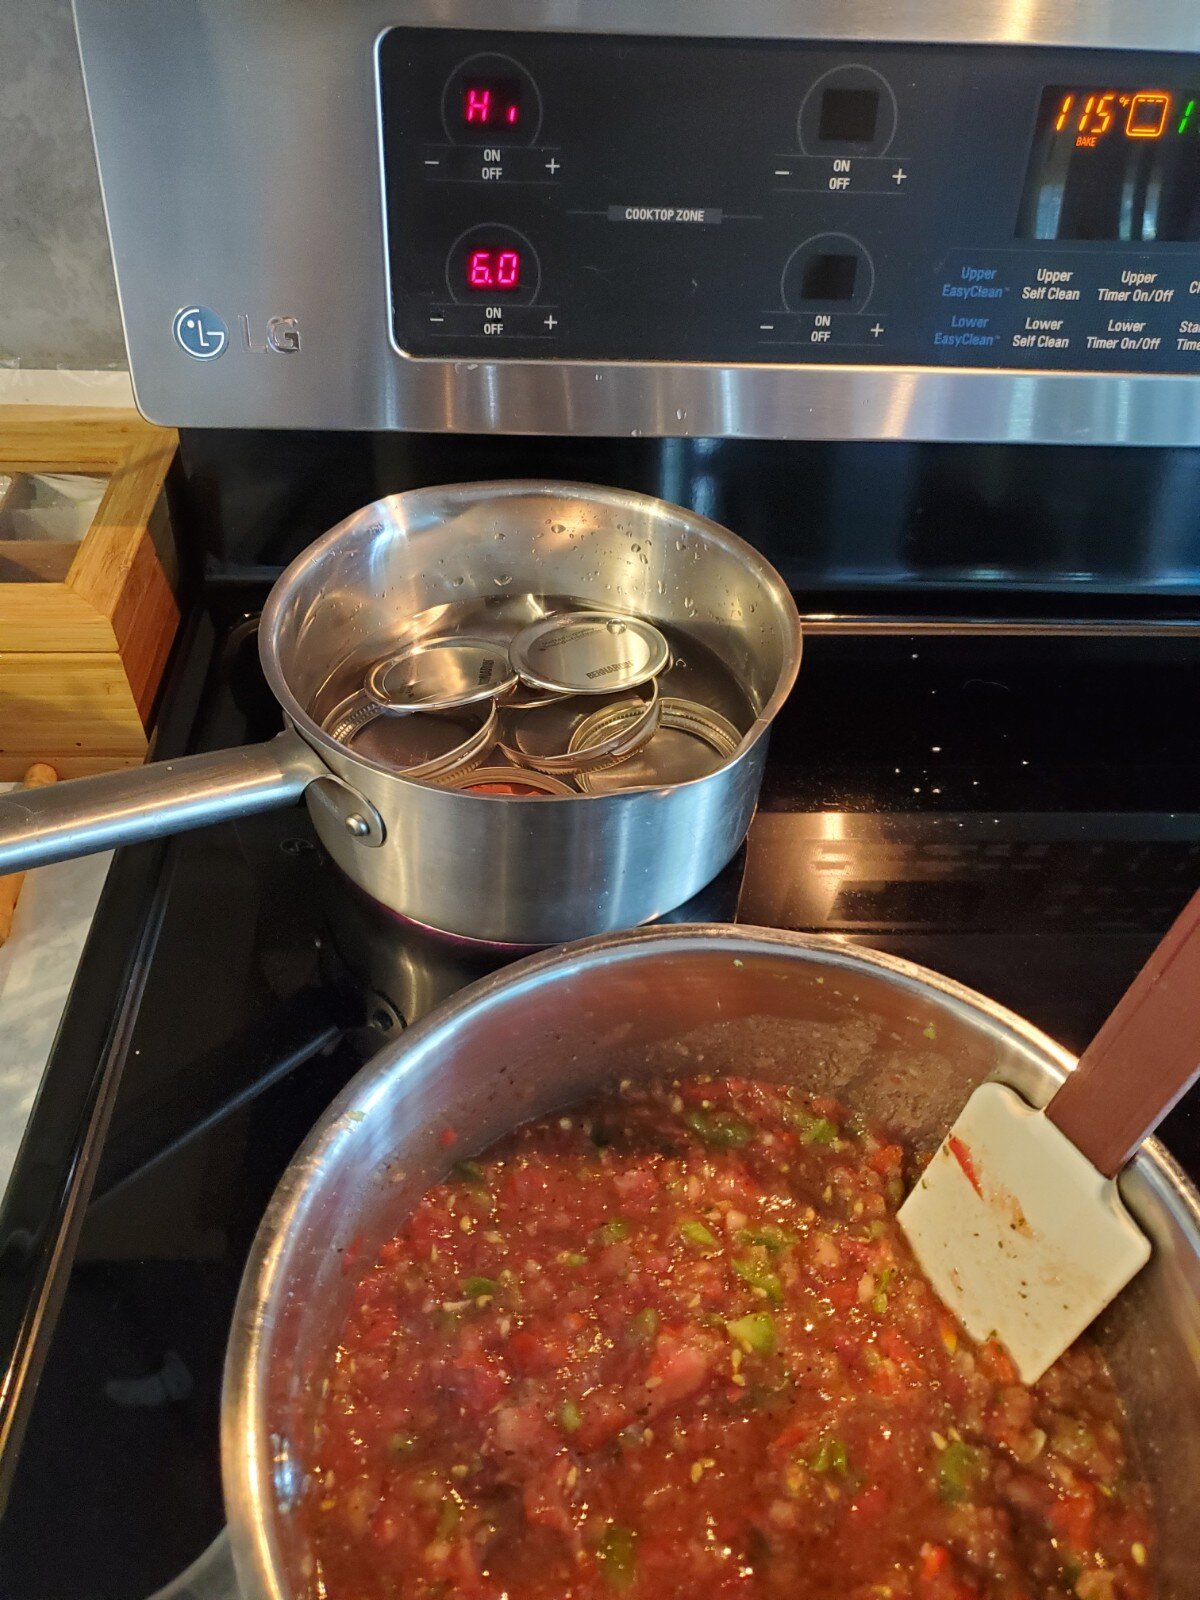
If you can, try to do the sterilization at the same time as prepping your food so that everything is ready at the same time and still good and hot.

Zero Waste: Moving to Safety Razors

It’s been about 2 years now with my safety razor so I think it’s safe to talk about it!

This was a transition that frightened me a little bit. Since I’ve always used disposable razors until now, the thought of giving up my little lotion strip and long plastic gripped handle was a little much.

The only thing that gets disposed on a regular basis is the razors once they get dull and luckily since it’s all metal they can be recycled! Some zero waste stores even accept them- otherwise you can safely dispose them in your recycling (Maybe in a little box or sleeve to save someone’s fingers in the receiving line.)

Switching to Safety Razors.jpg

Sticking with my conviction however, as soon as I was out of the collection of disposable razors I had in the house I switched to a safety razor and safety blades. My razor is a vintage find given to me by a friend and I found the blades on Amazon for $11 for a 100 pack. (I usually avoid Amazon orders when I can but I really couldn’t resist that price.. It’ll be literally years before I’ll need more haha and that’s with giving a few packs away.)

Once I realized how affordable this transition was it became a little less scary. The hurdle was still getting over the “emo” images in my head (thanks high school) when looking as safety blades.

Installing the blade was fairly simple, by grabbing it by the blunt edges and going slowly I was able to position the blade on the razor quite easily.

These things are definitely a lot sharper then the disposable razors I was using! It’s what I get for buying the cheapest razors on the market… So the first couple of glides on my skin I pushed far too hard and it irritated my skin pretty badly. After I figured out why (being as I shaved off some skin) I altered the pressure I was putting on the razor and let it gently glide over my skin.

When I was done my skin was smoother than it had ever been before! I couldn’t believe I went this long without making the change. Even if you are not focusing on your waste consumption, this could be a good thing to try. The blades are cheap, harmless if used carefully and overall give a more quality shave.

My biggest recommendation is to keep it DRY. As you can see there’s a bit of interior rust in mine from forgetting it in the shower. It washes right off but the best and healthiest thing for it is to be stored in a dry place when not in use.