This is an exciting project to talk about because this was my first ever proper furniture flip. Sure I’ve painted over old wood to try to give it life but never took the proper steps to ensure it truly lives on.
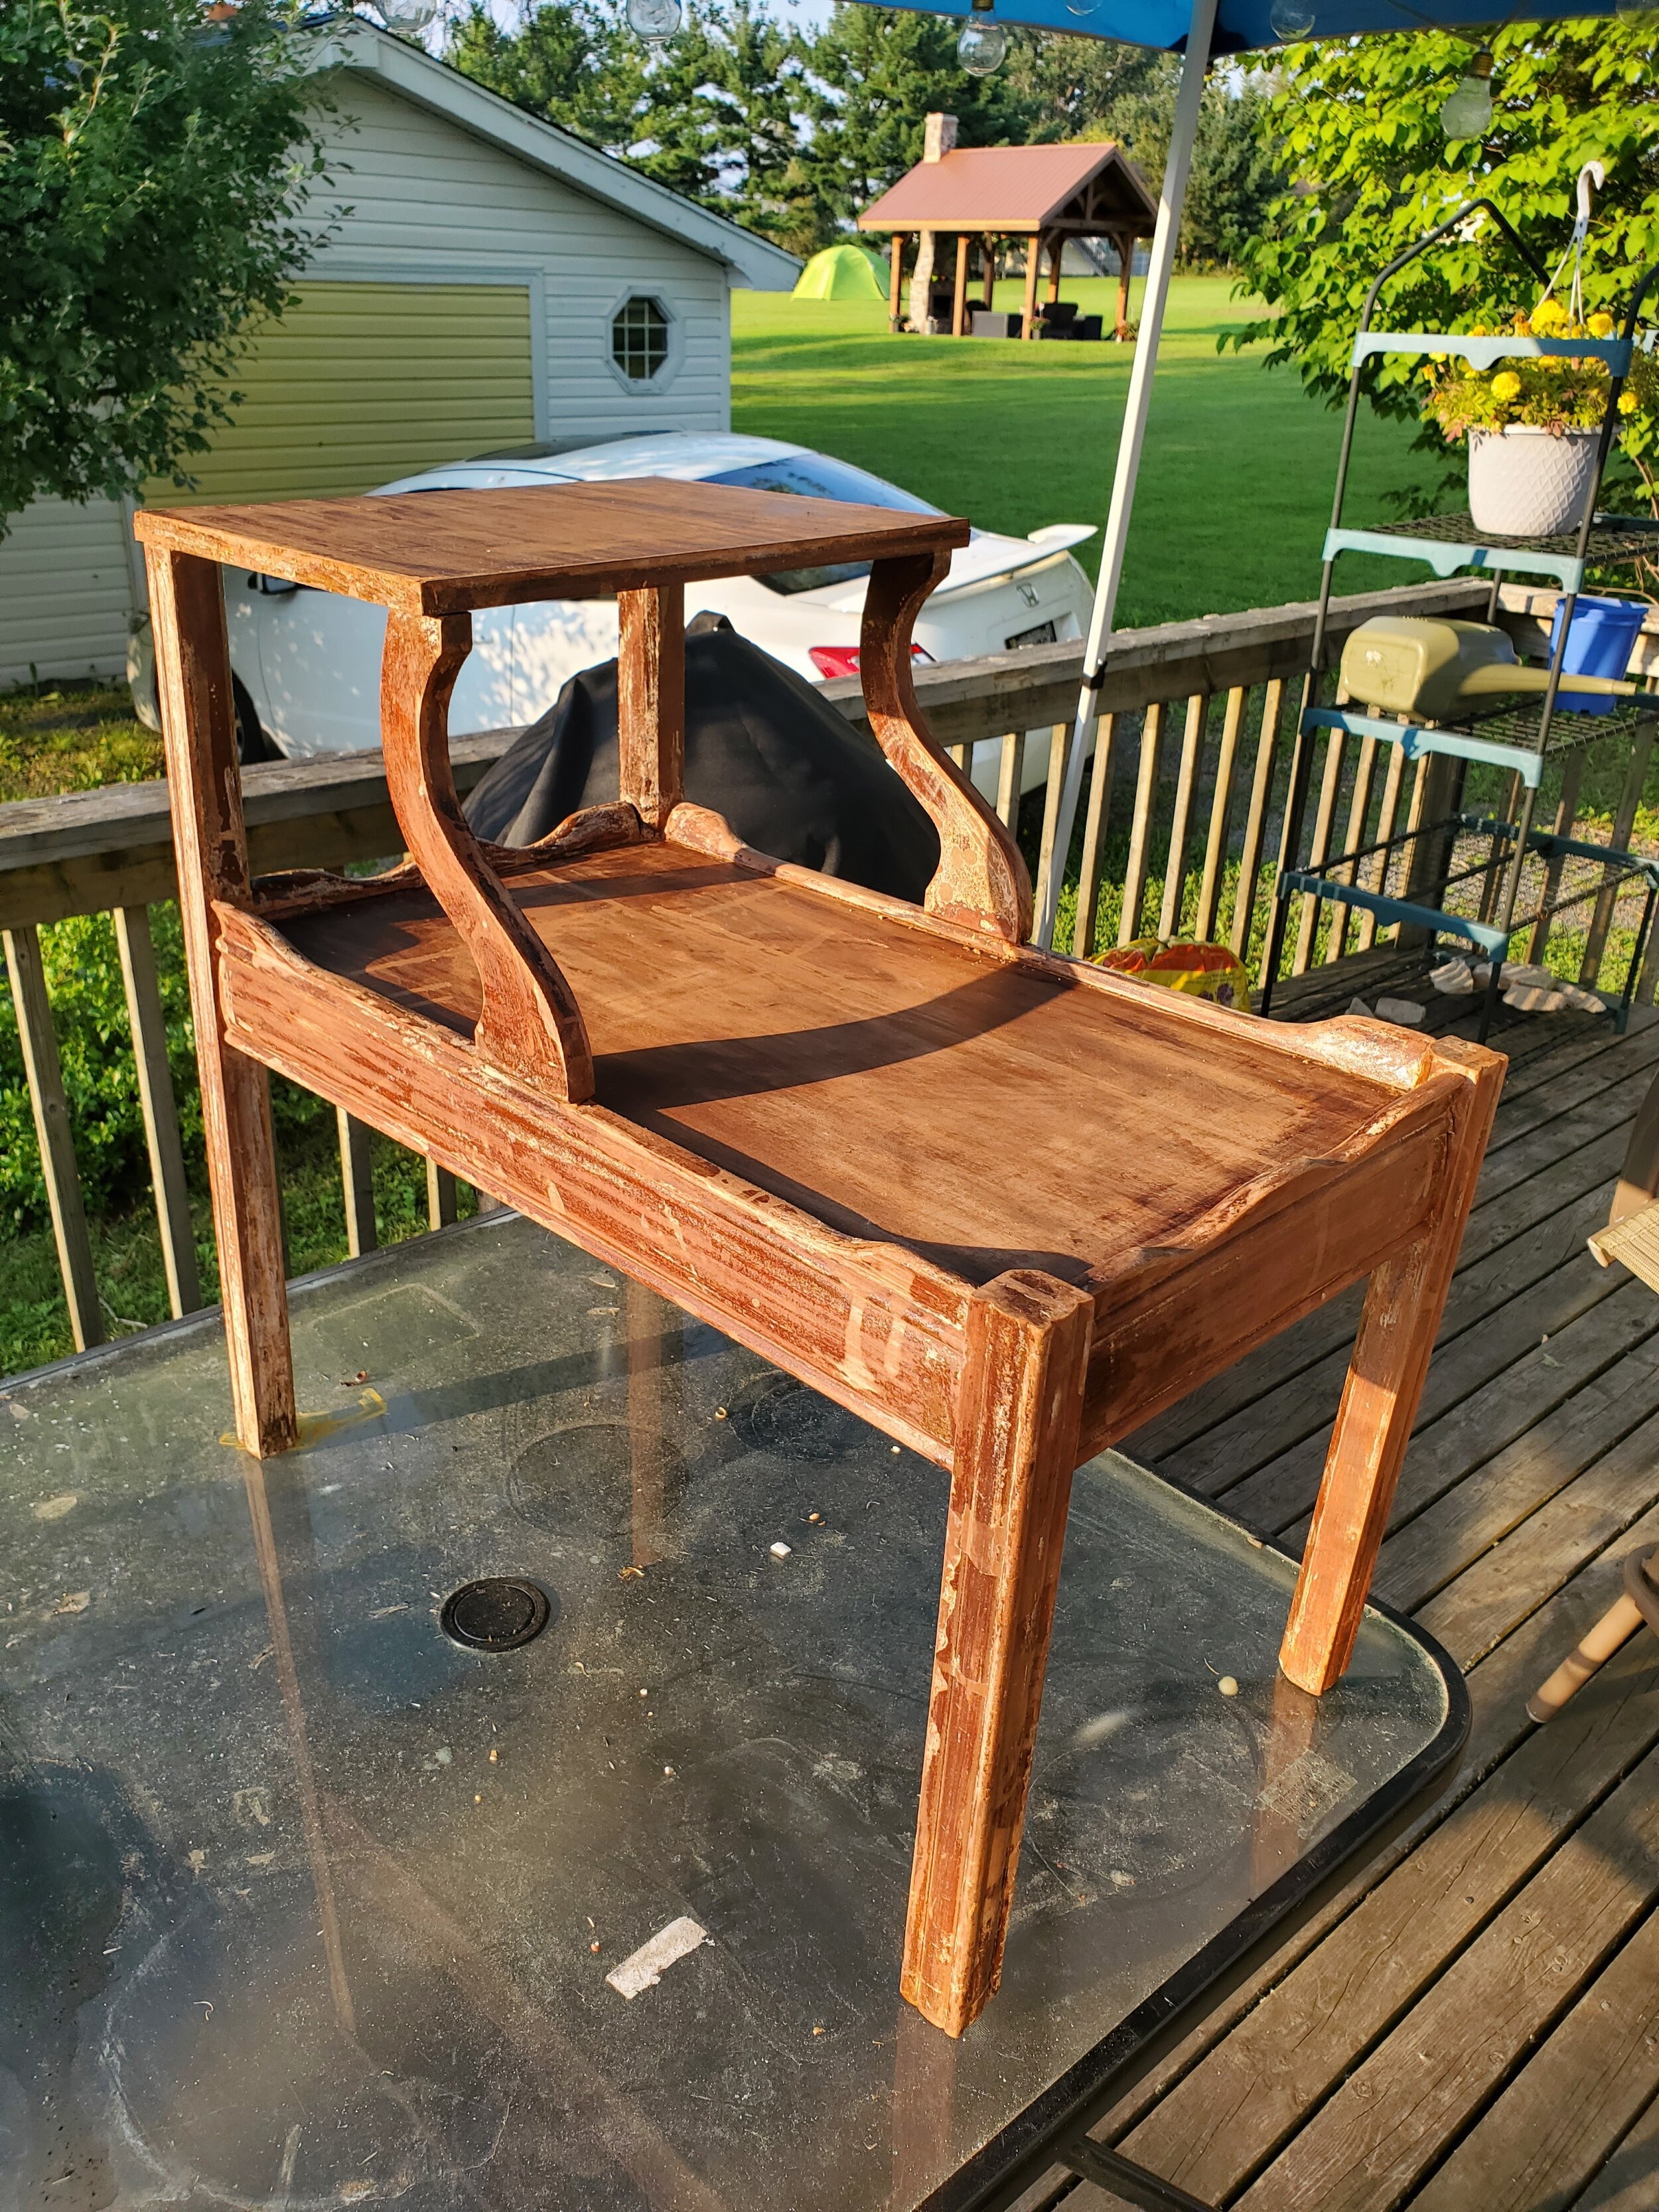
I found this little end table at a yard sale for $10, the woman said she purchased it at an auction in the 80’s and it wasn’t new back then so it definitely came with history.

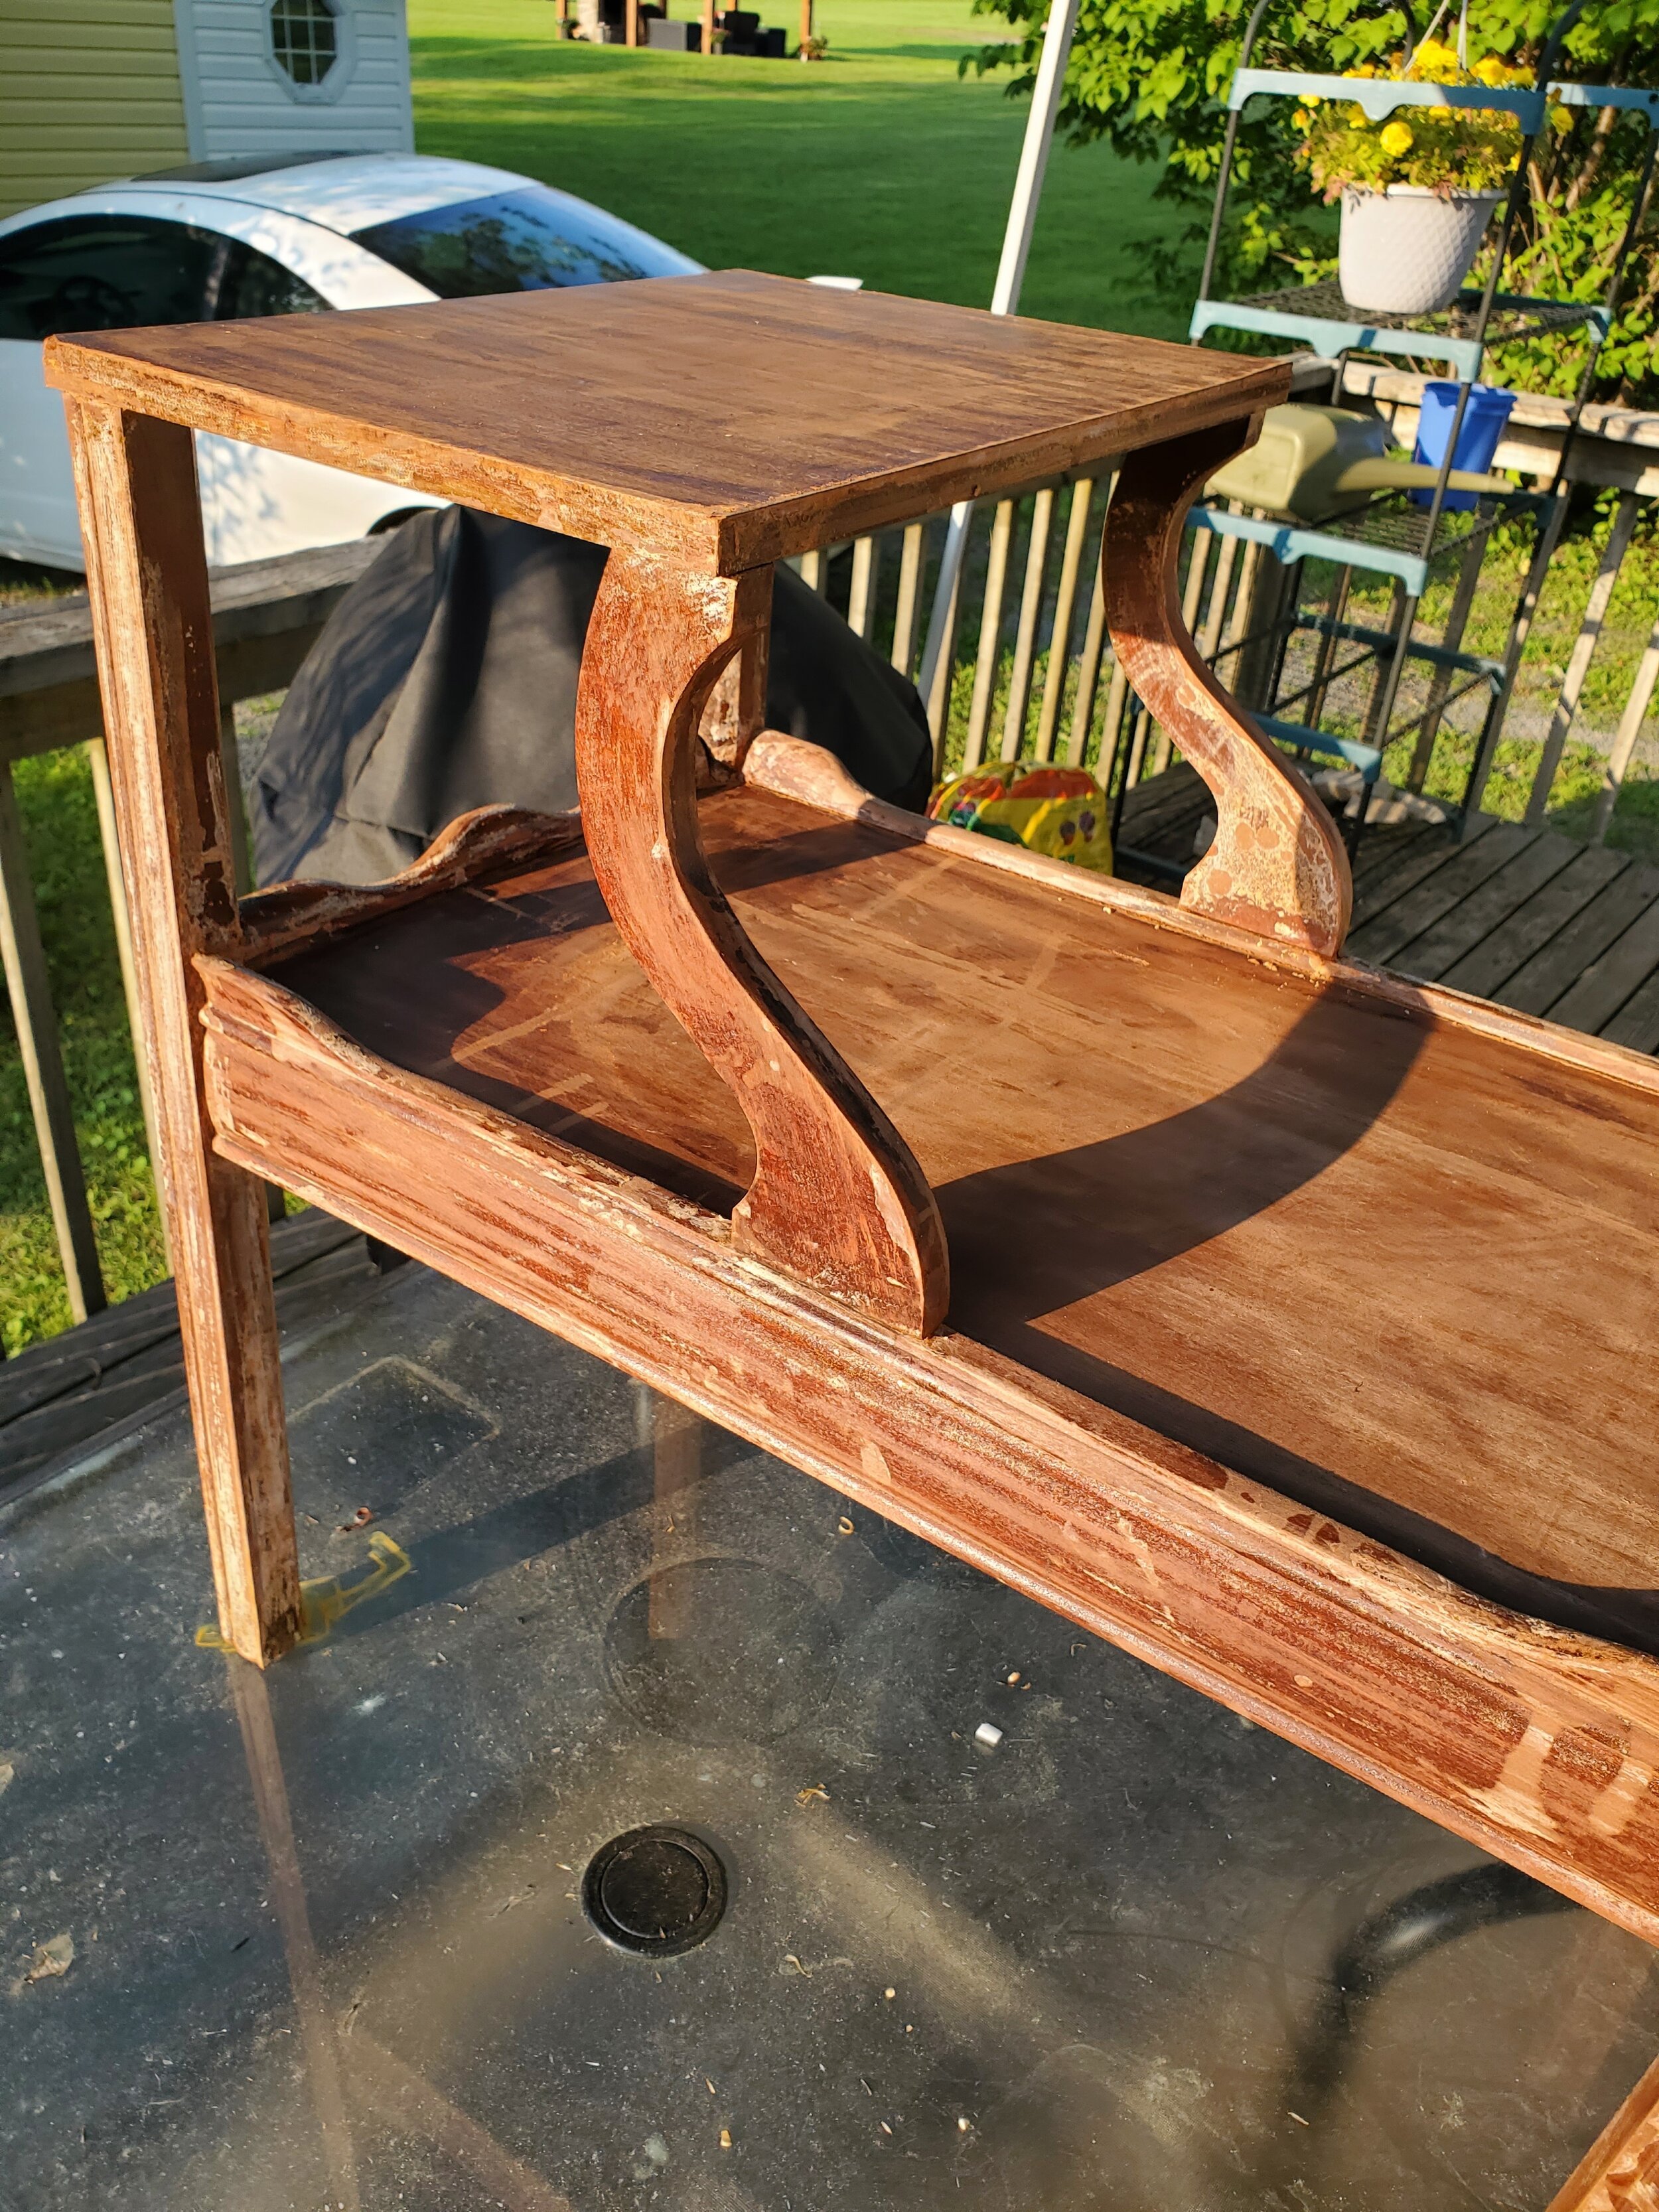
The Before- Full of history… And Scratches
First step was to remove the varnish from the table, thanks to some chemical stripper this was a breeze- felt incredibly wasteful as I lost a few rags in the process- but I kept the mentality that the process would allow the table to avoid the landfill.
The stripper also dissolved the glue that was mainly keeping the table together so it wasn’t long before I had multiple small pieces to work with which ended up being a blessing- much more workable this way.

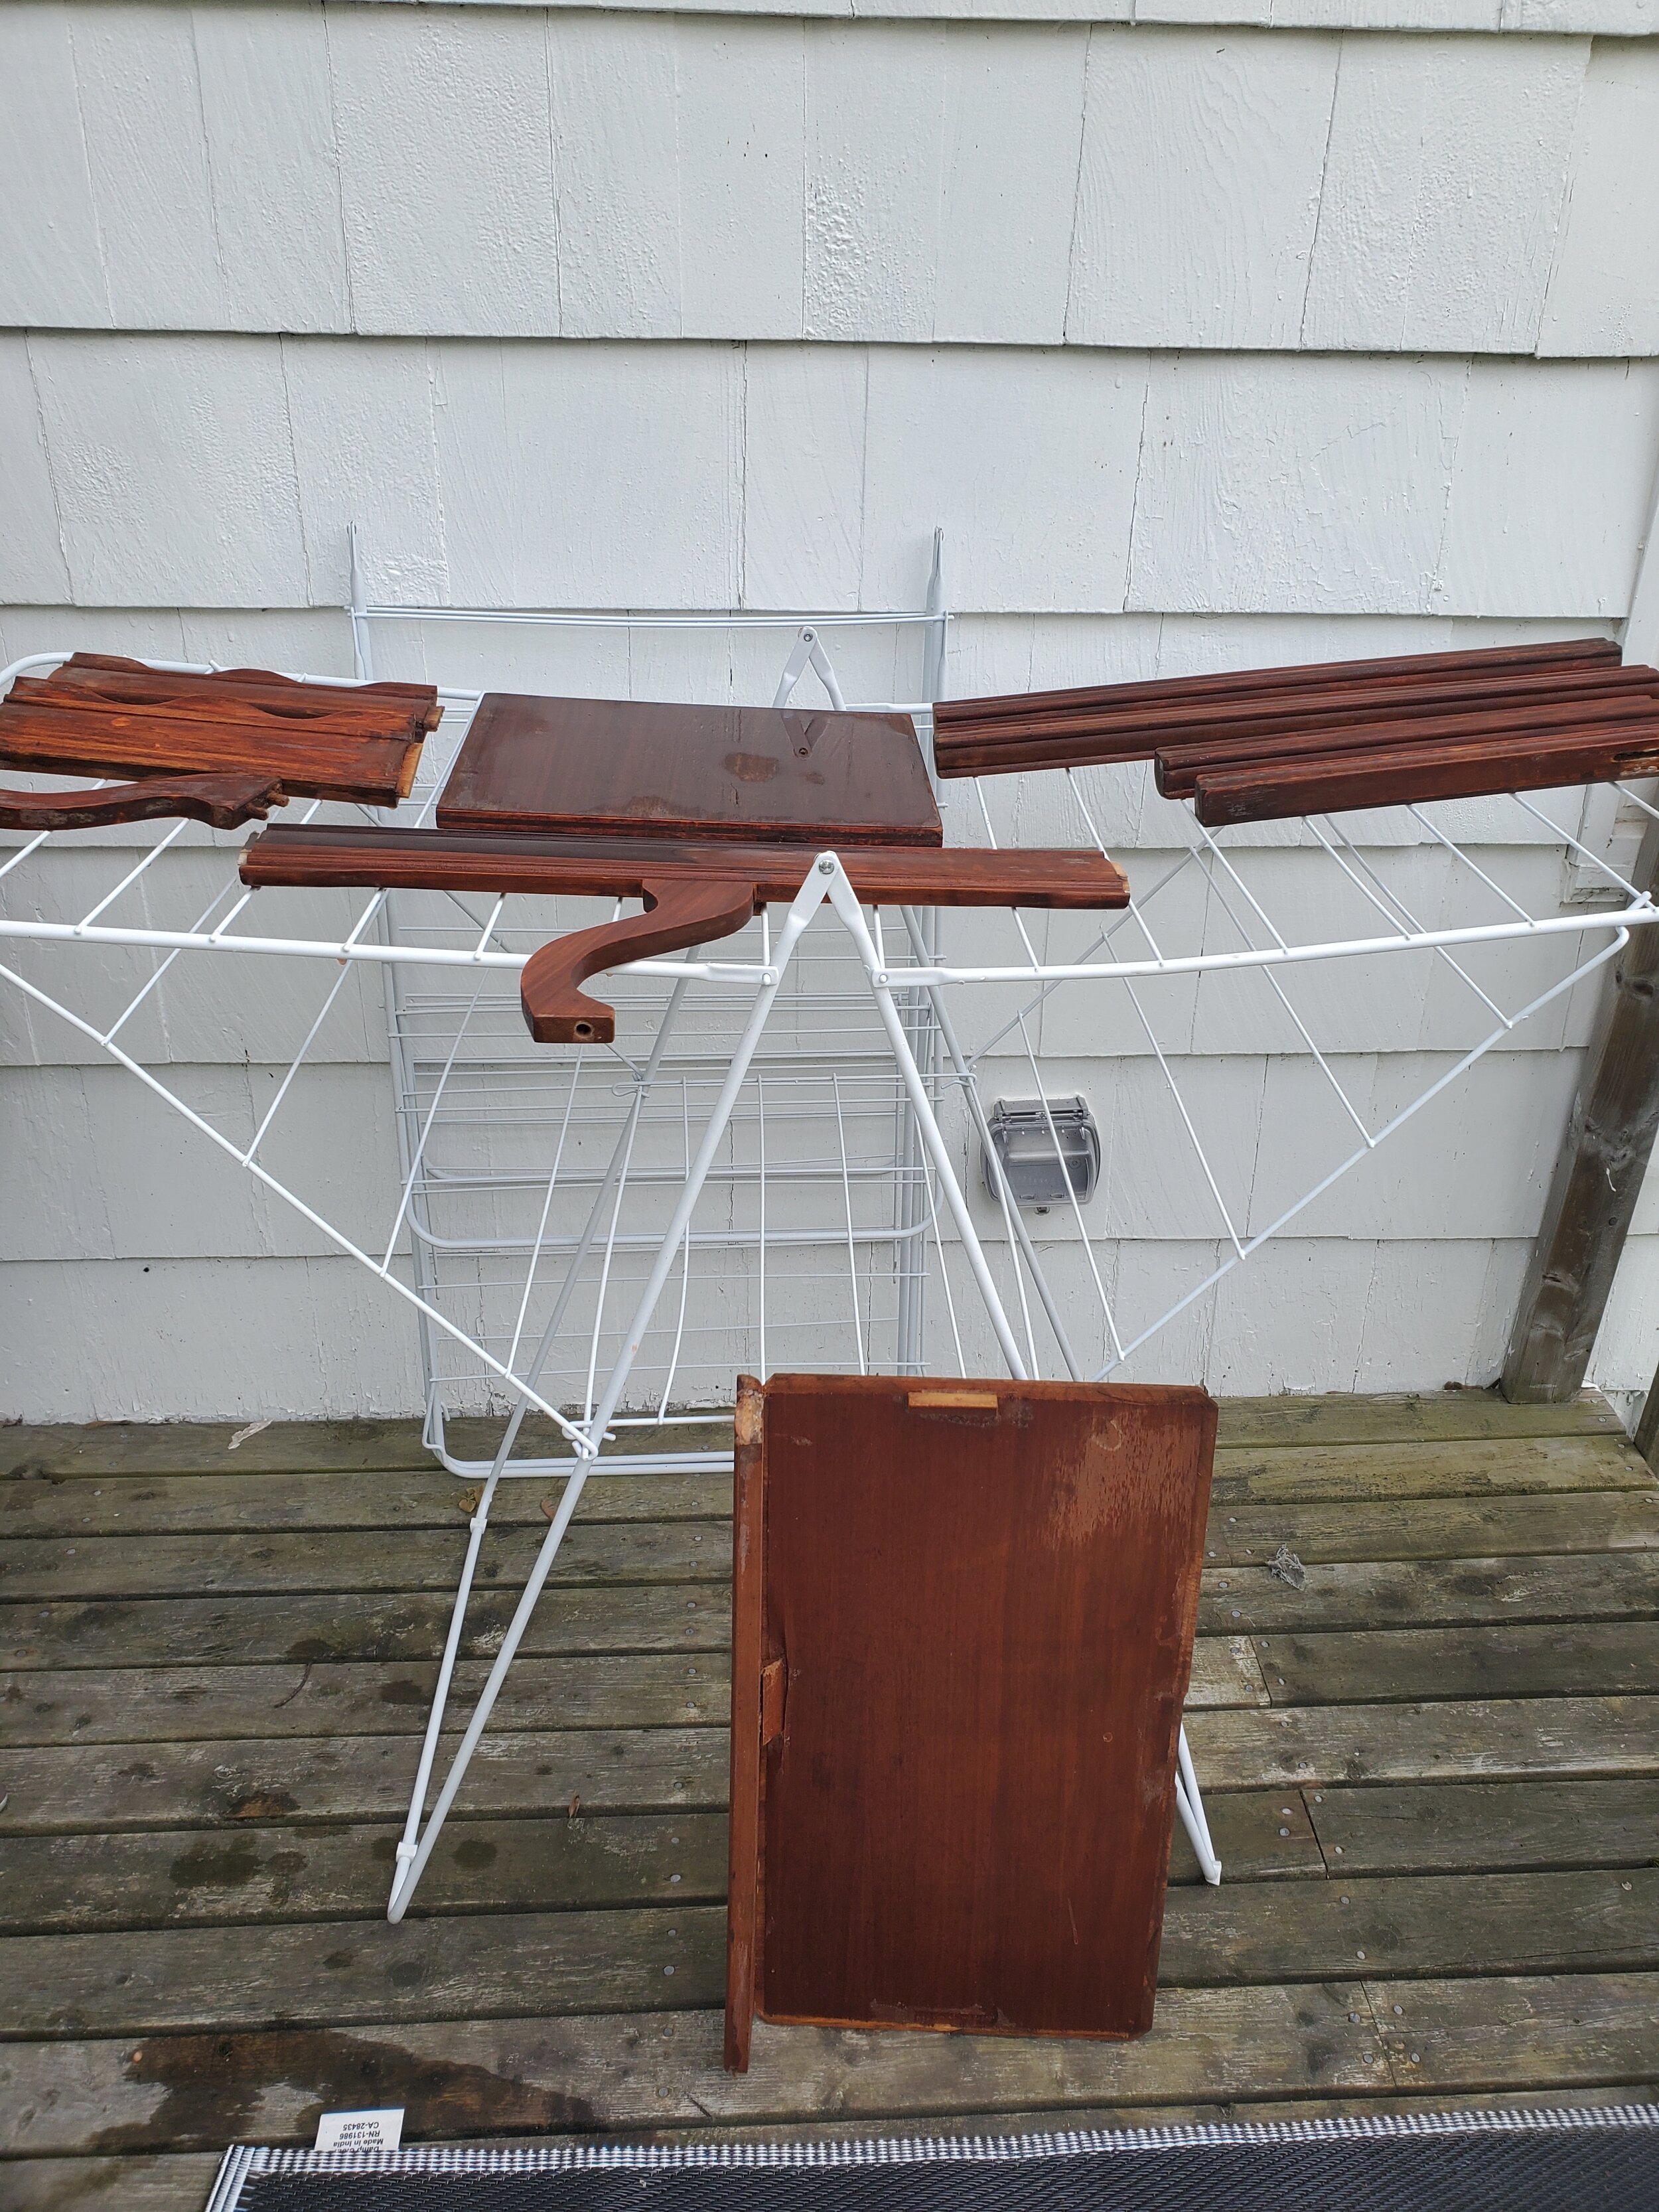
The next step was to give it a good sanding- I just did it by hand this time but I think next time for the sake of time (I was on vacation so no rushing) I’d use an electric sander/ buffer.
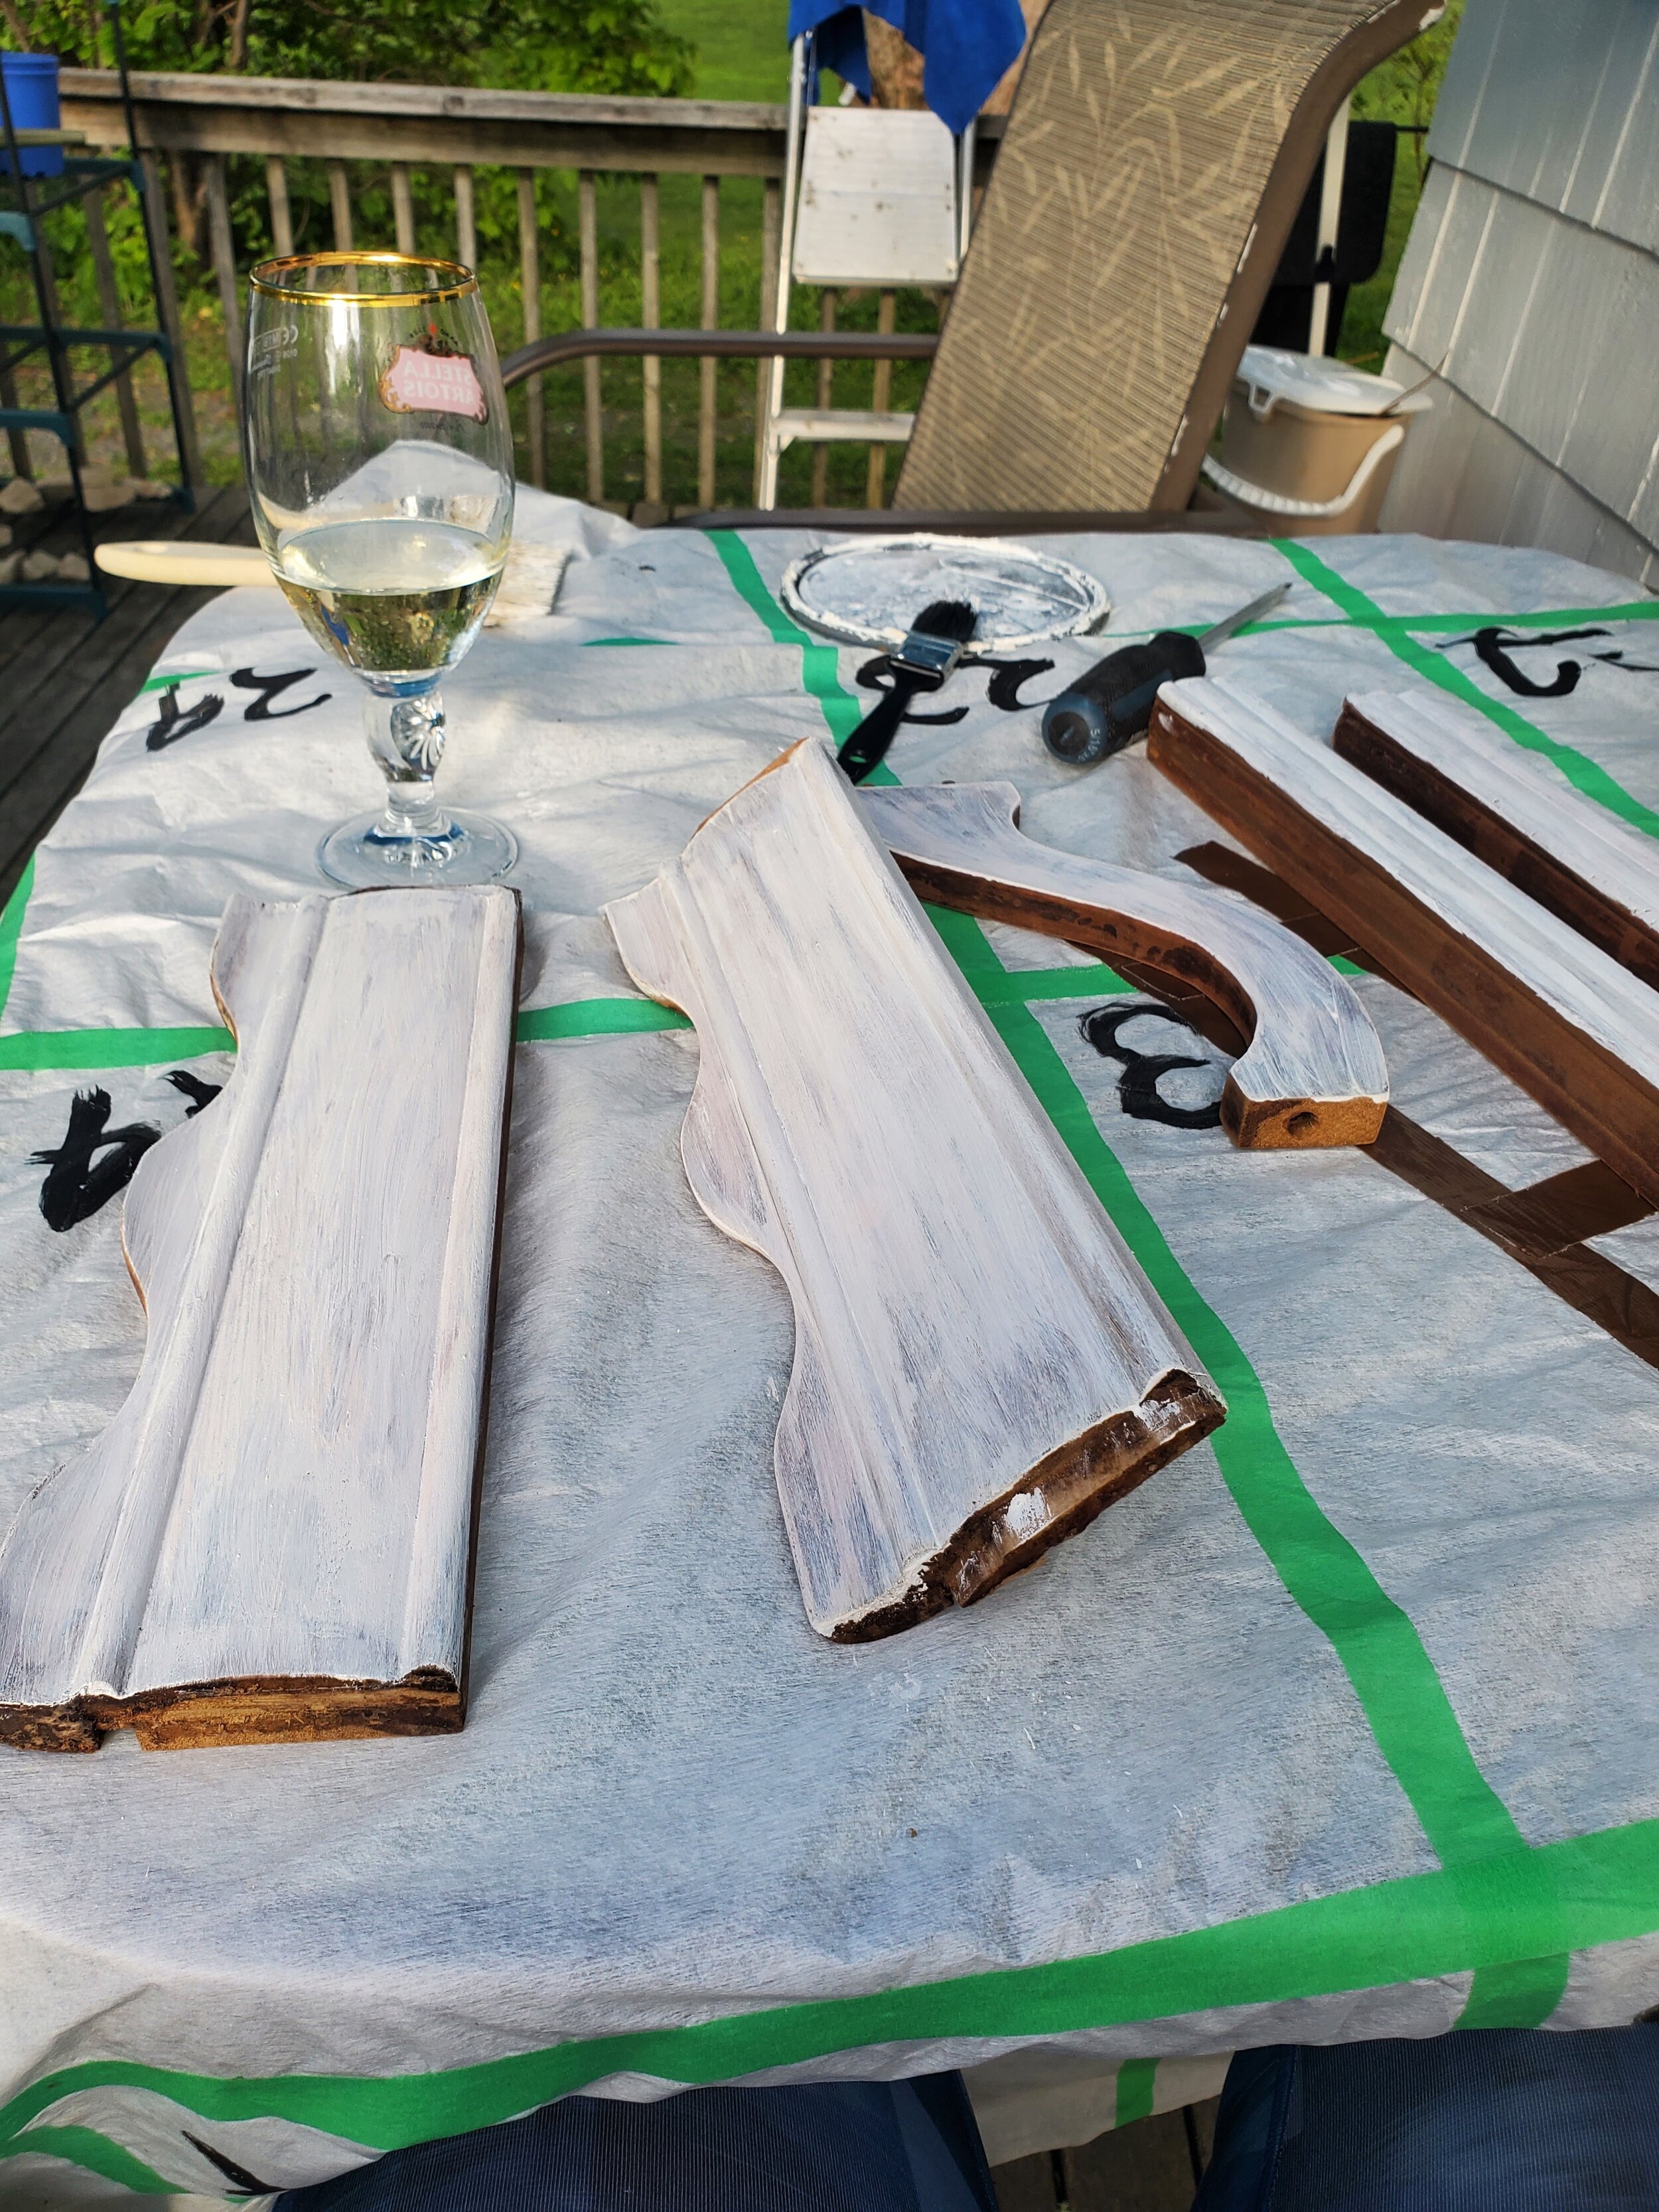
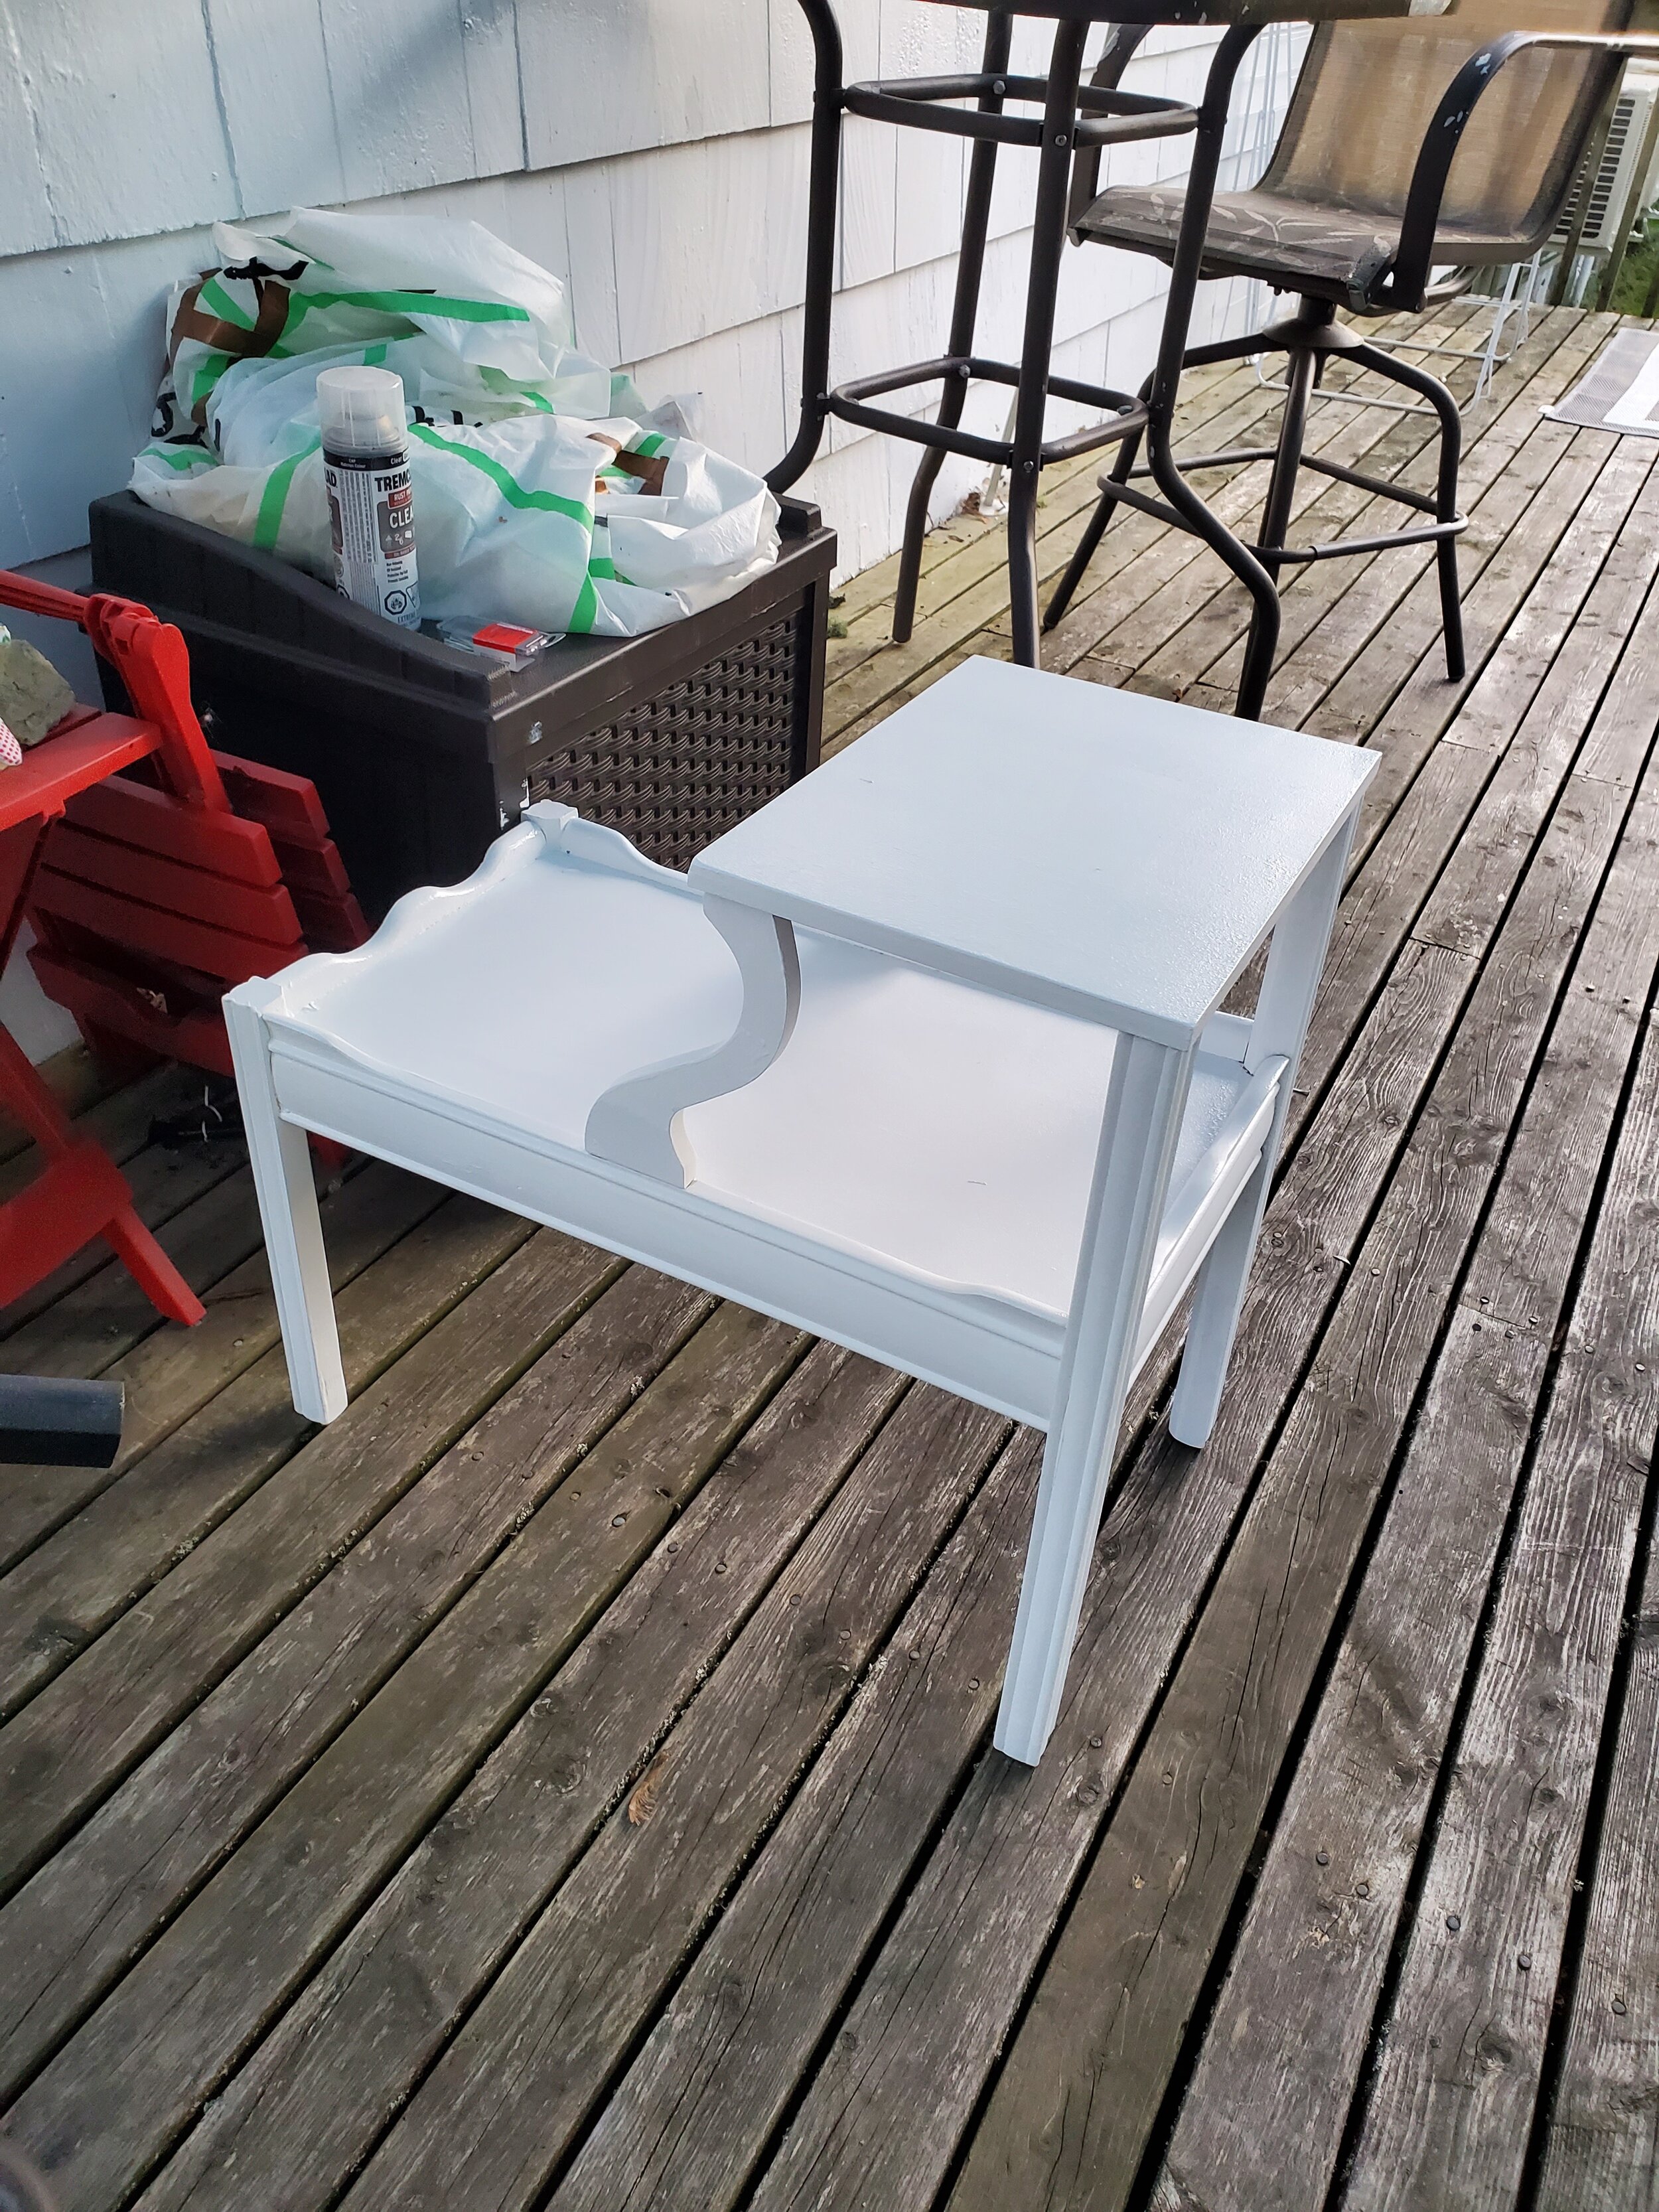

After the physical labor that was sanding down all the pieces came the priming and painting. I did multiple coats since it was good and hot in the back yard for drying and well.. Vacation.
Reassembling proved to be a little challenging just due to it’s age it was a little warped and some of the inserts on the legs had simply vanished, but I made do.
There was some engineering involved (not really… screws were involved… but “engineering” sounds better)
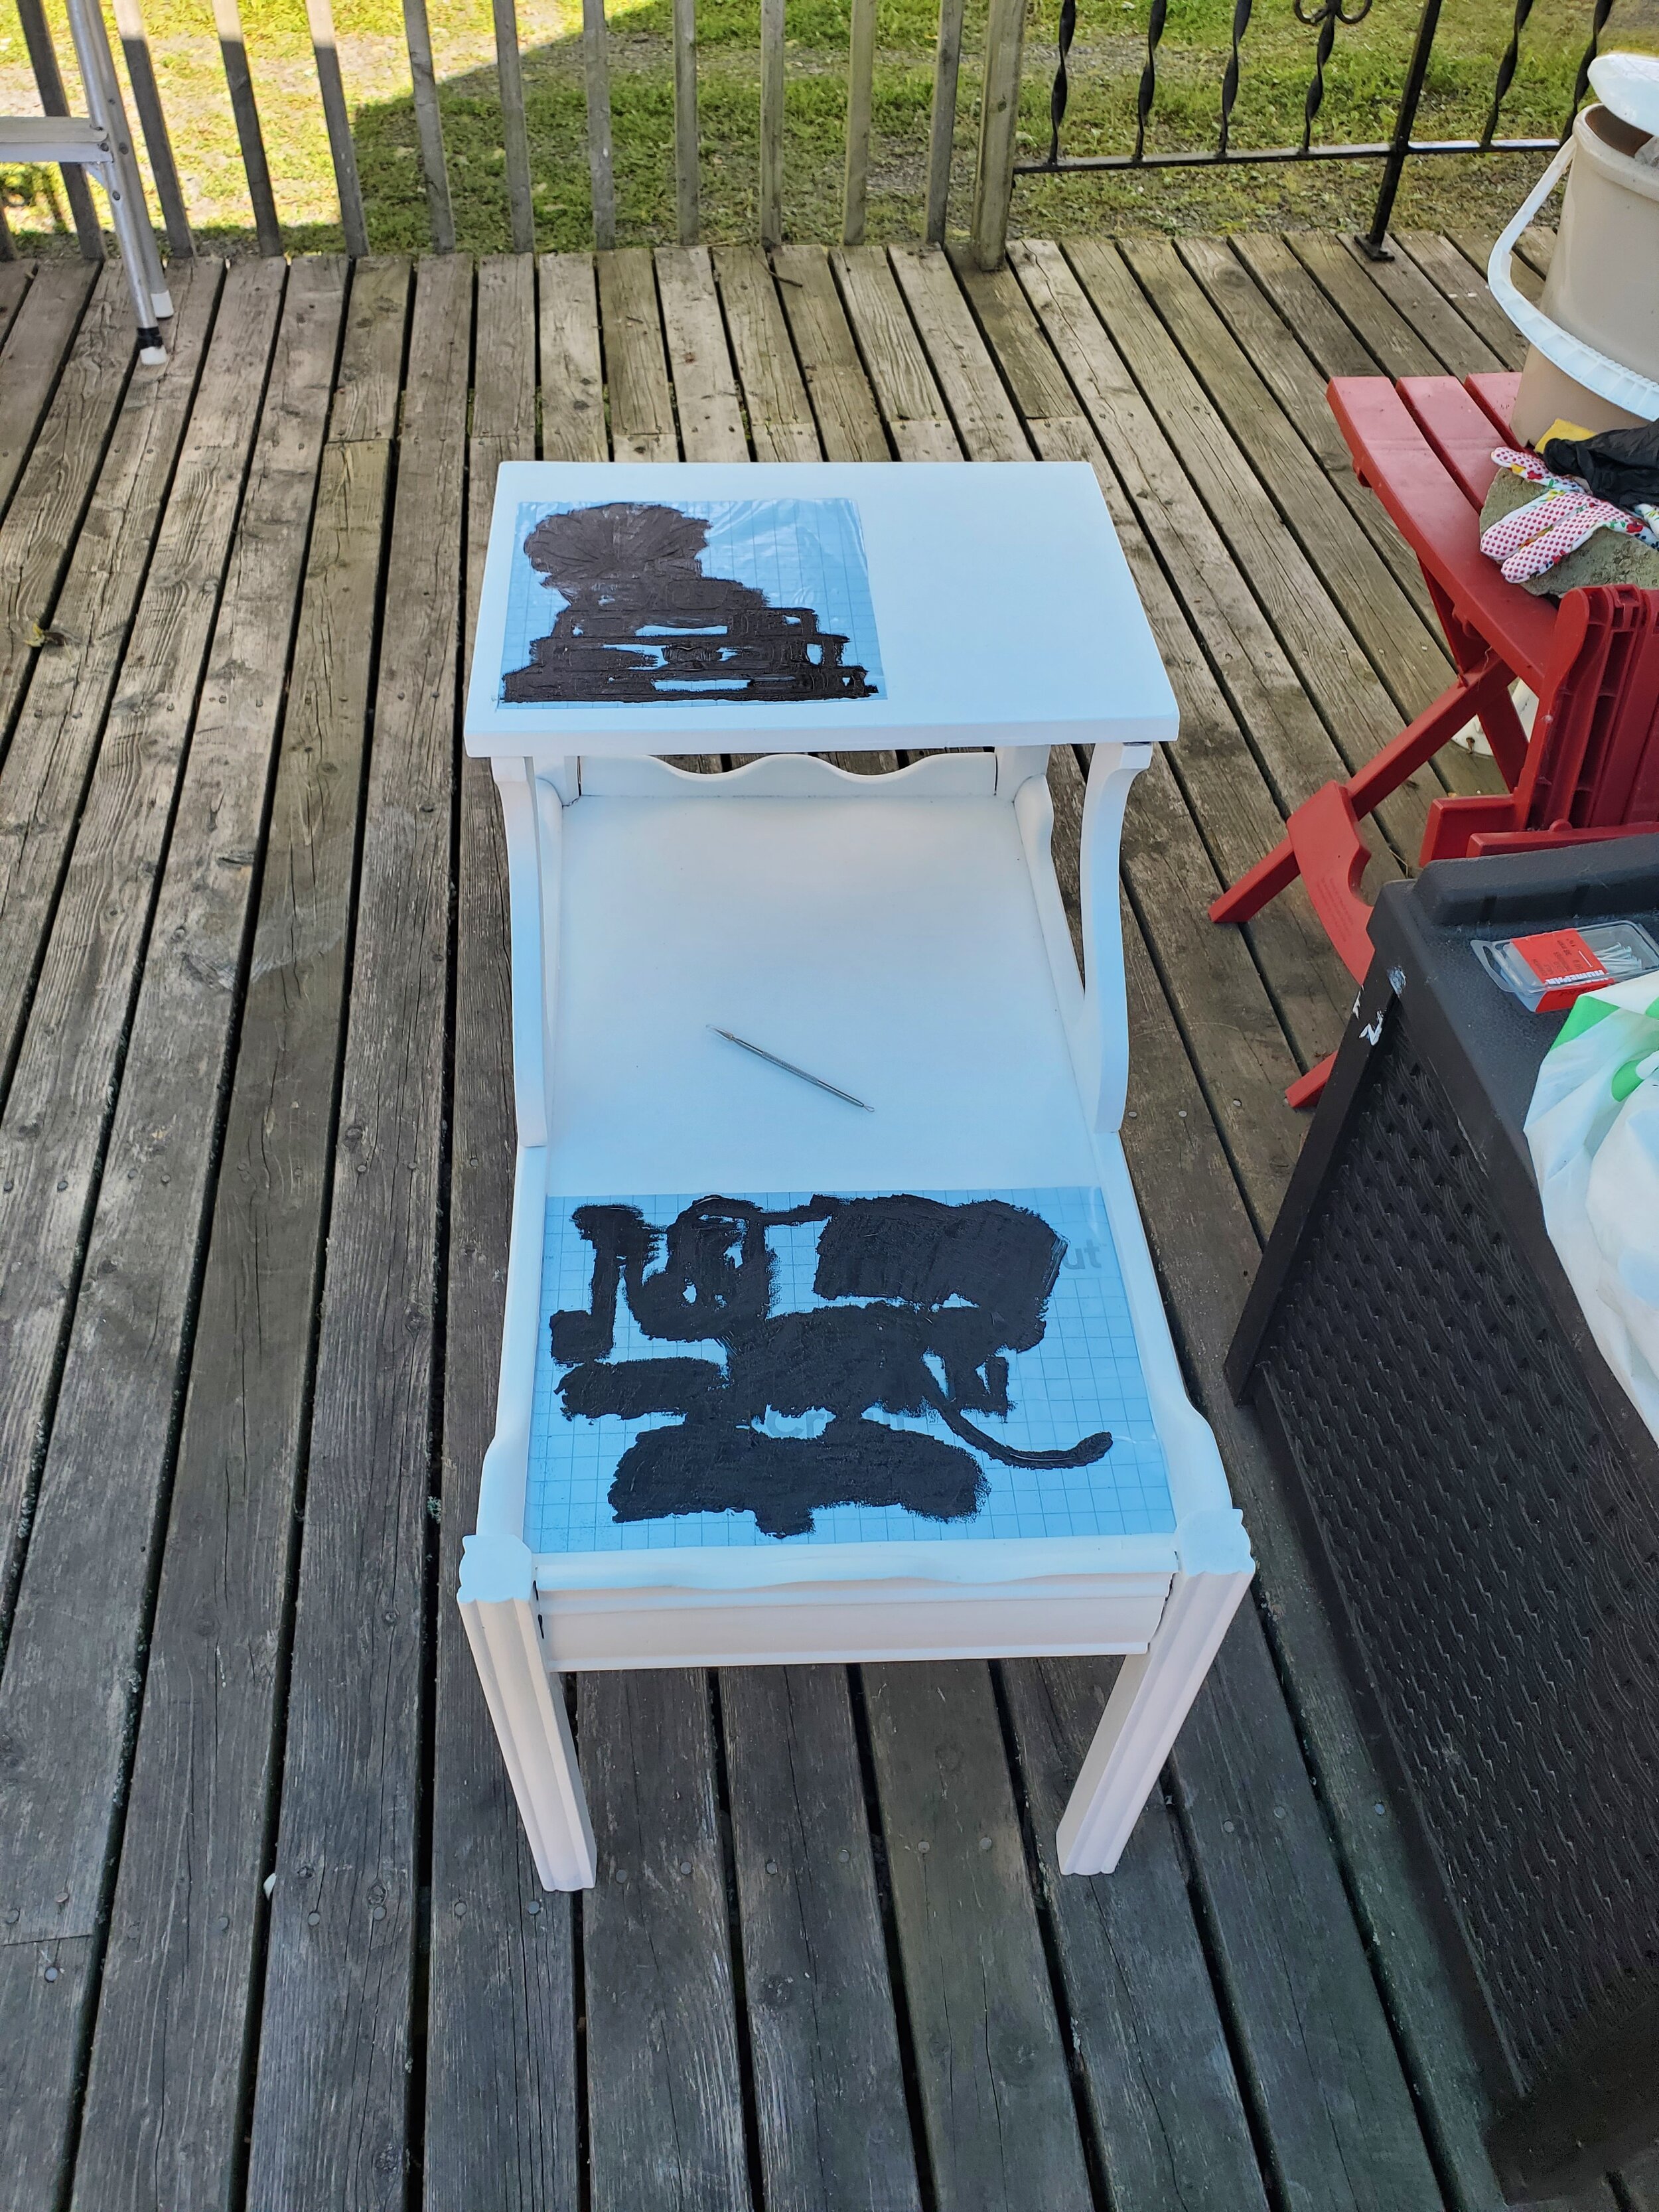
Using my Cricut cutting machine I made a couple of stencils so I could paint some adorable decals right on the wood.
Once the decals were on, I touched up any areas that needed love after the ordeal that was the reassemble and sealed it all with a clear coat.

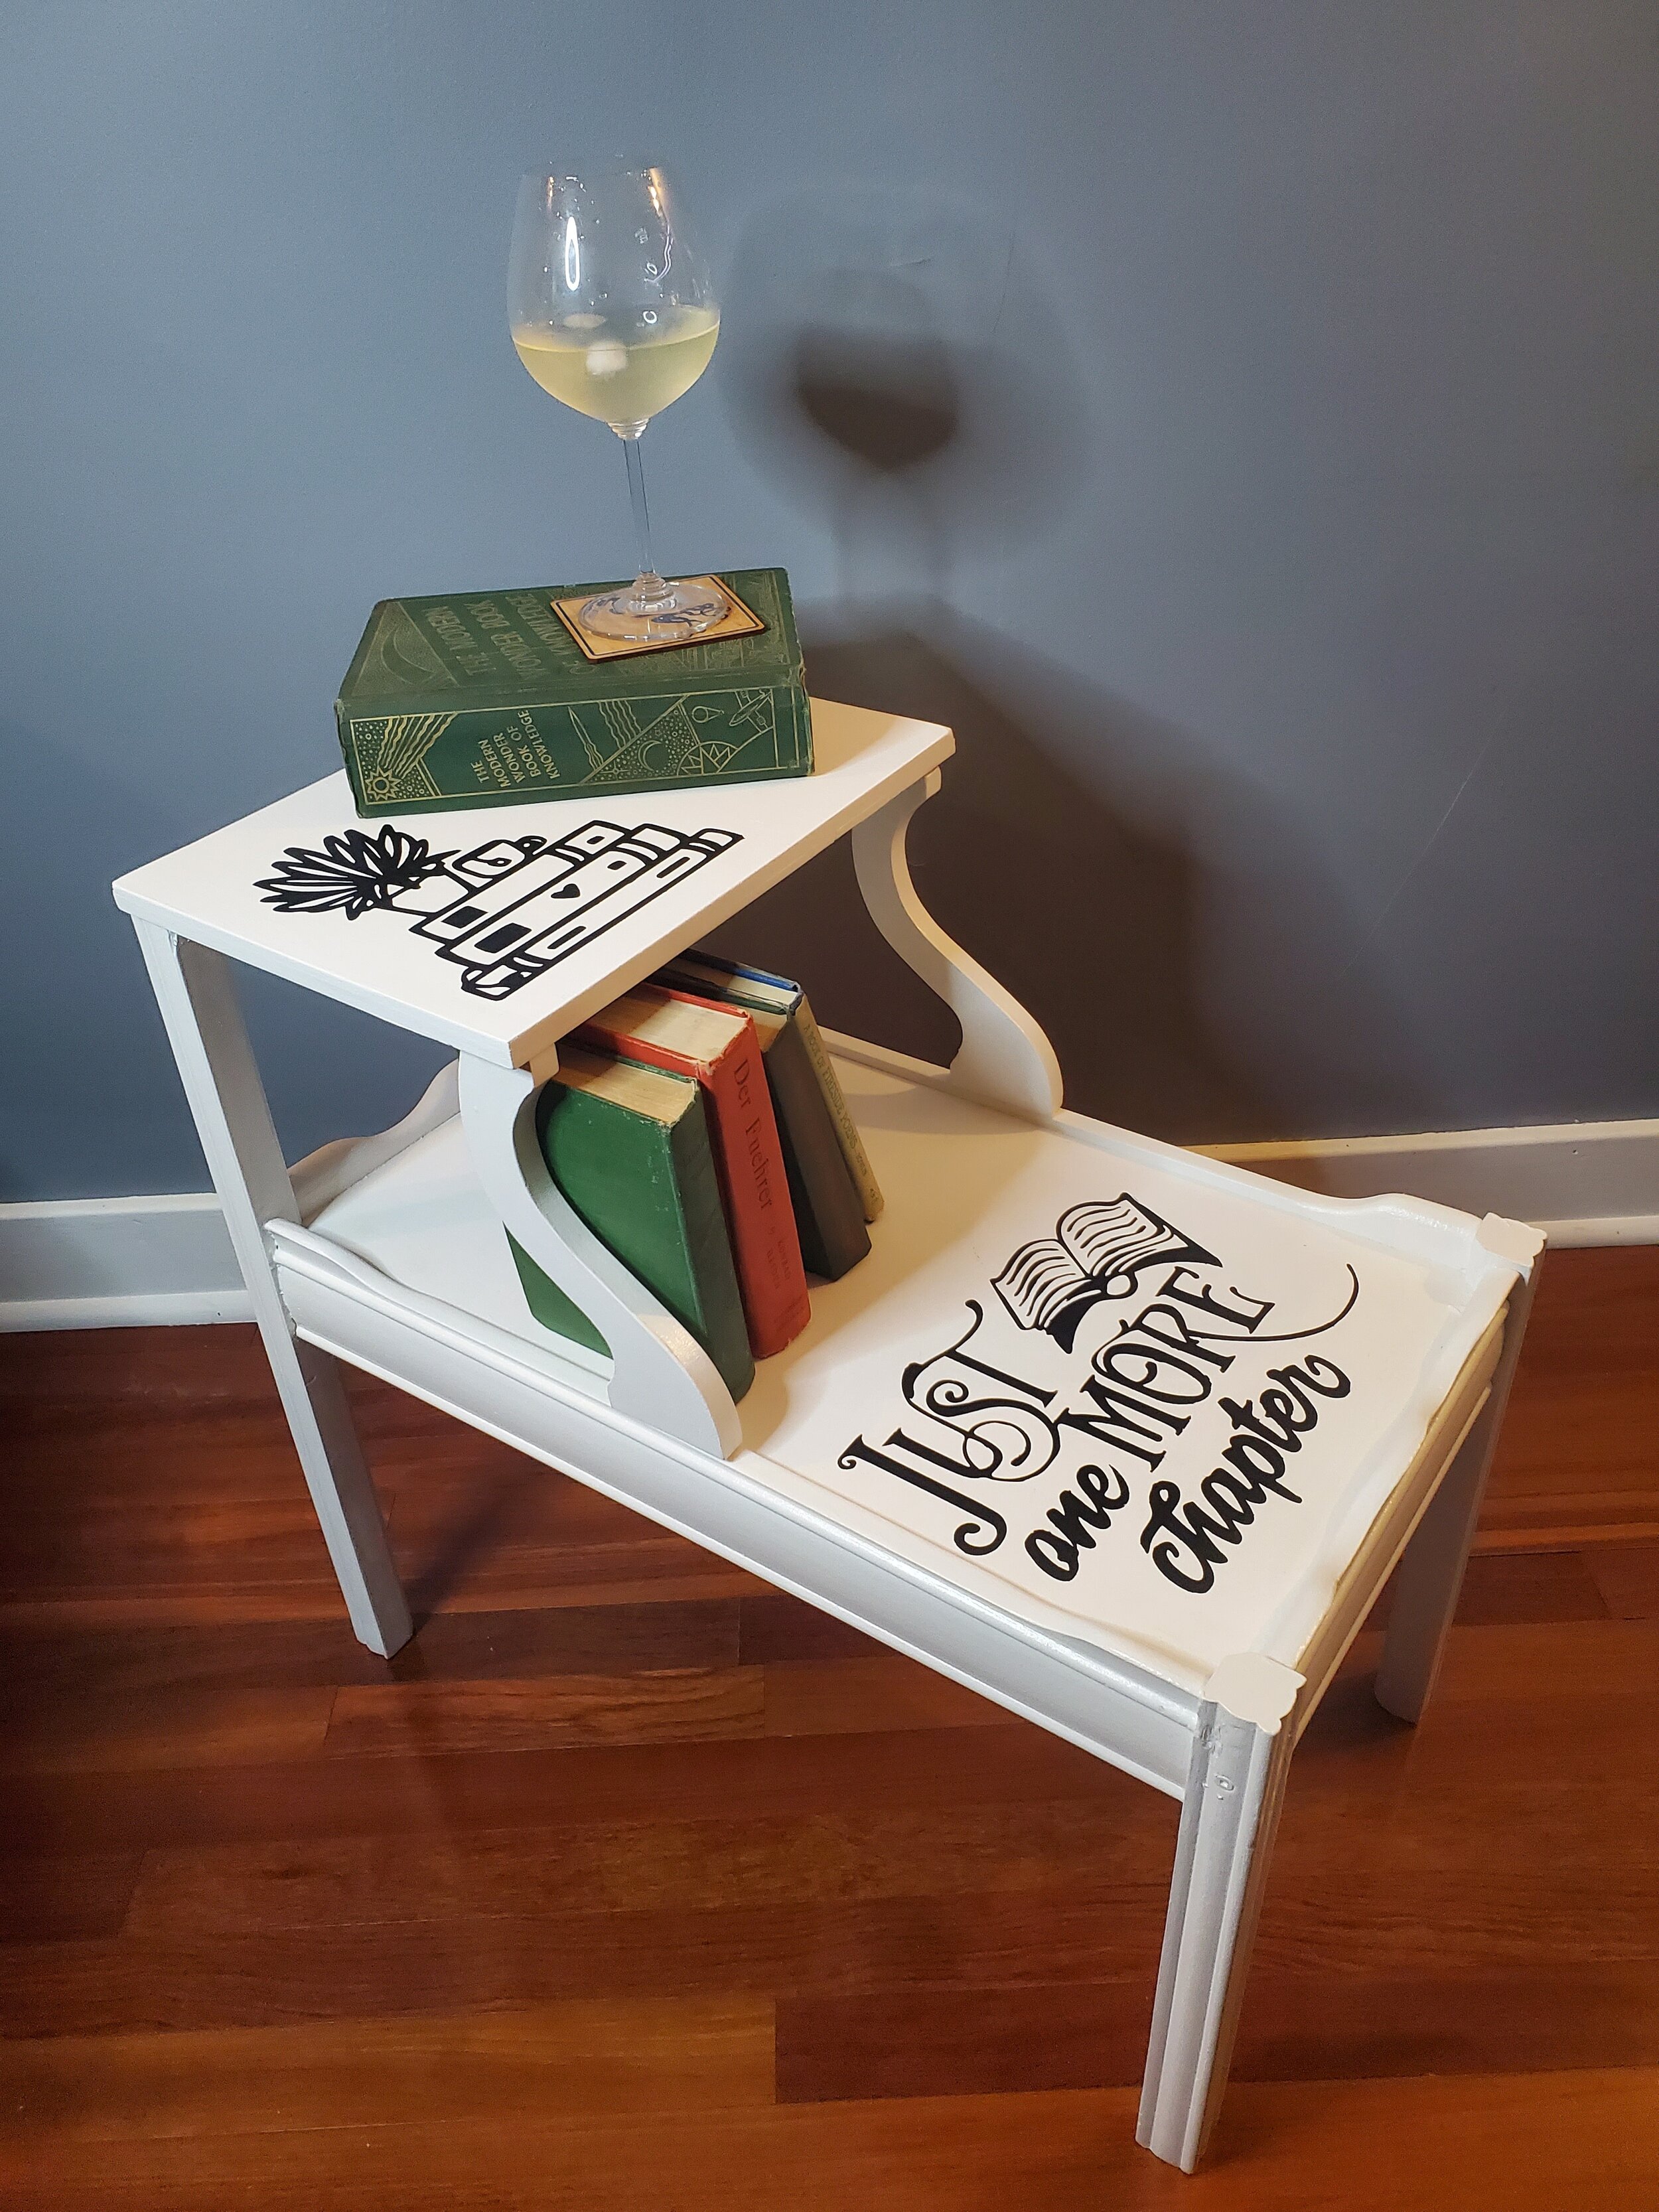

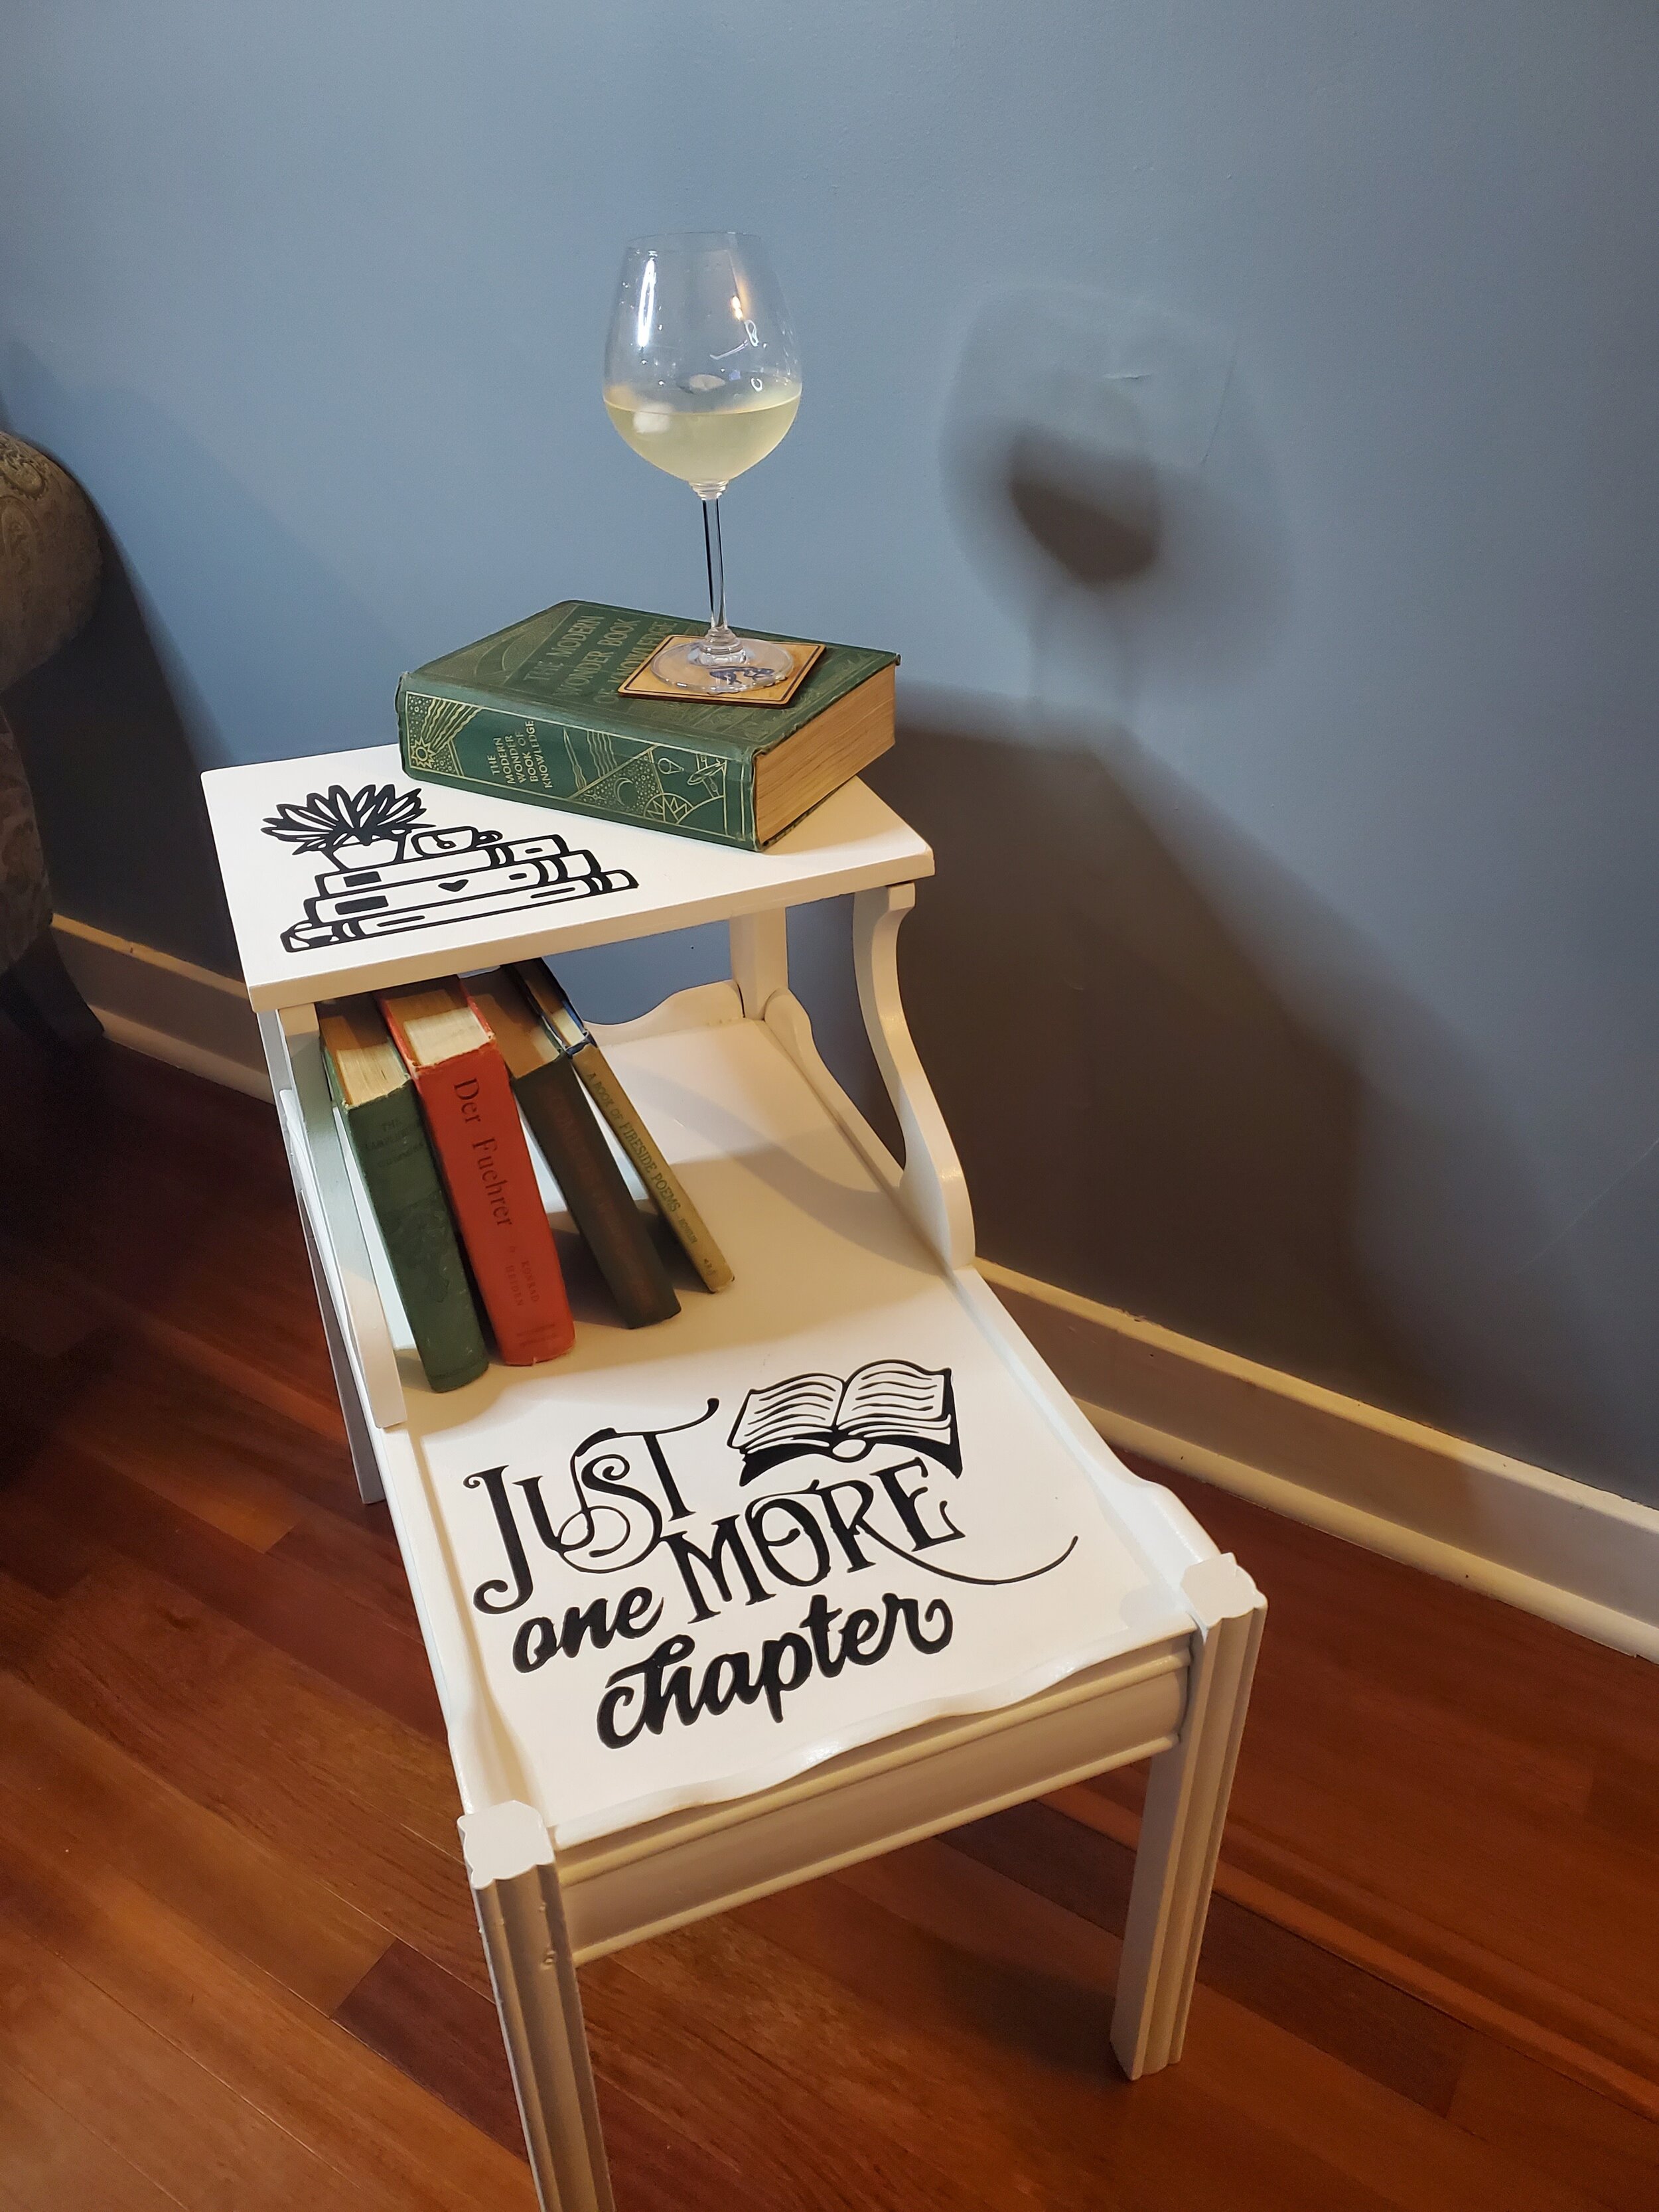
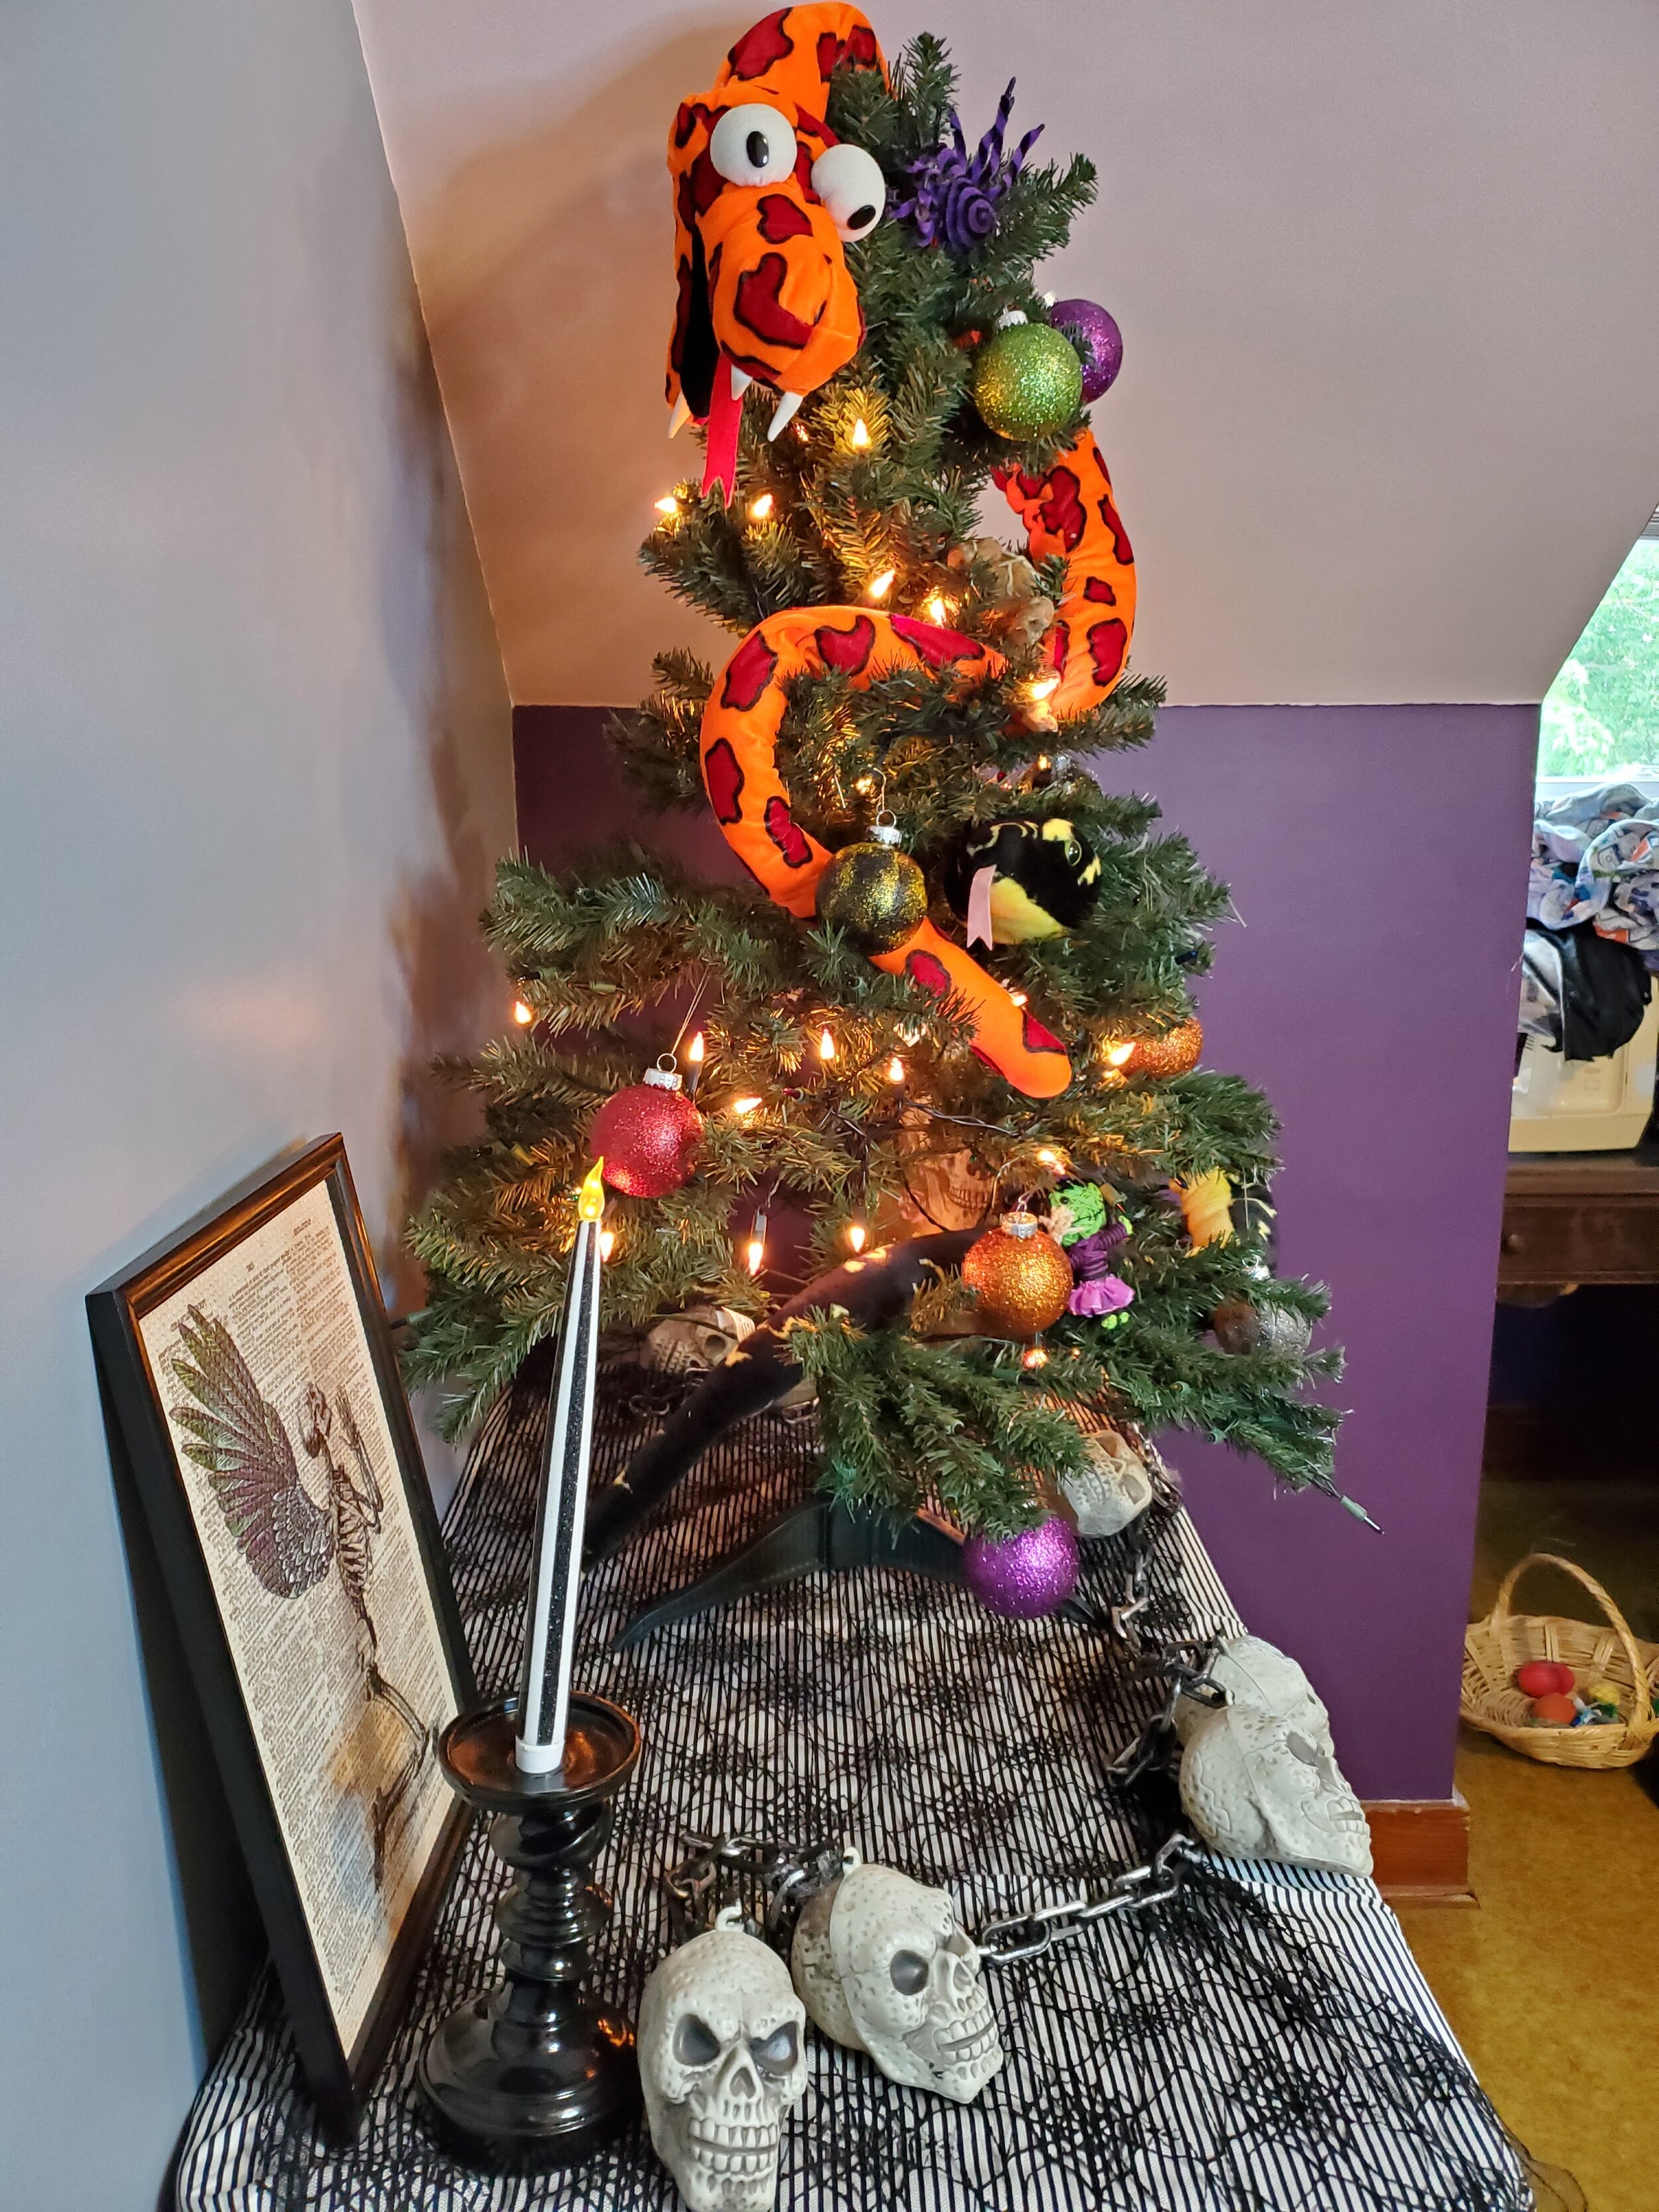
The experience although tedious came out with a beautiful piece. I am completely hooked on the process and can’t wait to tackle another project!

I decorated the shelf with some of the older books I’ve purchased on my Nova Scotia Book tour and a locally made coaster.