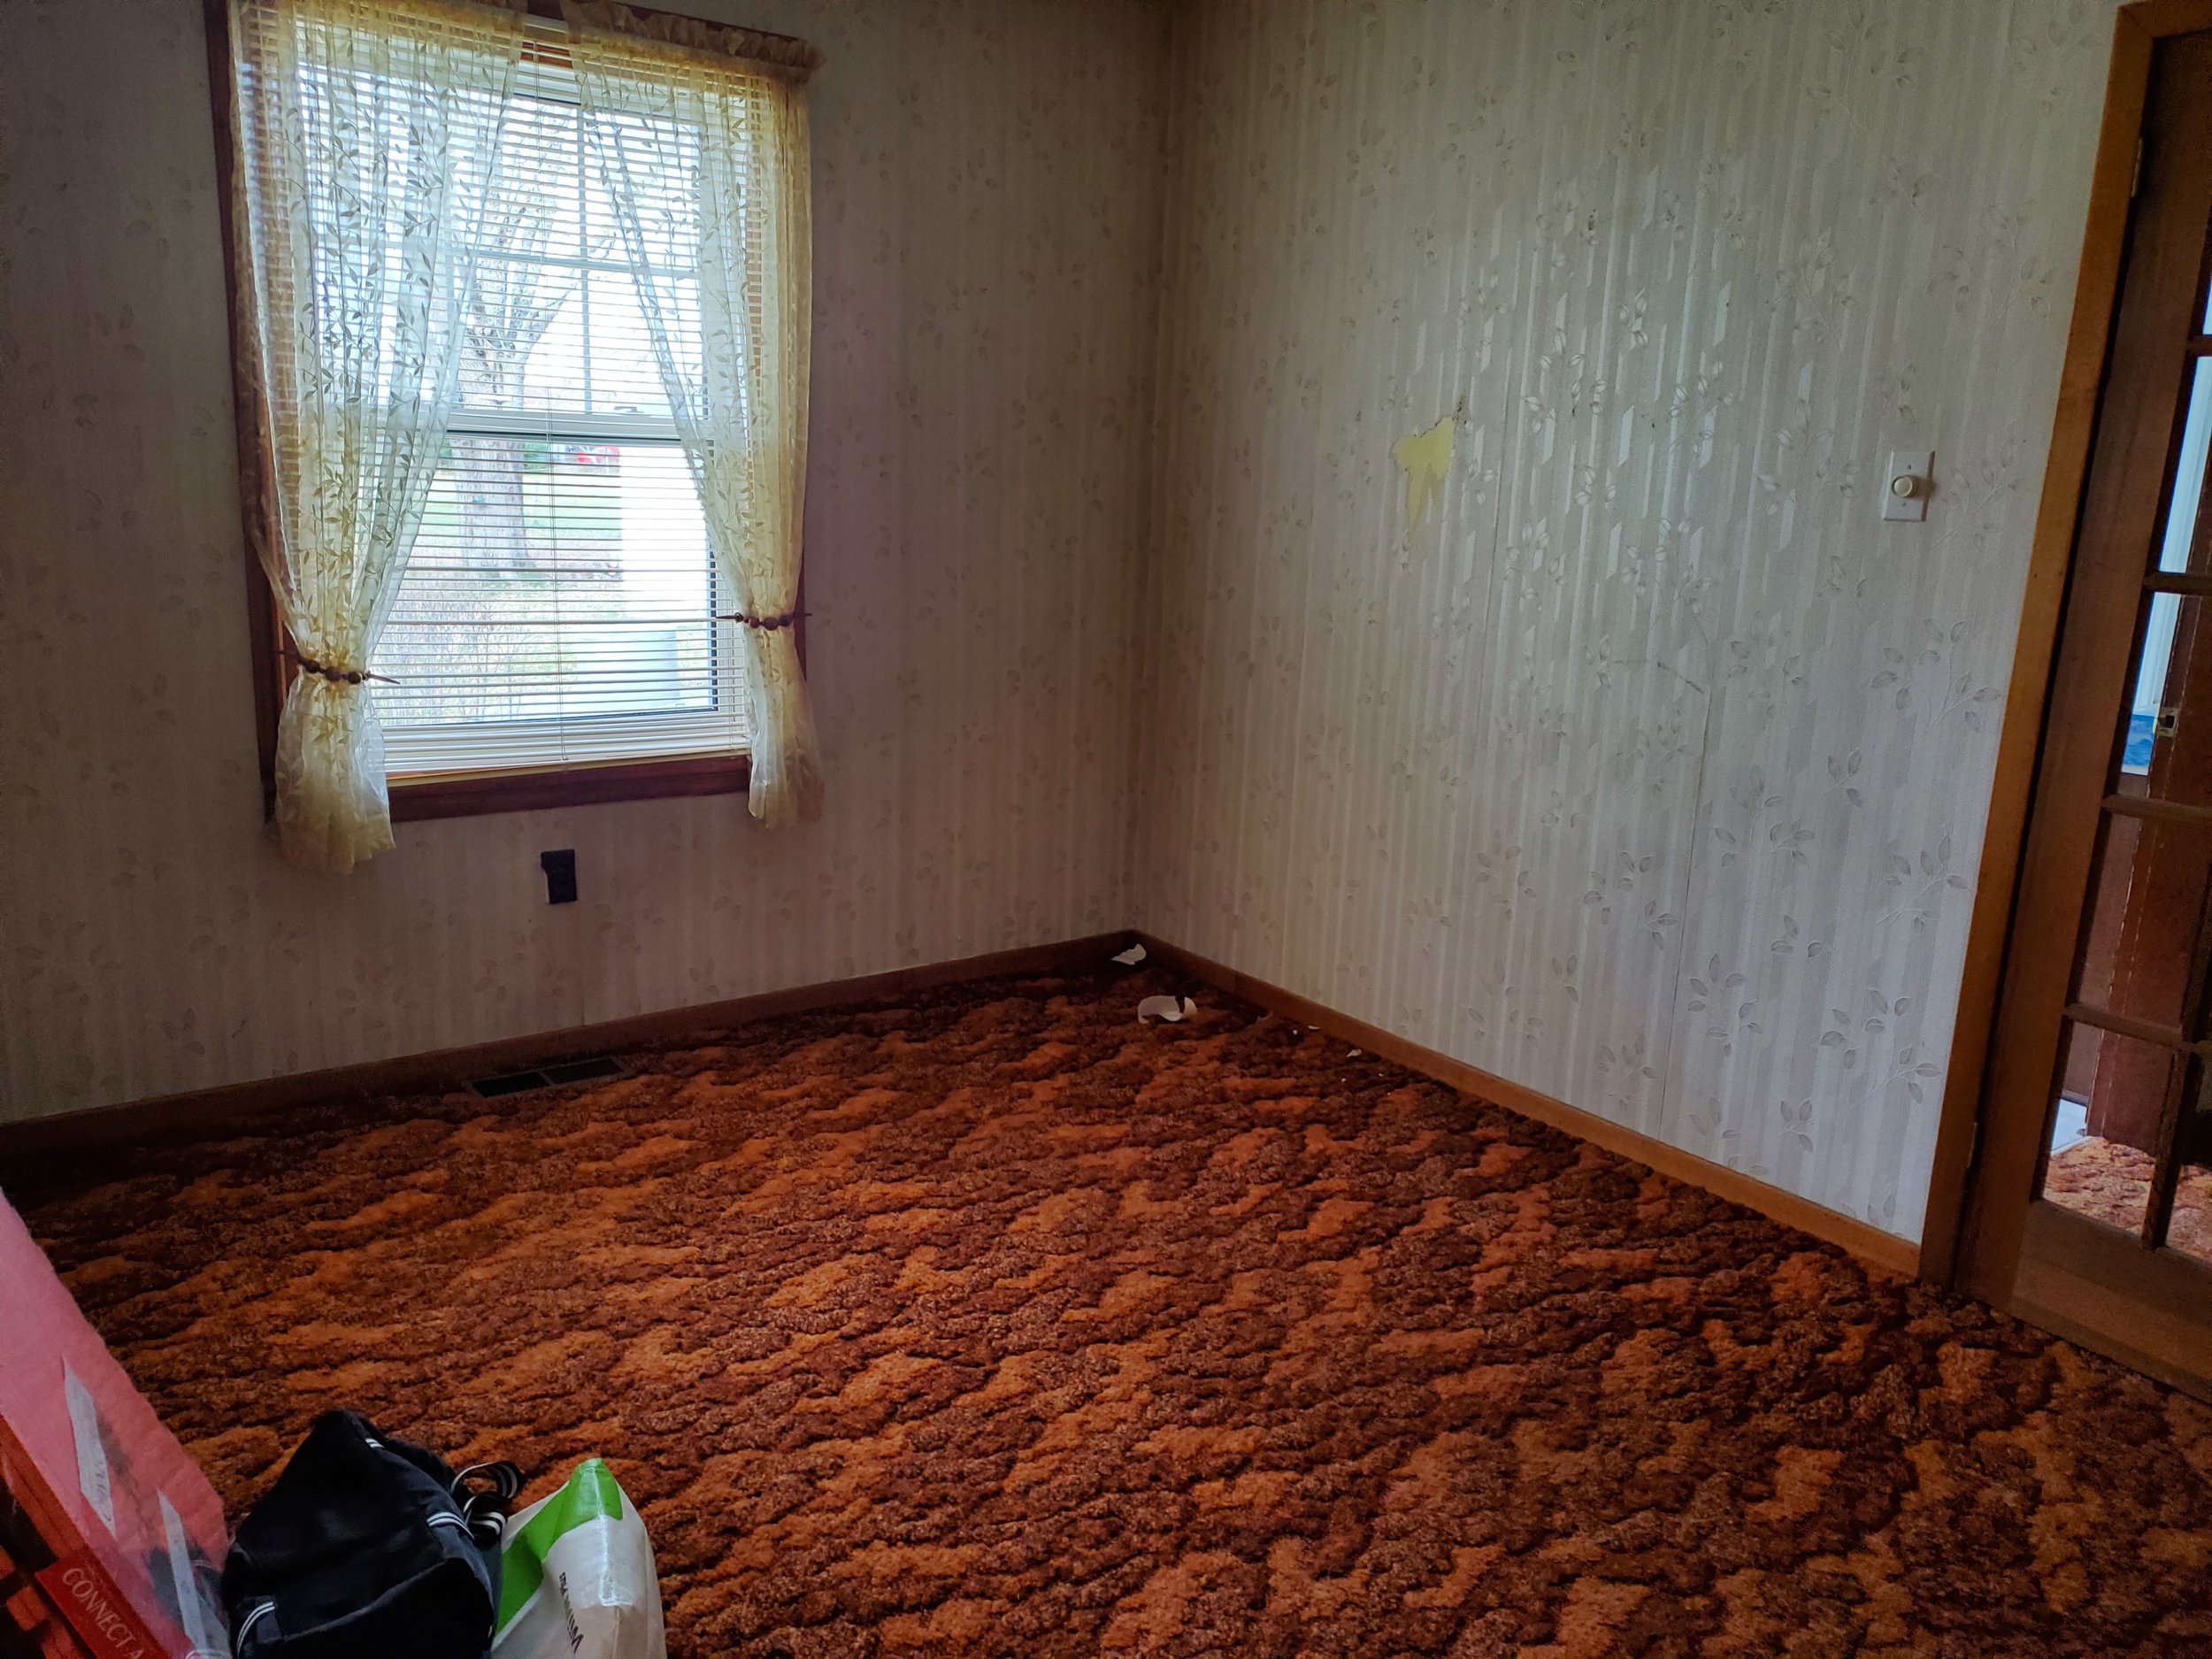
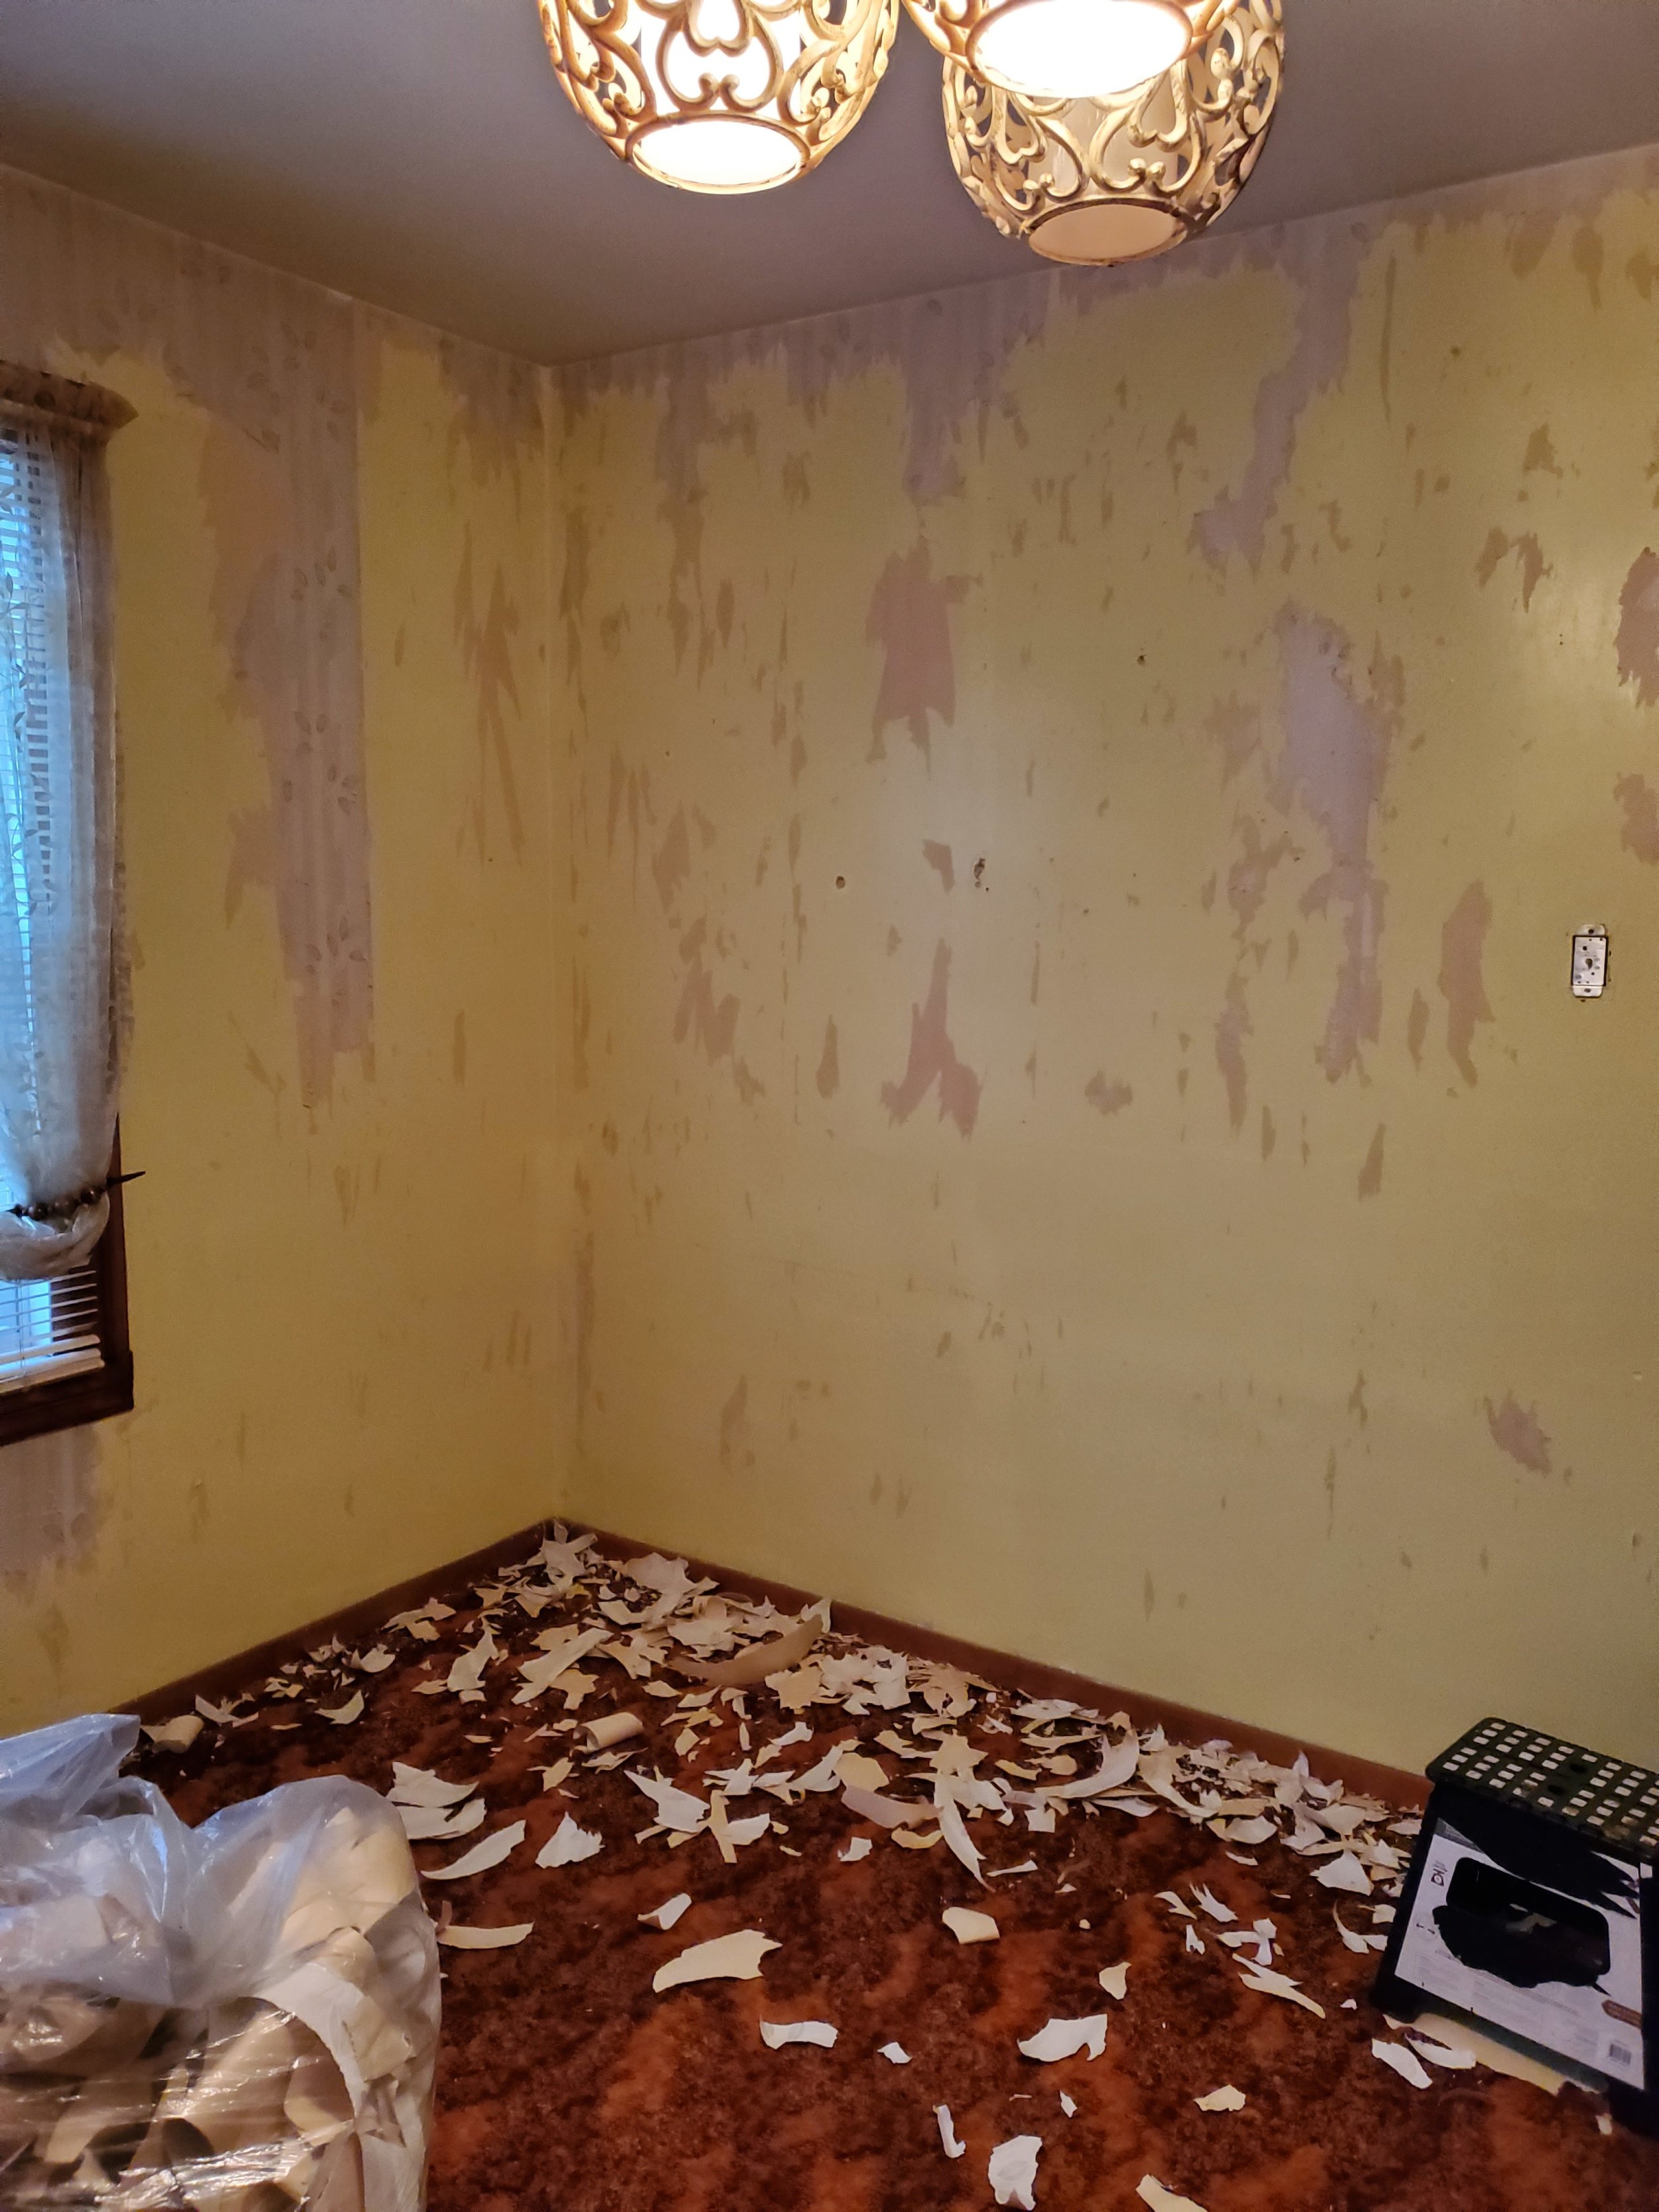
The previous owner of this place clearly loved to craft, she had an adorable nook that held her sewing machine, and some matching drawers for all of her materials.

The craft nook- Before. Lots of big drawers that sadly don’t really open anymore.
Well… This arrangement isn’t really my style. Plus just due to age, the drawers are less than easy to open and close.
I first tackled the “desk” … Which was a drawer nailed to the wall and propped up with an end table and a few pieces of scrap wood. (PS. the end table is ADORABLE- with a wash, sand and coat of paint it’s going to be a great addition to the place)

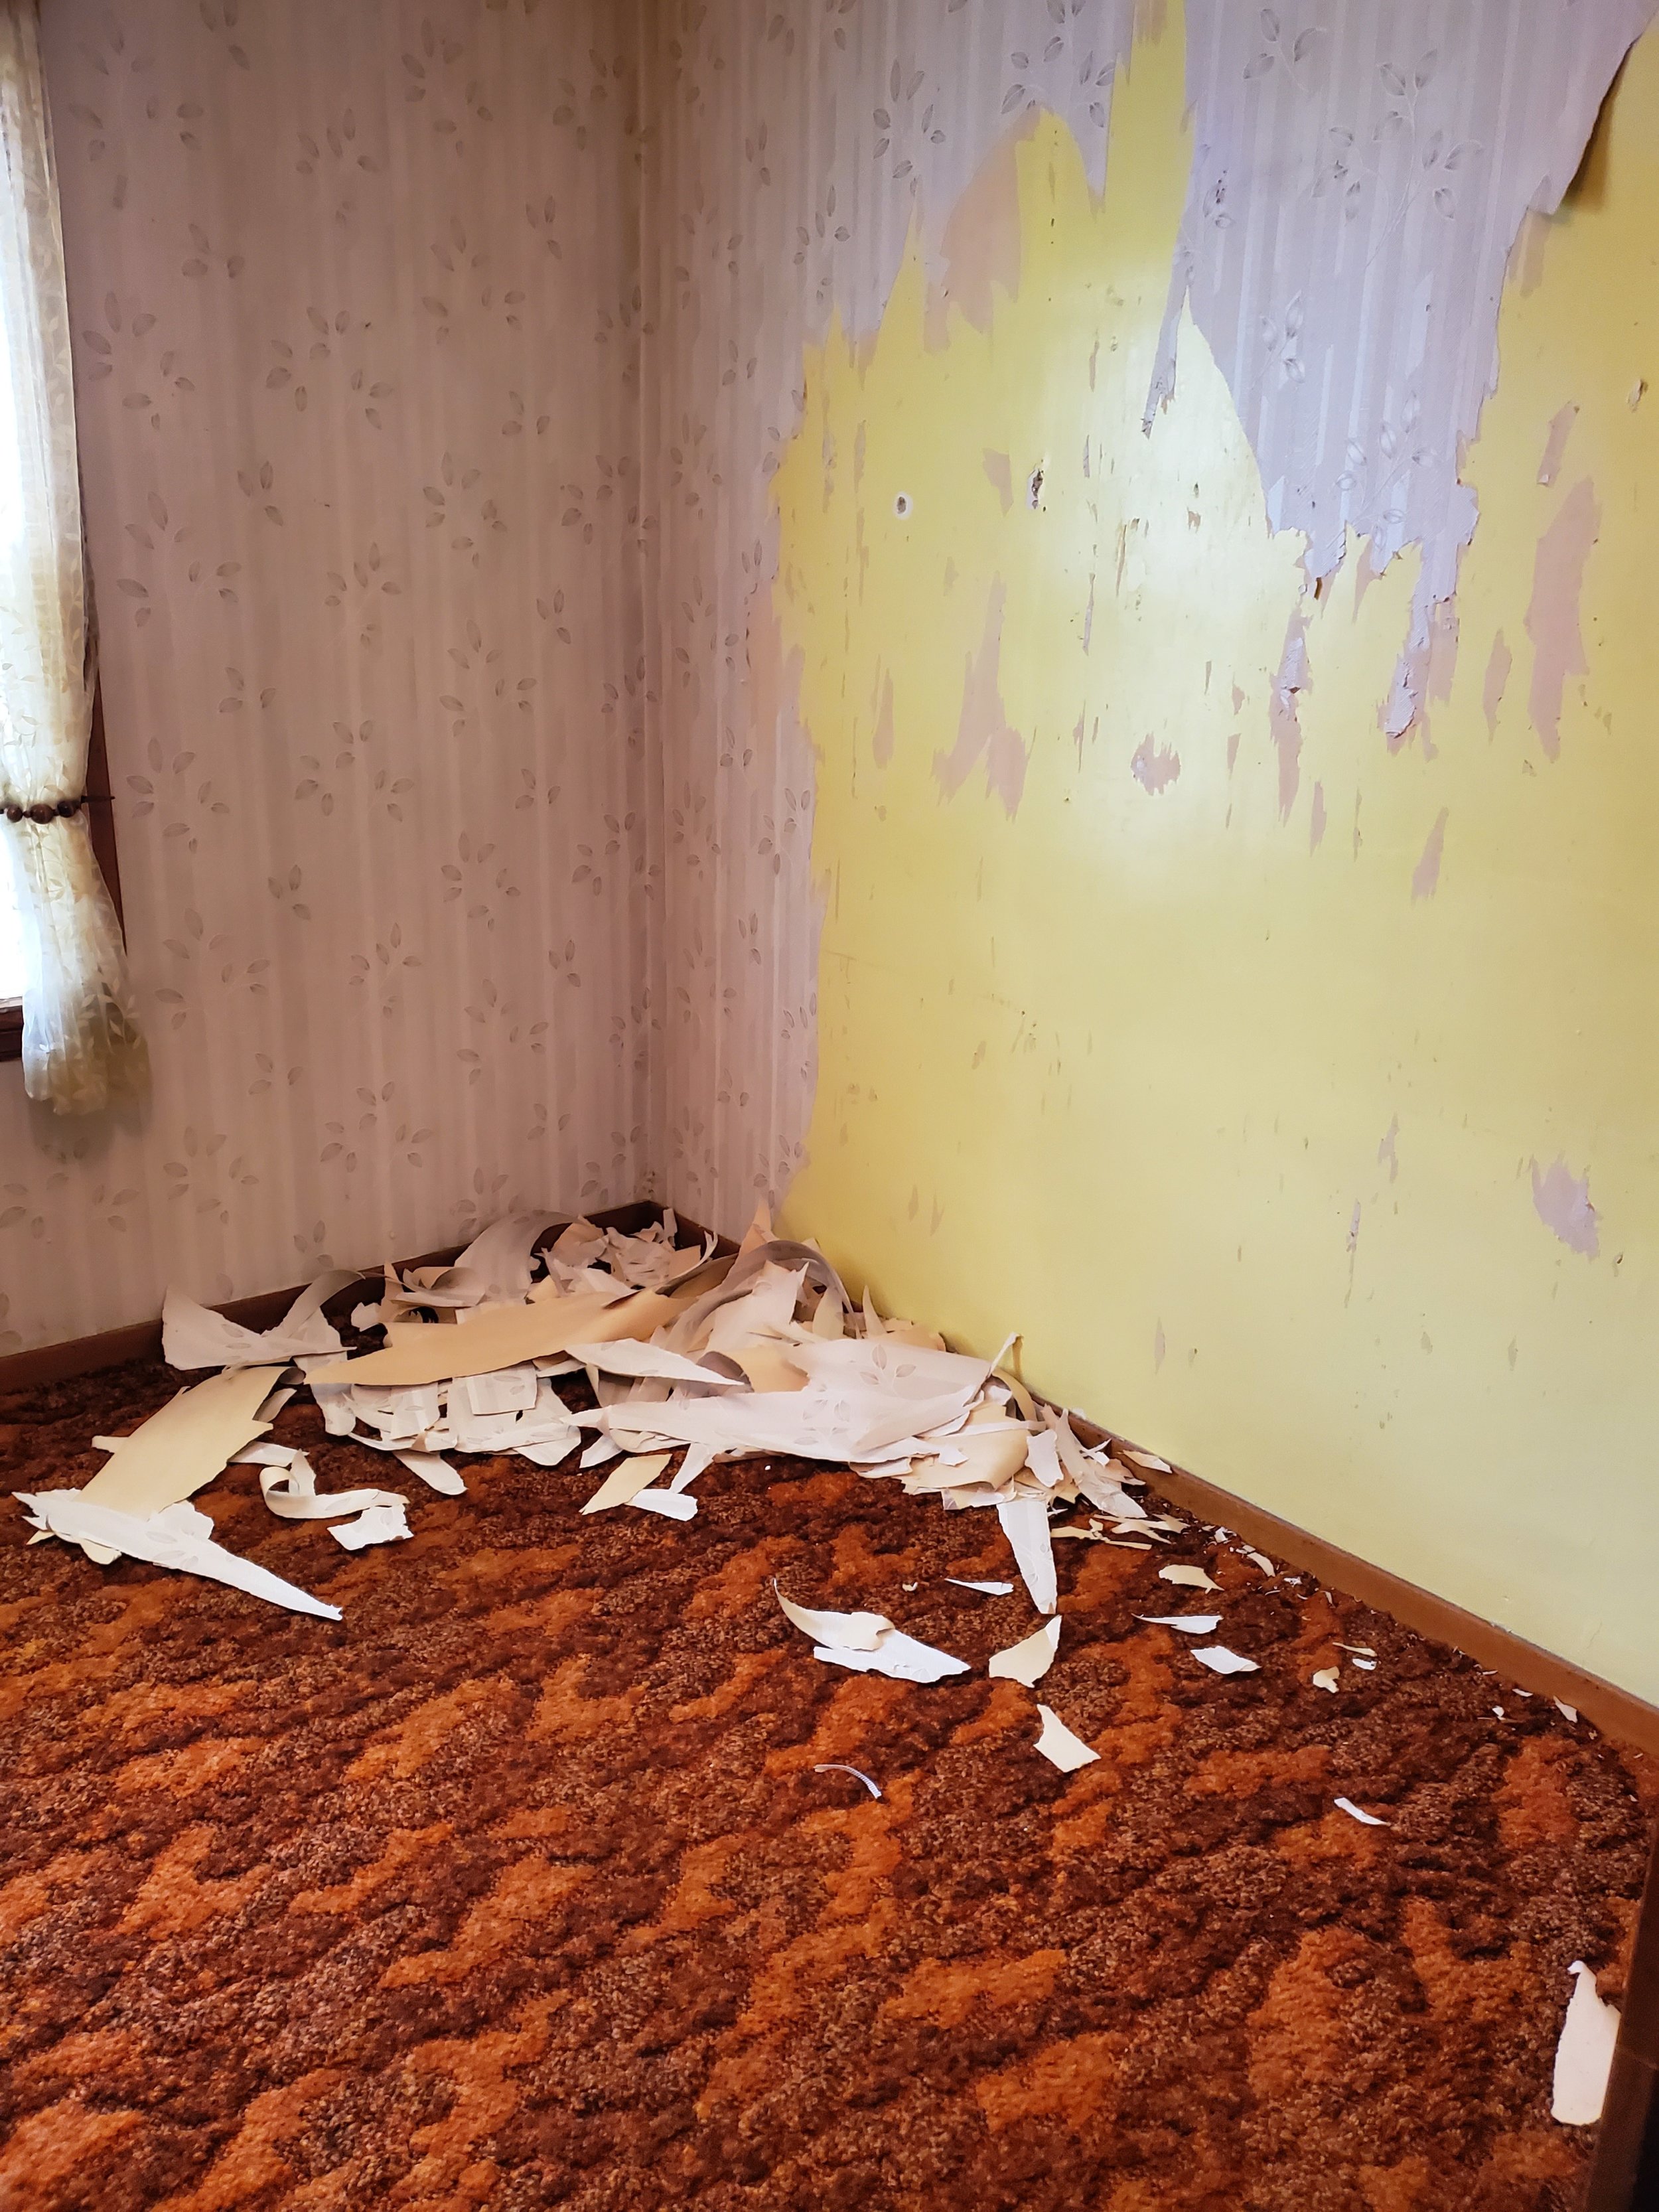
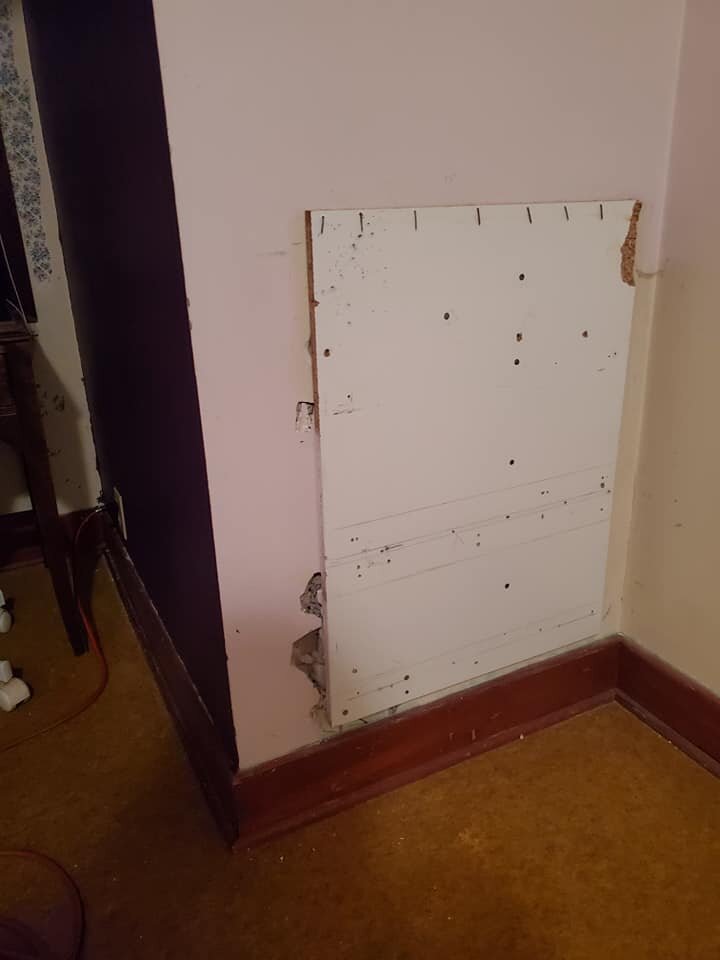
To my surprise, there was a nice gaping hole behind the desk… Nice drafty hole directly under the window. The good news was I was able to inspect around this window and was relieved to see that there was no rot on the wood! However after that relief moved past I had to come to terms with the fact that a repair like this is a little beyond my scope of abilities.. So I took a ton of photos and immediately sent them to my dad for review- stuffed the hole with paper towel (I keep a few roles of 100% recycled paper towel around for emergencies) and moved on to other aspects of this nook.
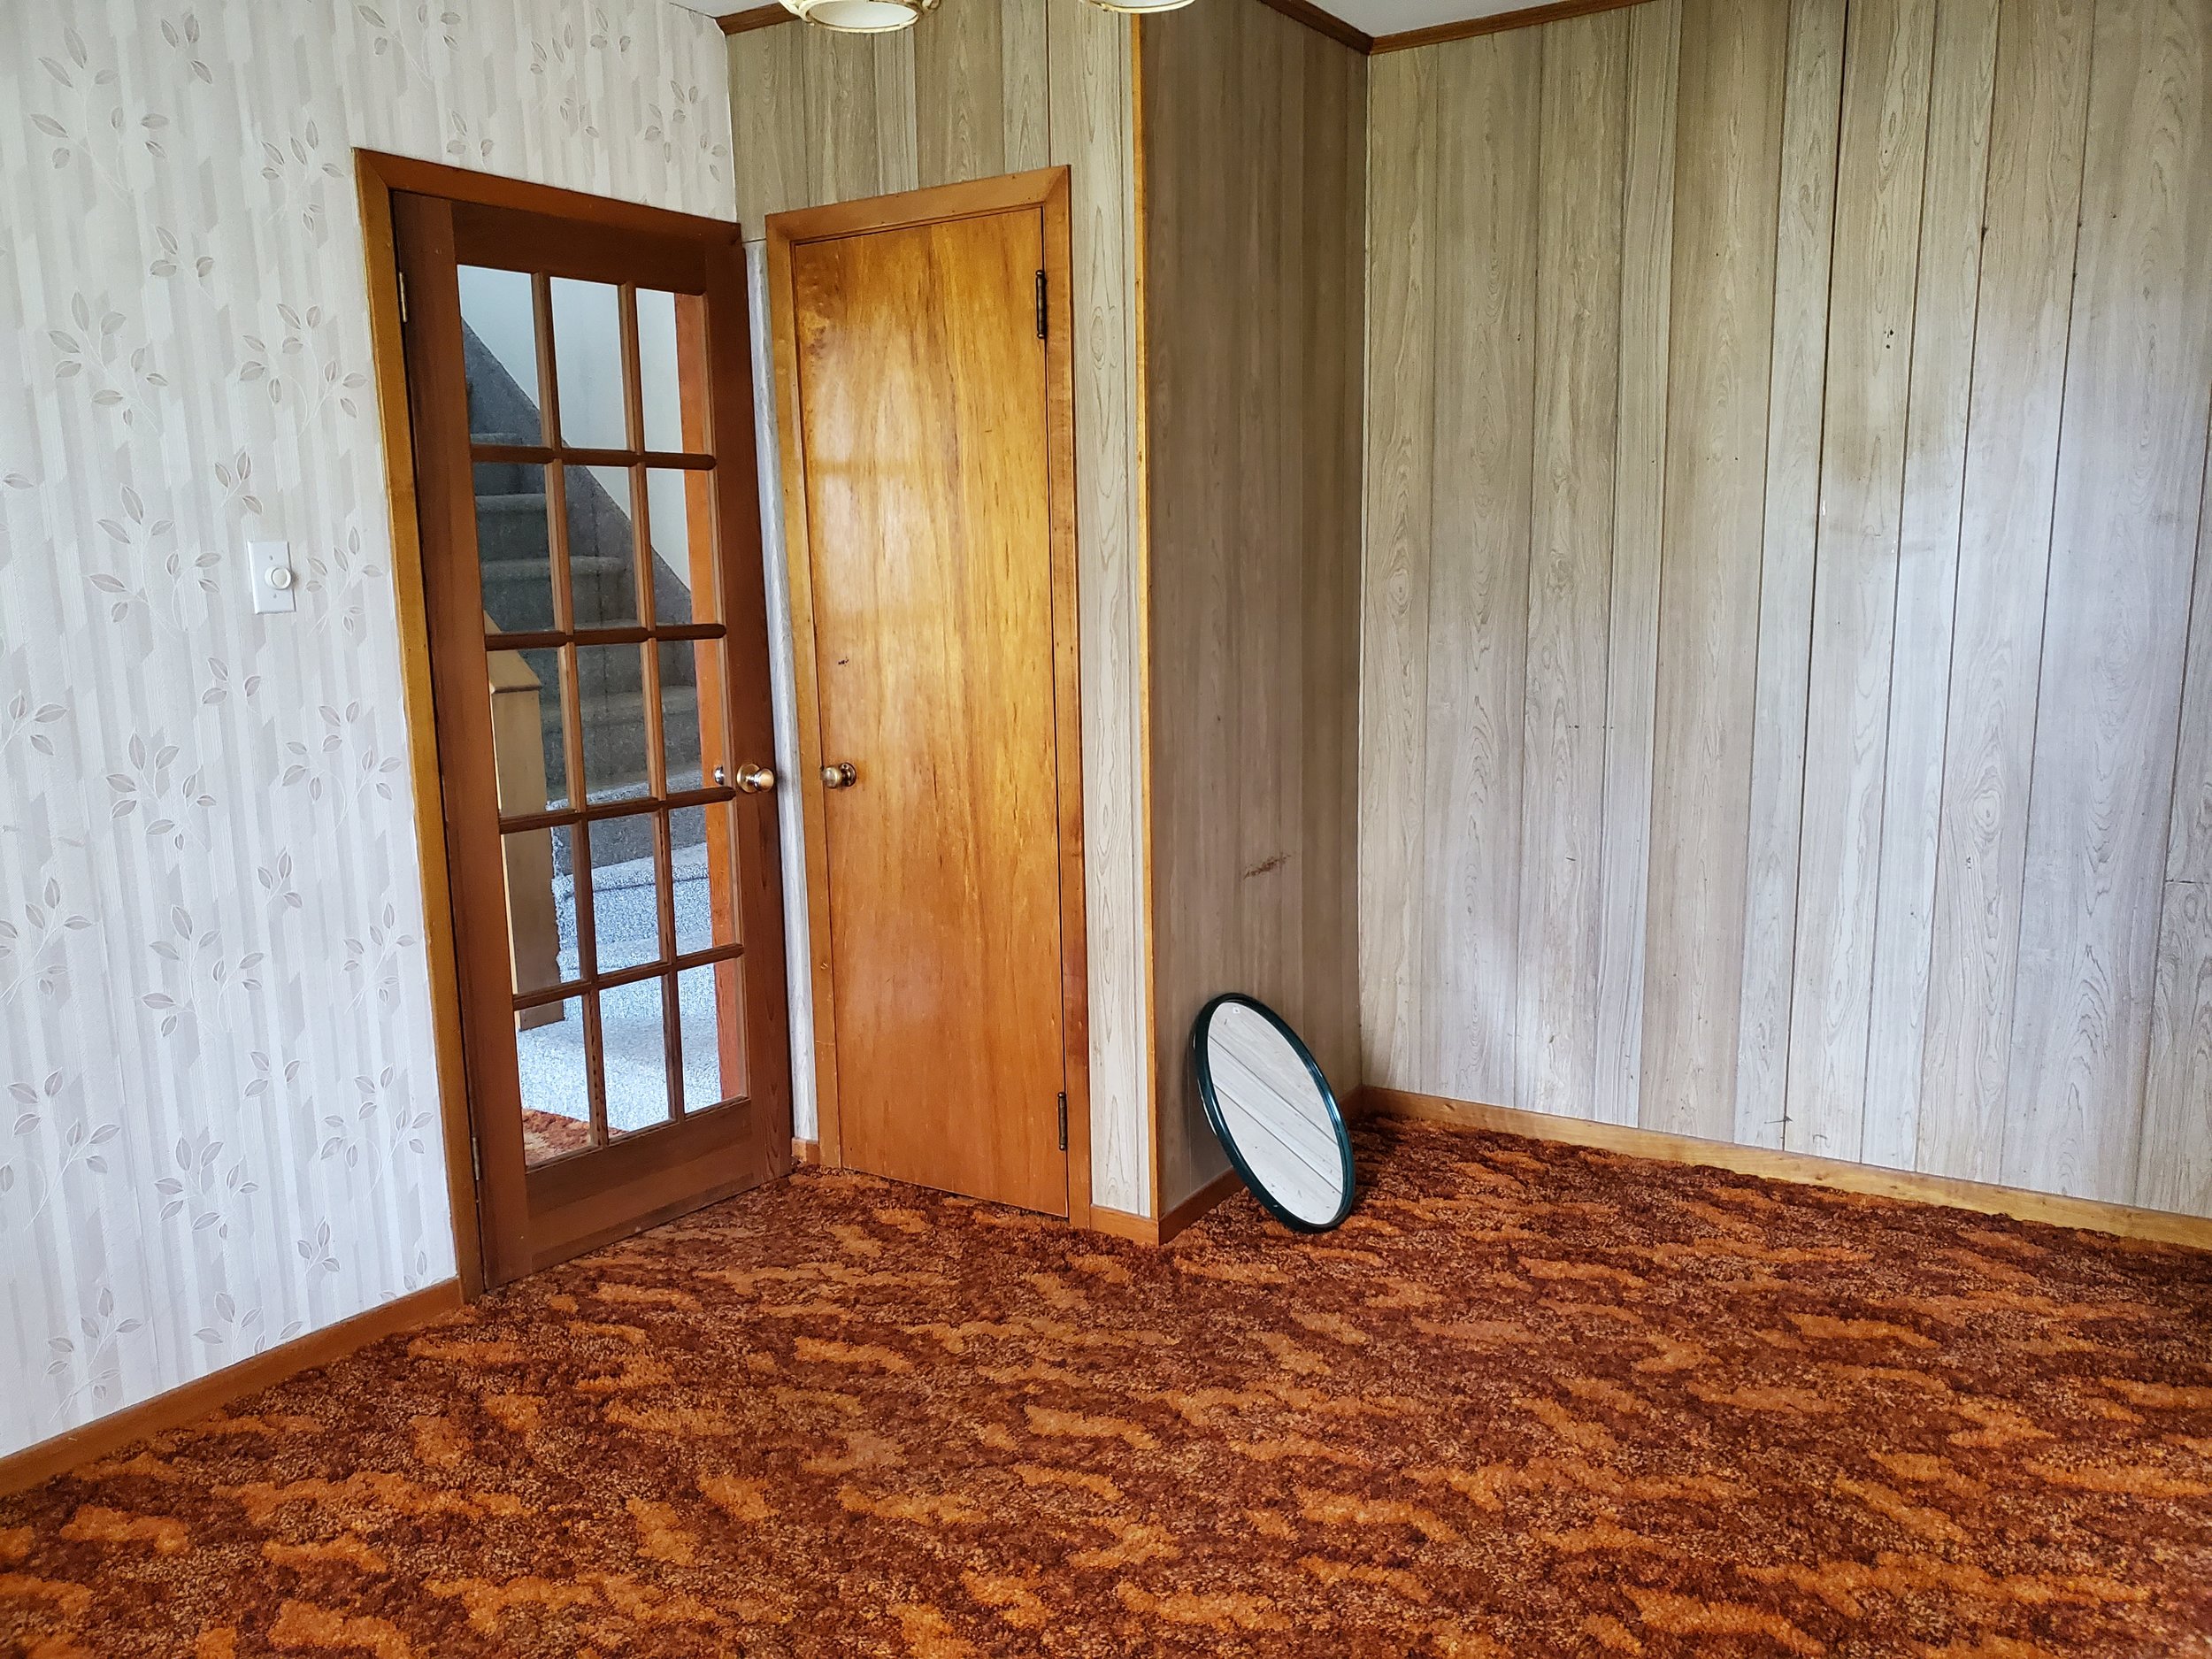
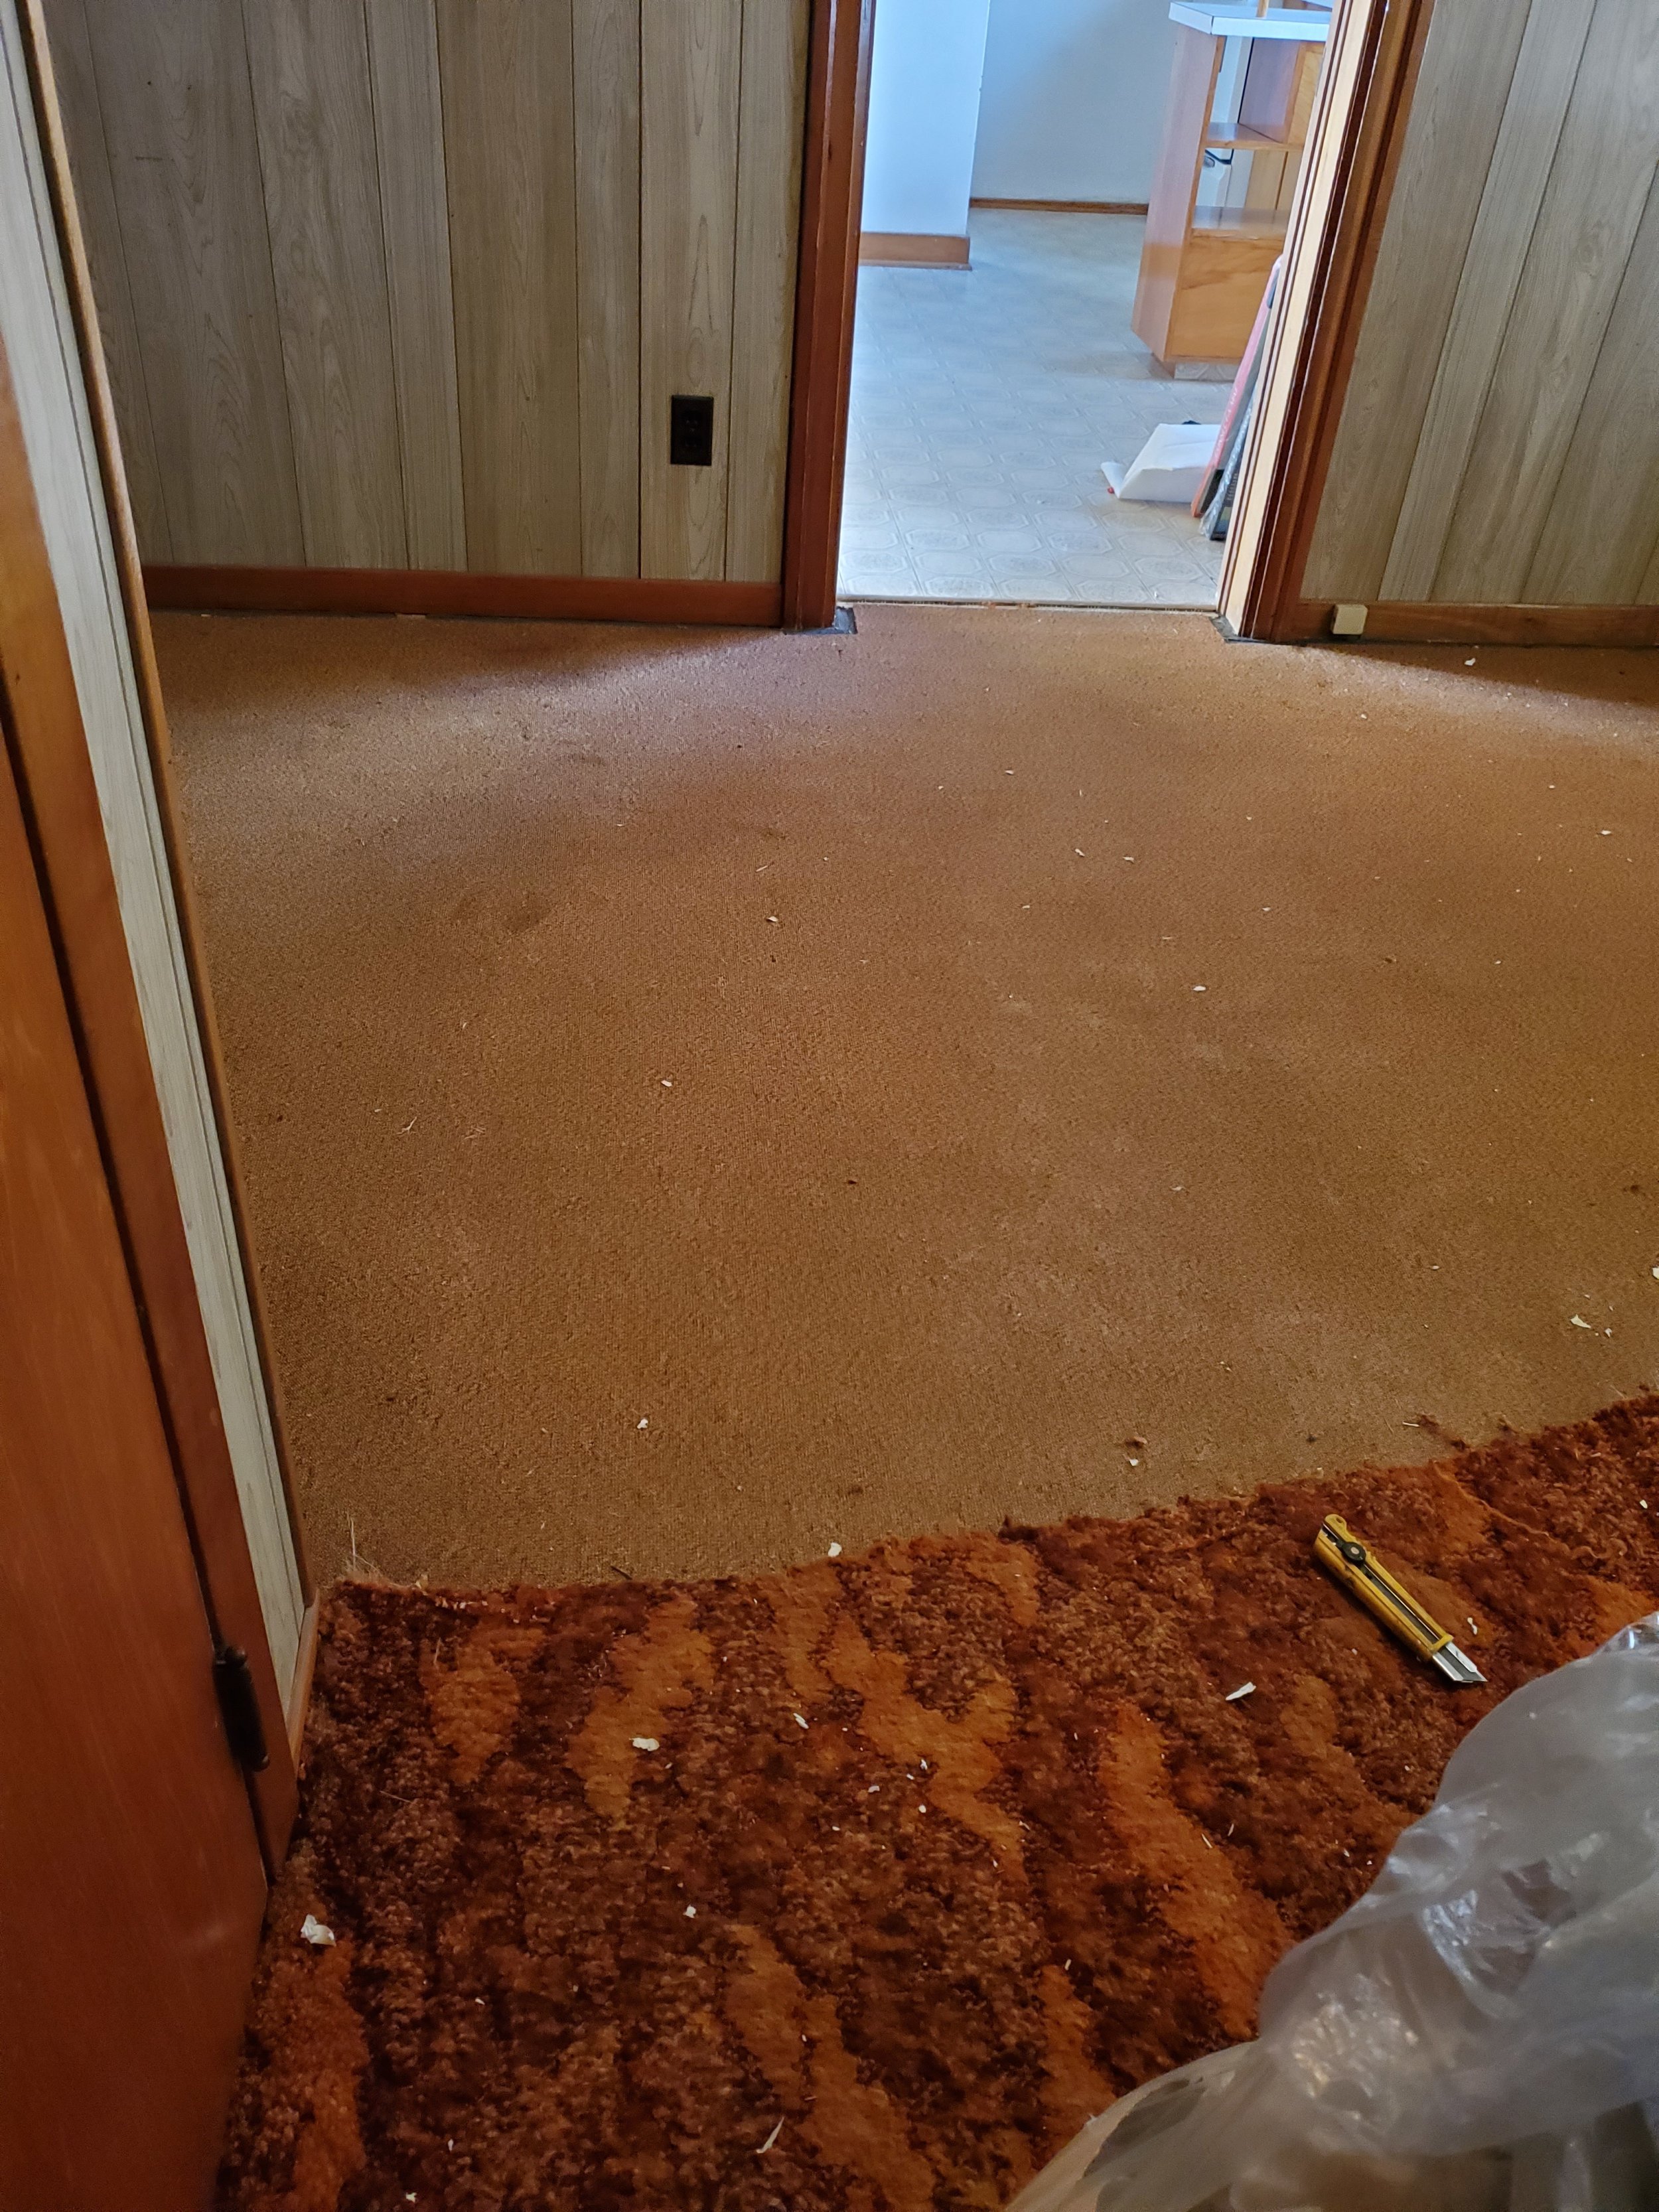
The drawers, surprise, were nailed directly to the walls, so the most effective way to remove this unit was to carefully remove each piece. Under the unit which had probably been there for 30 odd years was an old Polaroid photo, 13 cents, a carbon monoxide detector, plastic bags, and a LOT of cobwebs. Gotta love little gifts like that.

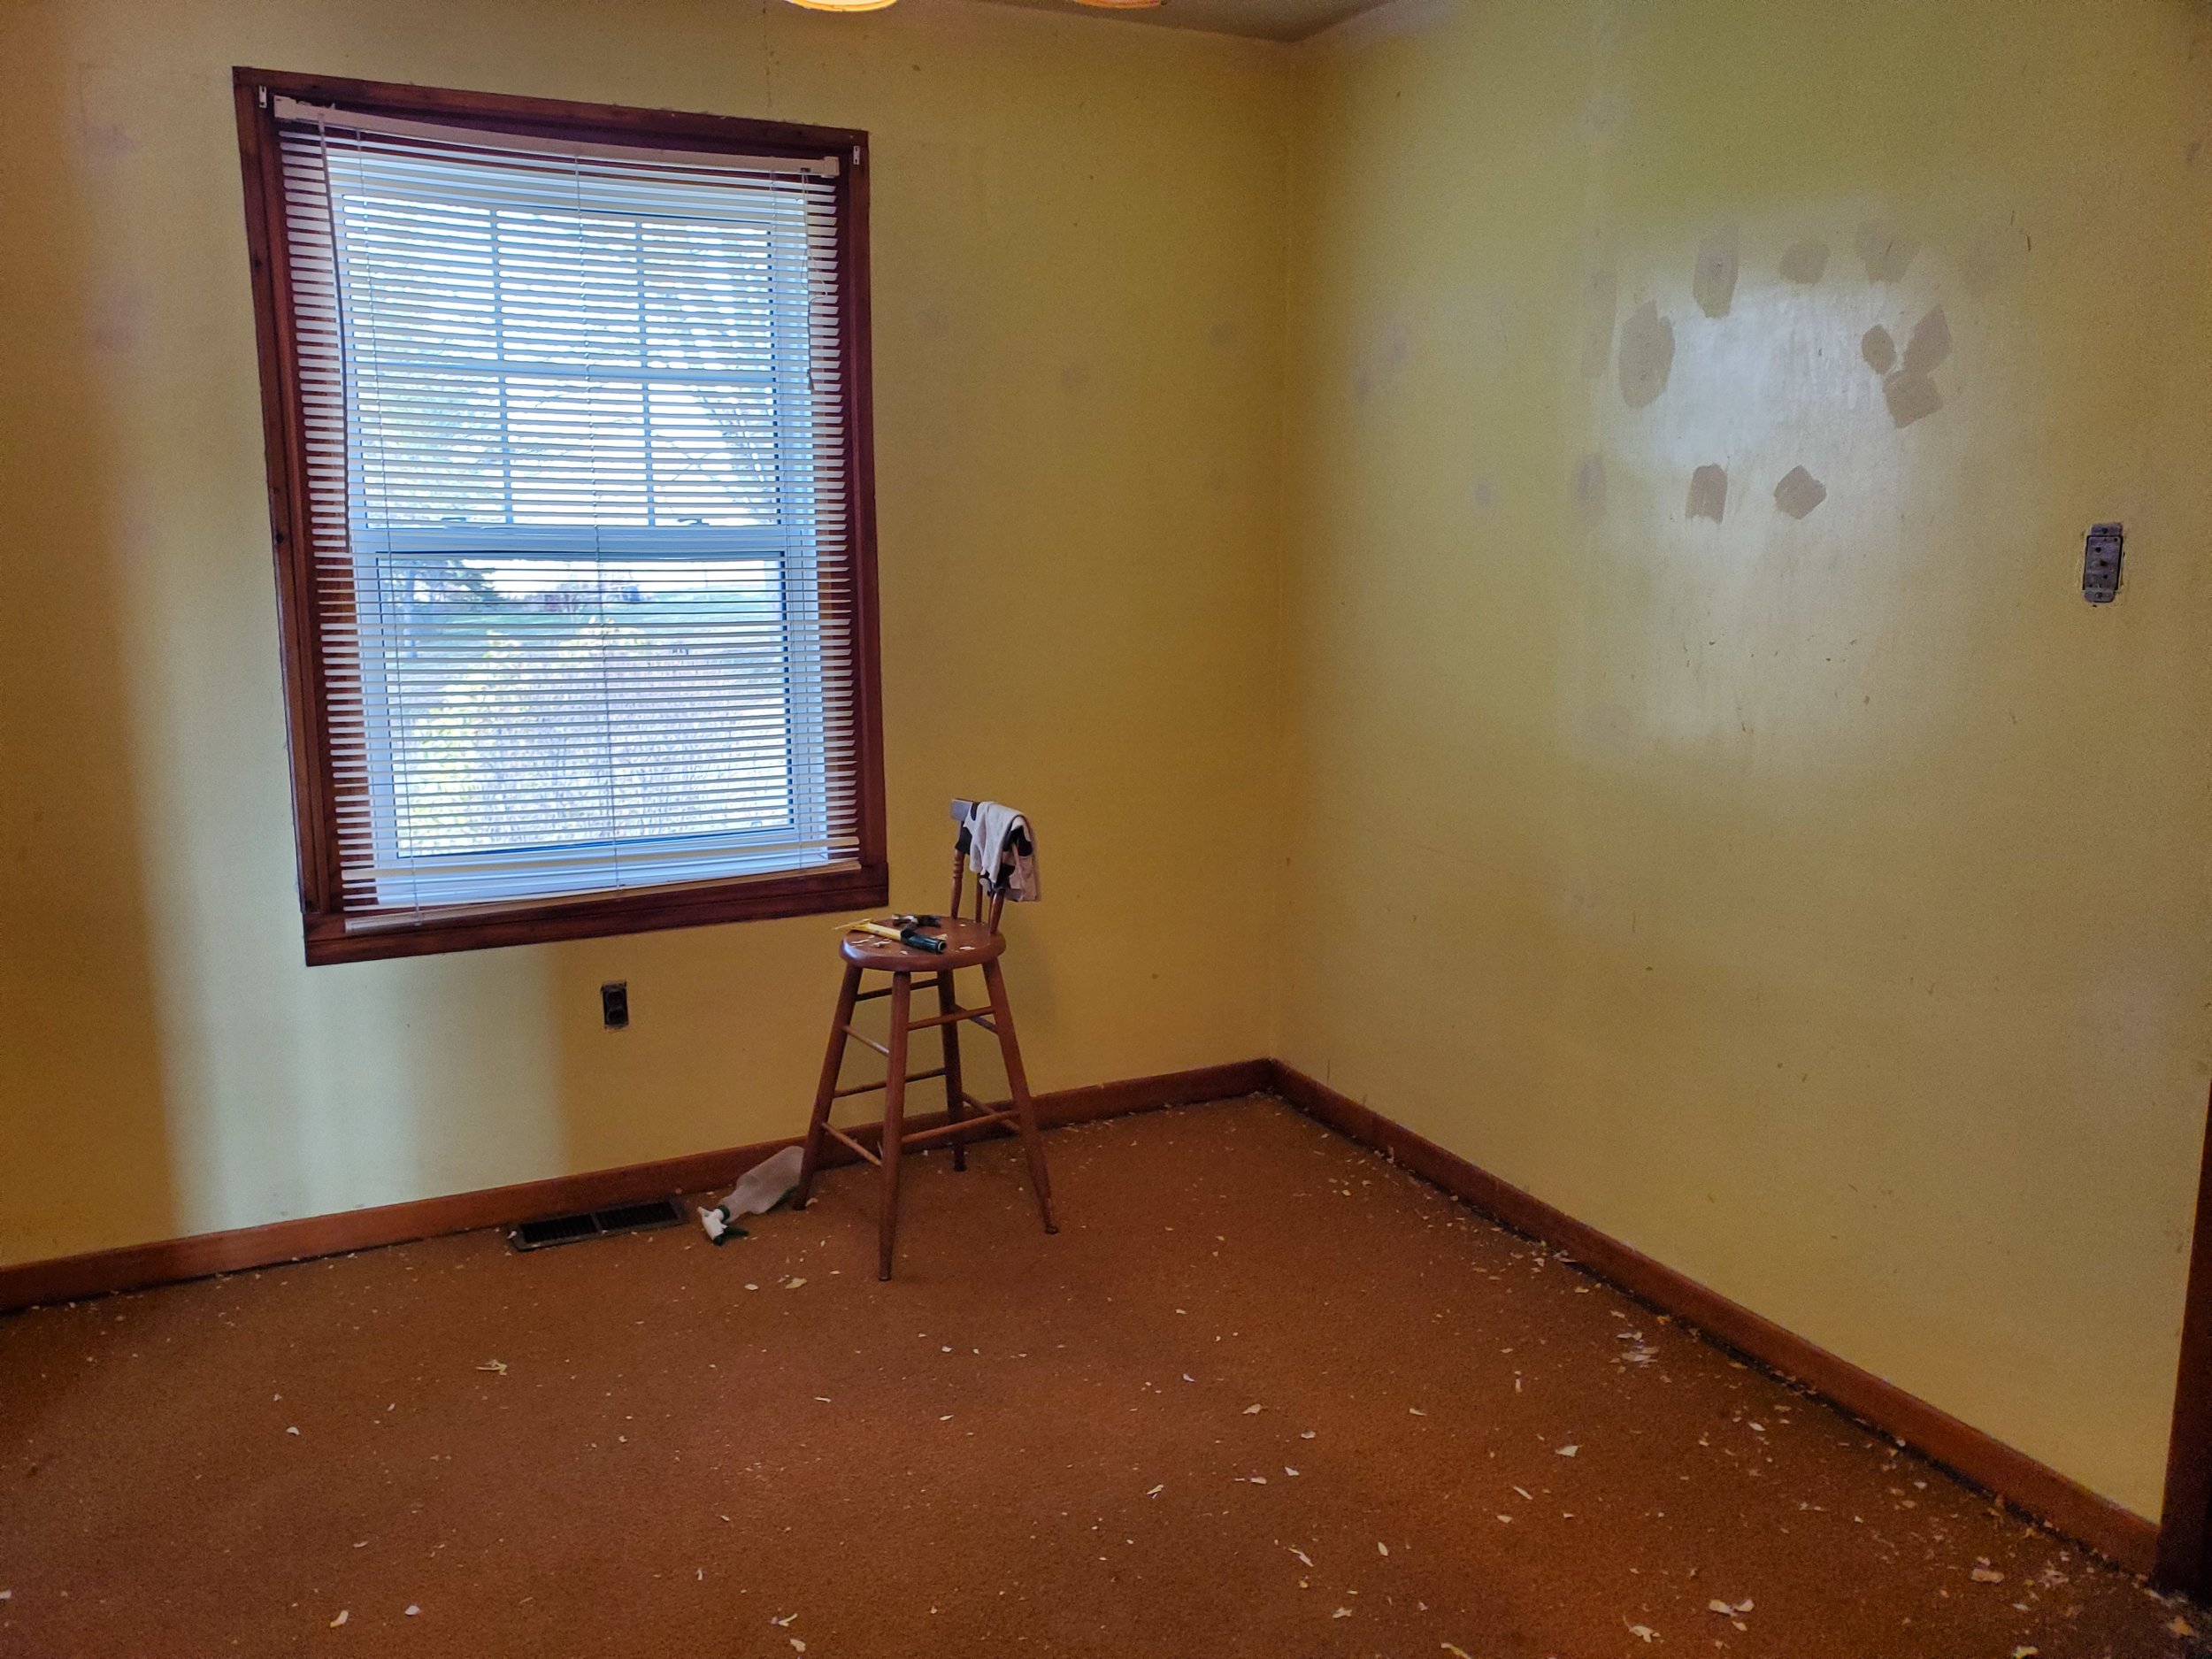
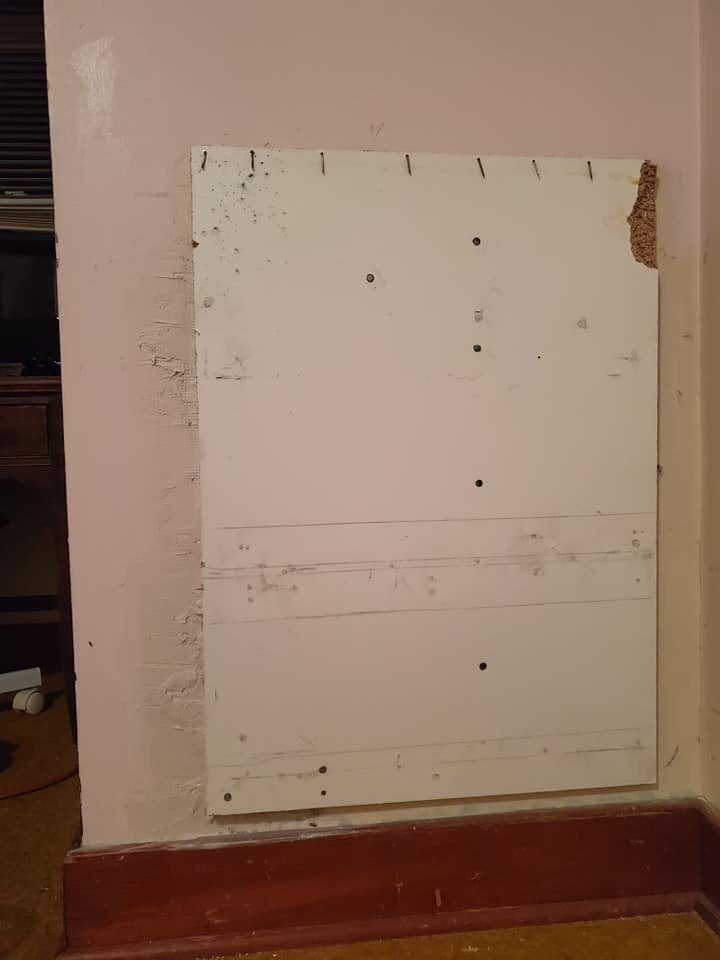
One thing I’ve discovered about the previous owners… They loved their spikes (I like to call them barn nails) these huge nails that secure everything everything in sight. One of the shelves had a hefty amount of spikes in it and it didn’t take me long to realize I was making no ground removing it… In fact I was destroying the wall behind it. … I got crafty.
I am mighty, but I am small (like 5’2” on a good day) so I’ve learned to adapt when something is simply too much of a pain for me to deal with.
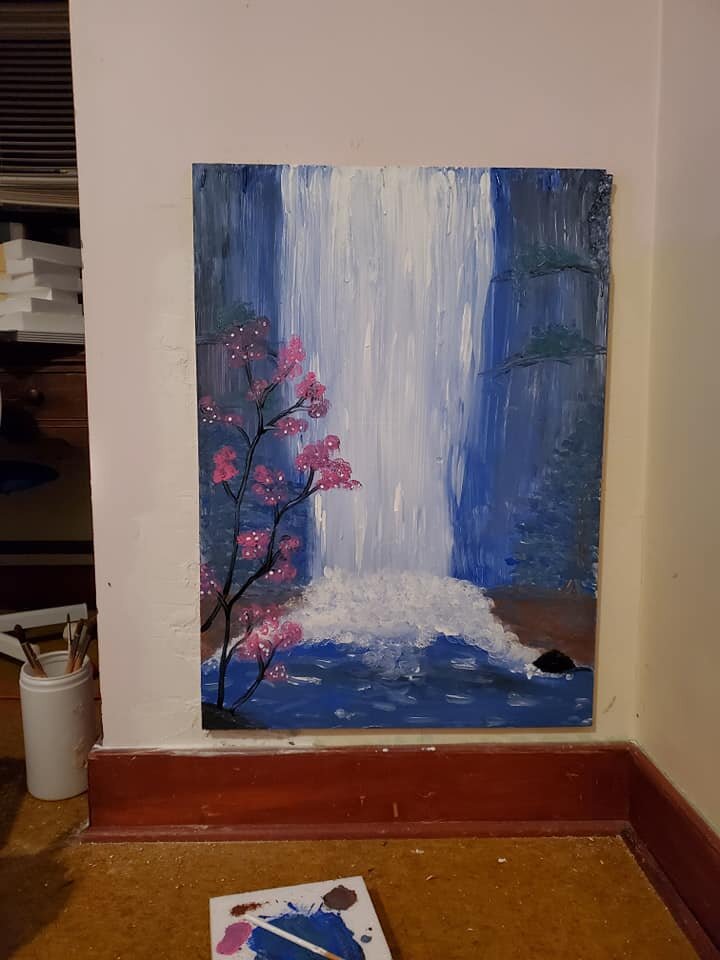
Once the piece of shelf was primed over it was a nice white space- perfect for a painting! I chose the waterfall because the downward strokes blended the nails in with the background.
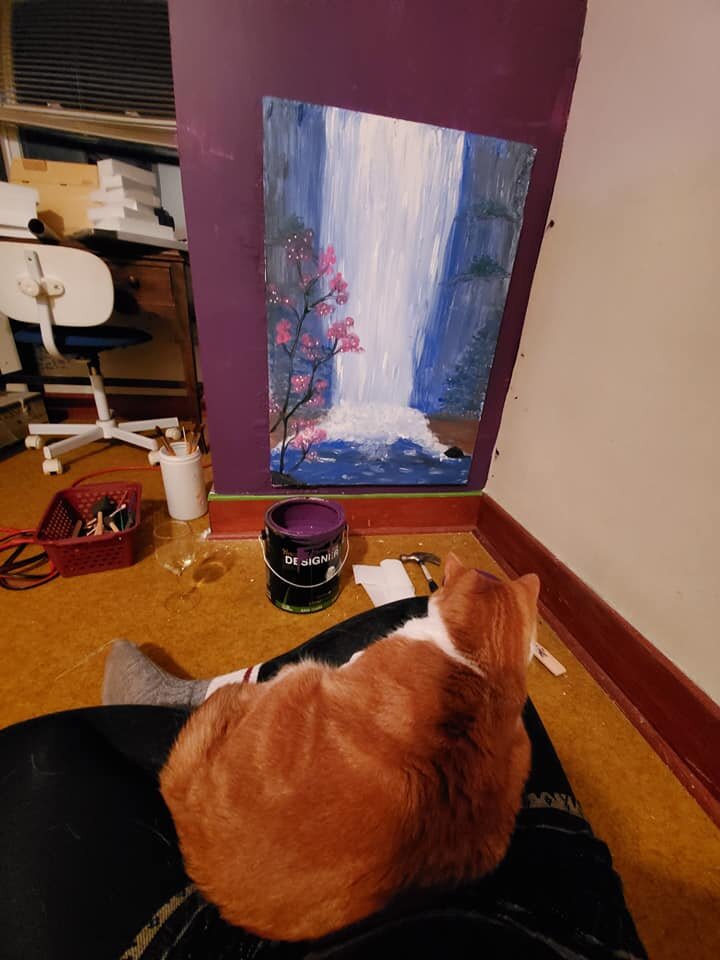
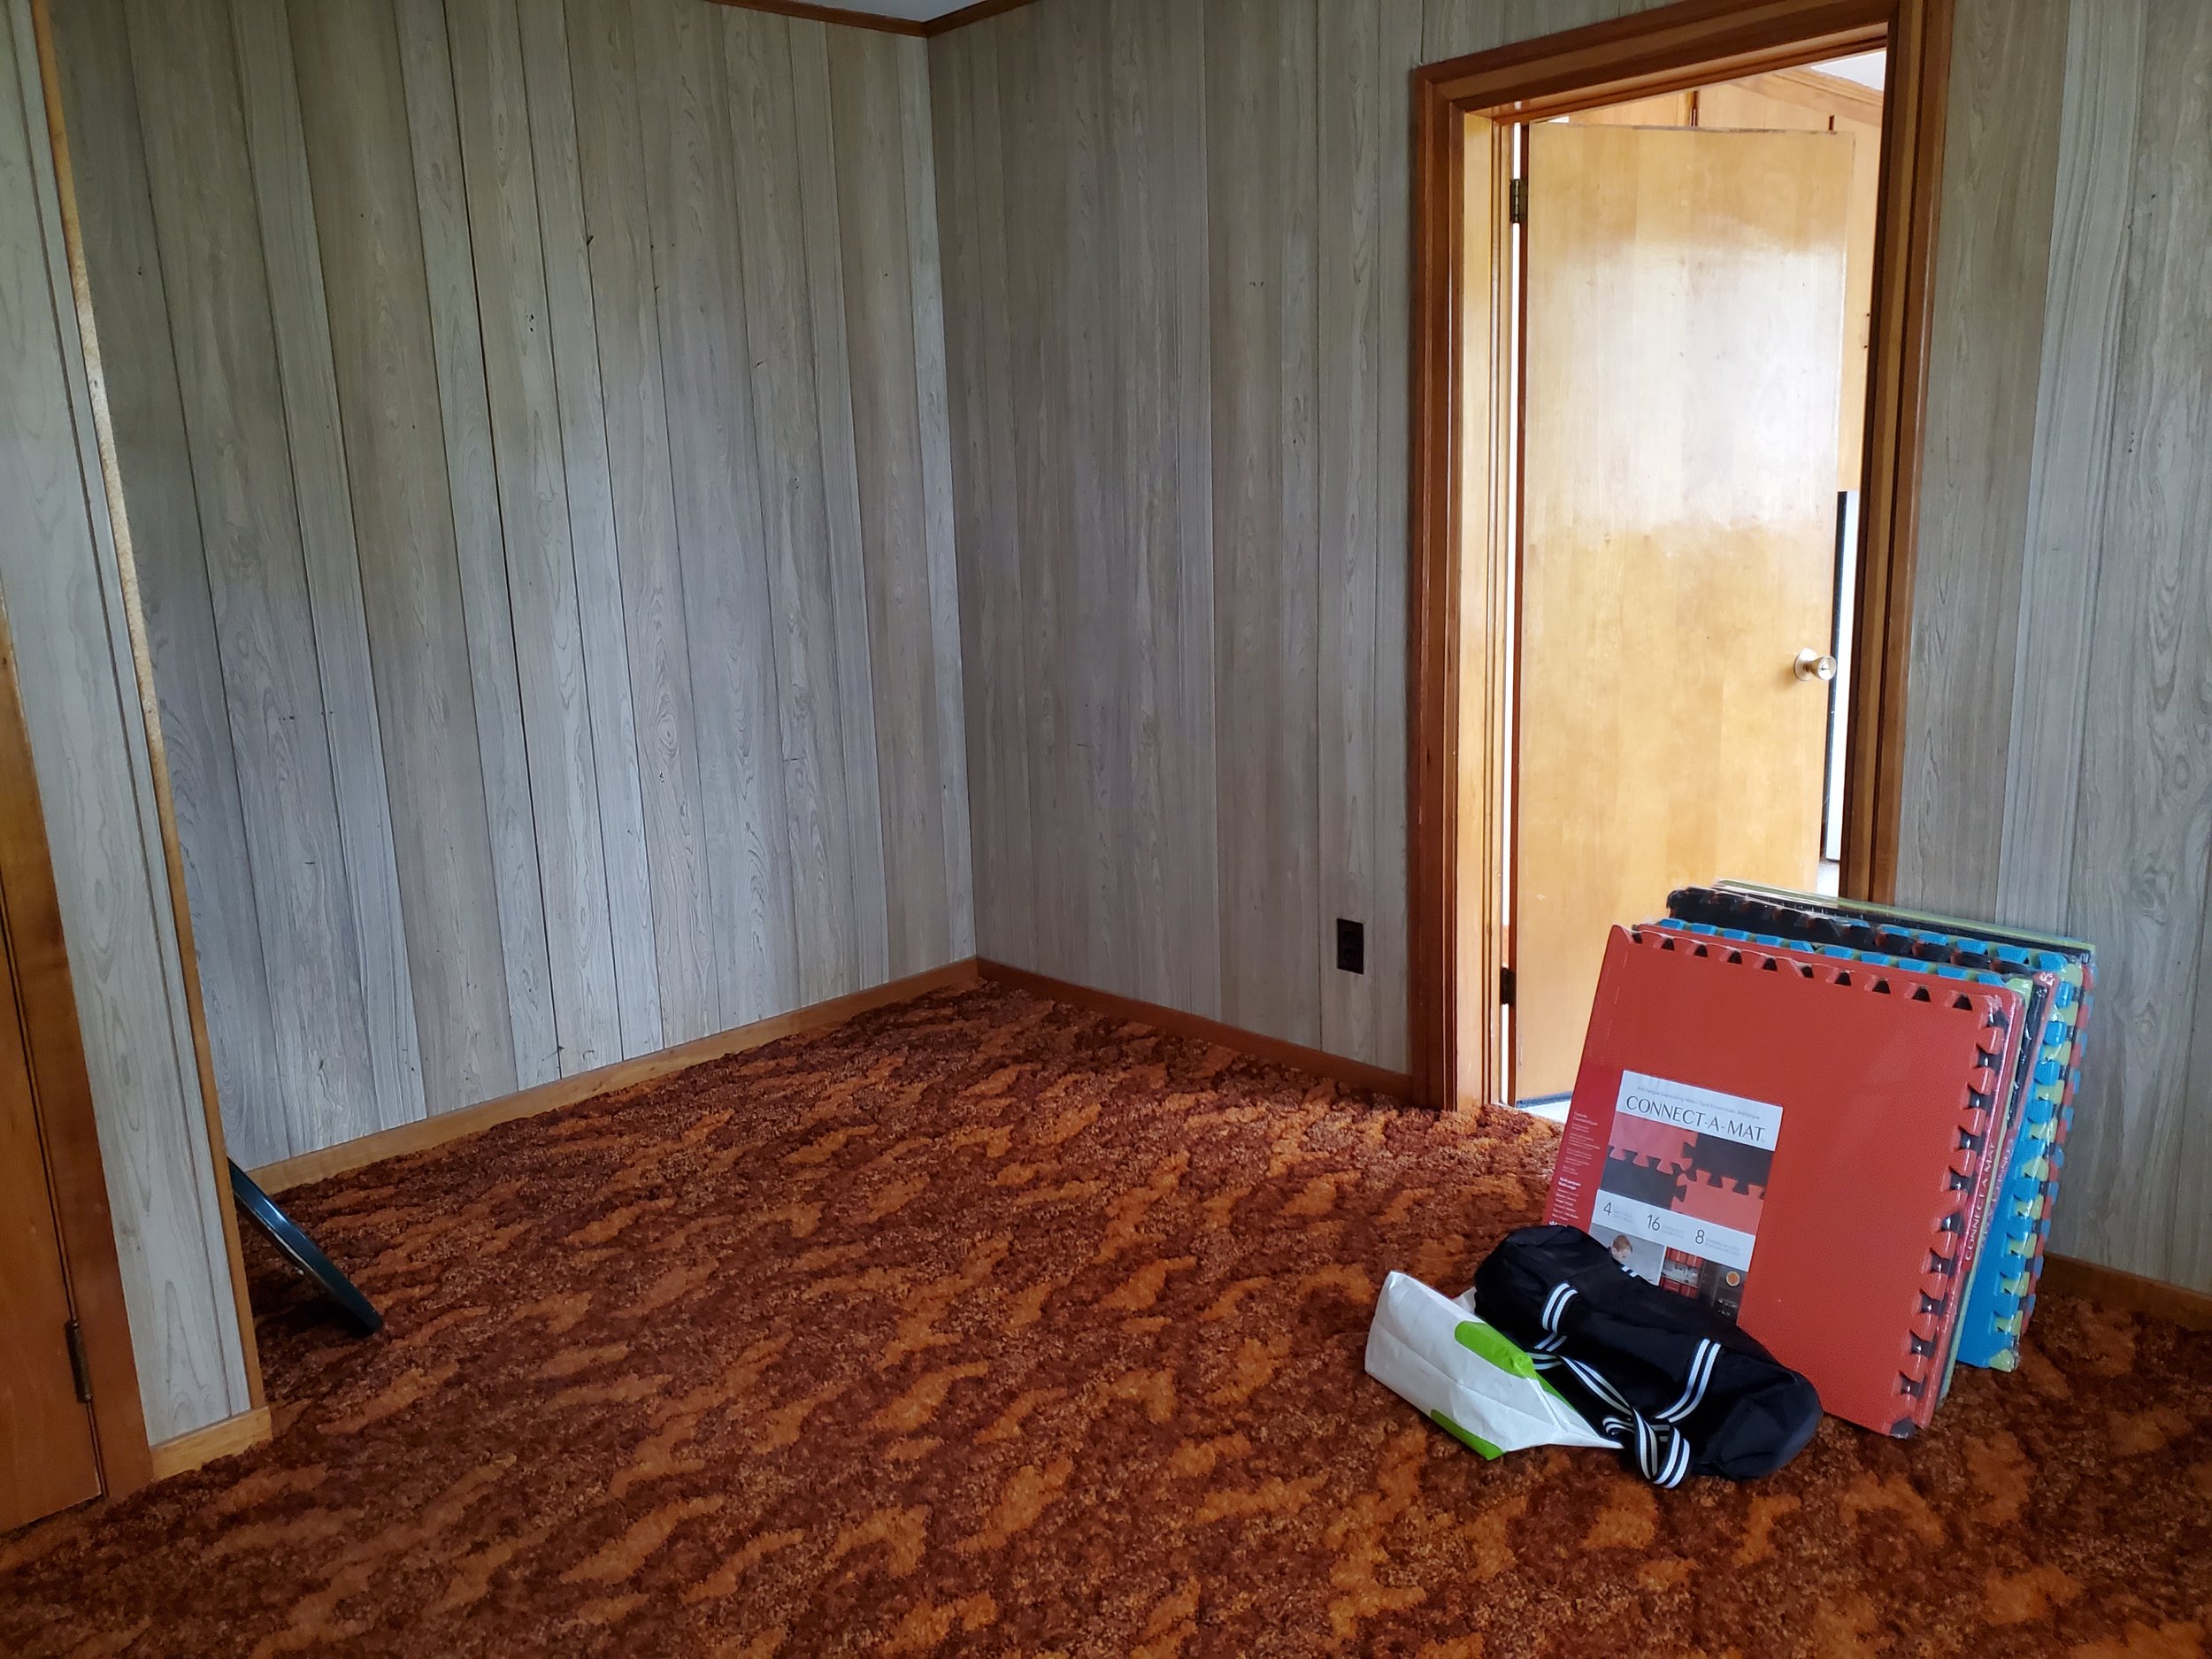
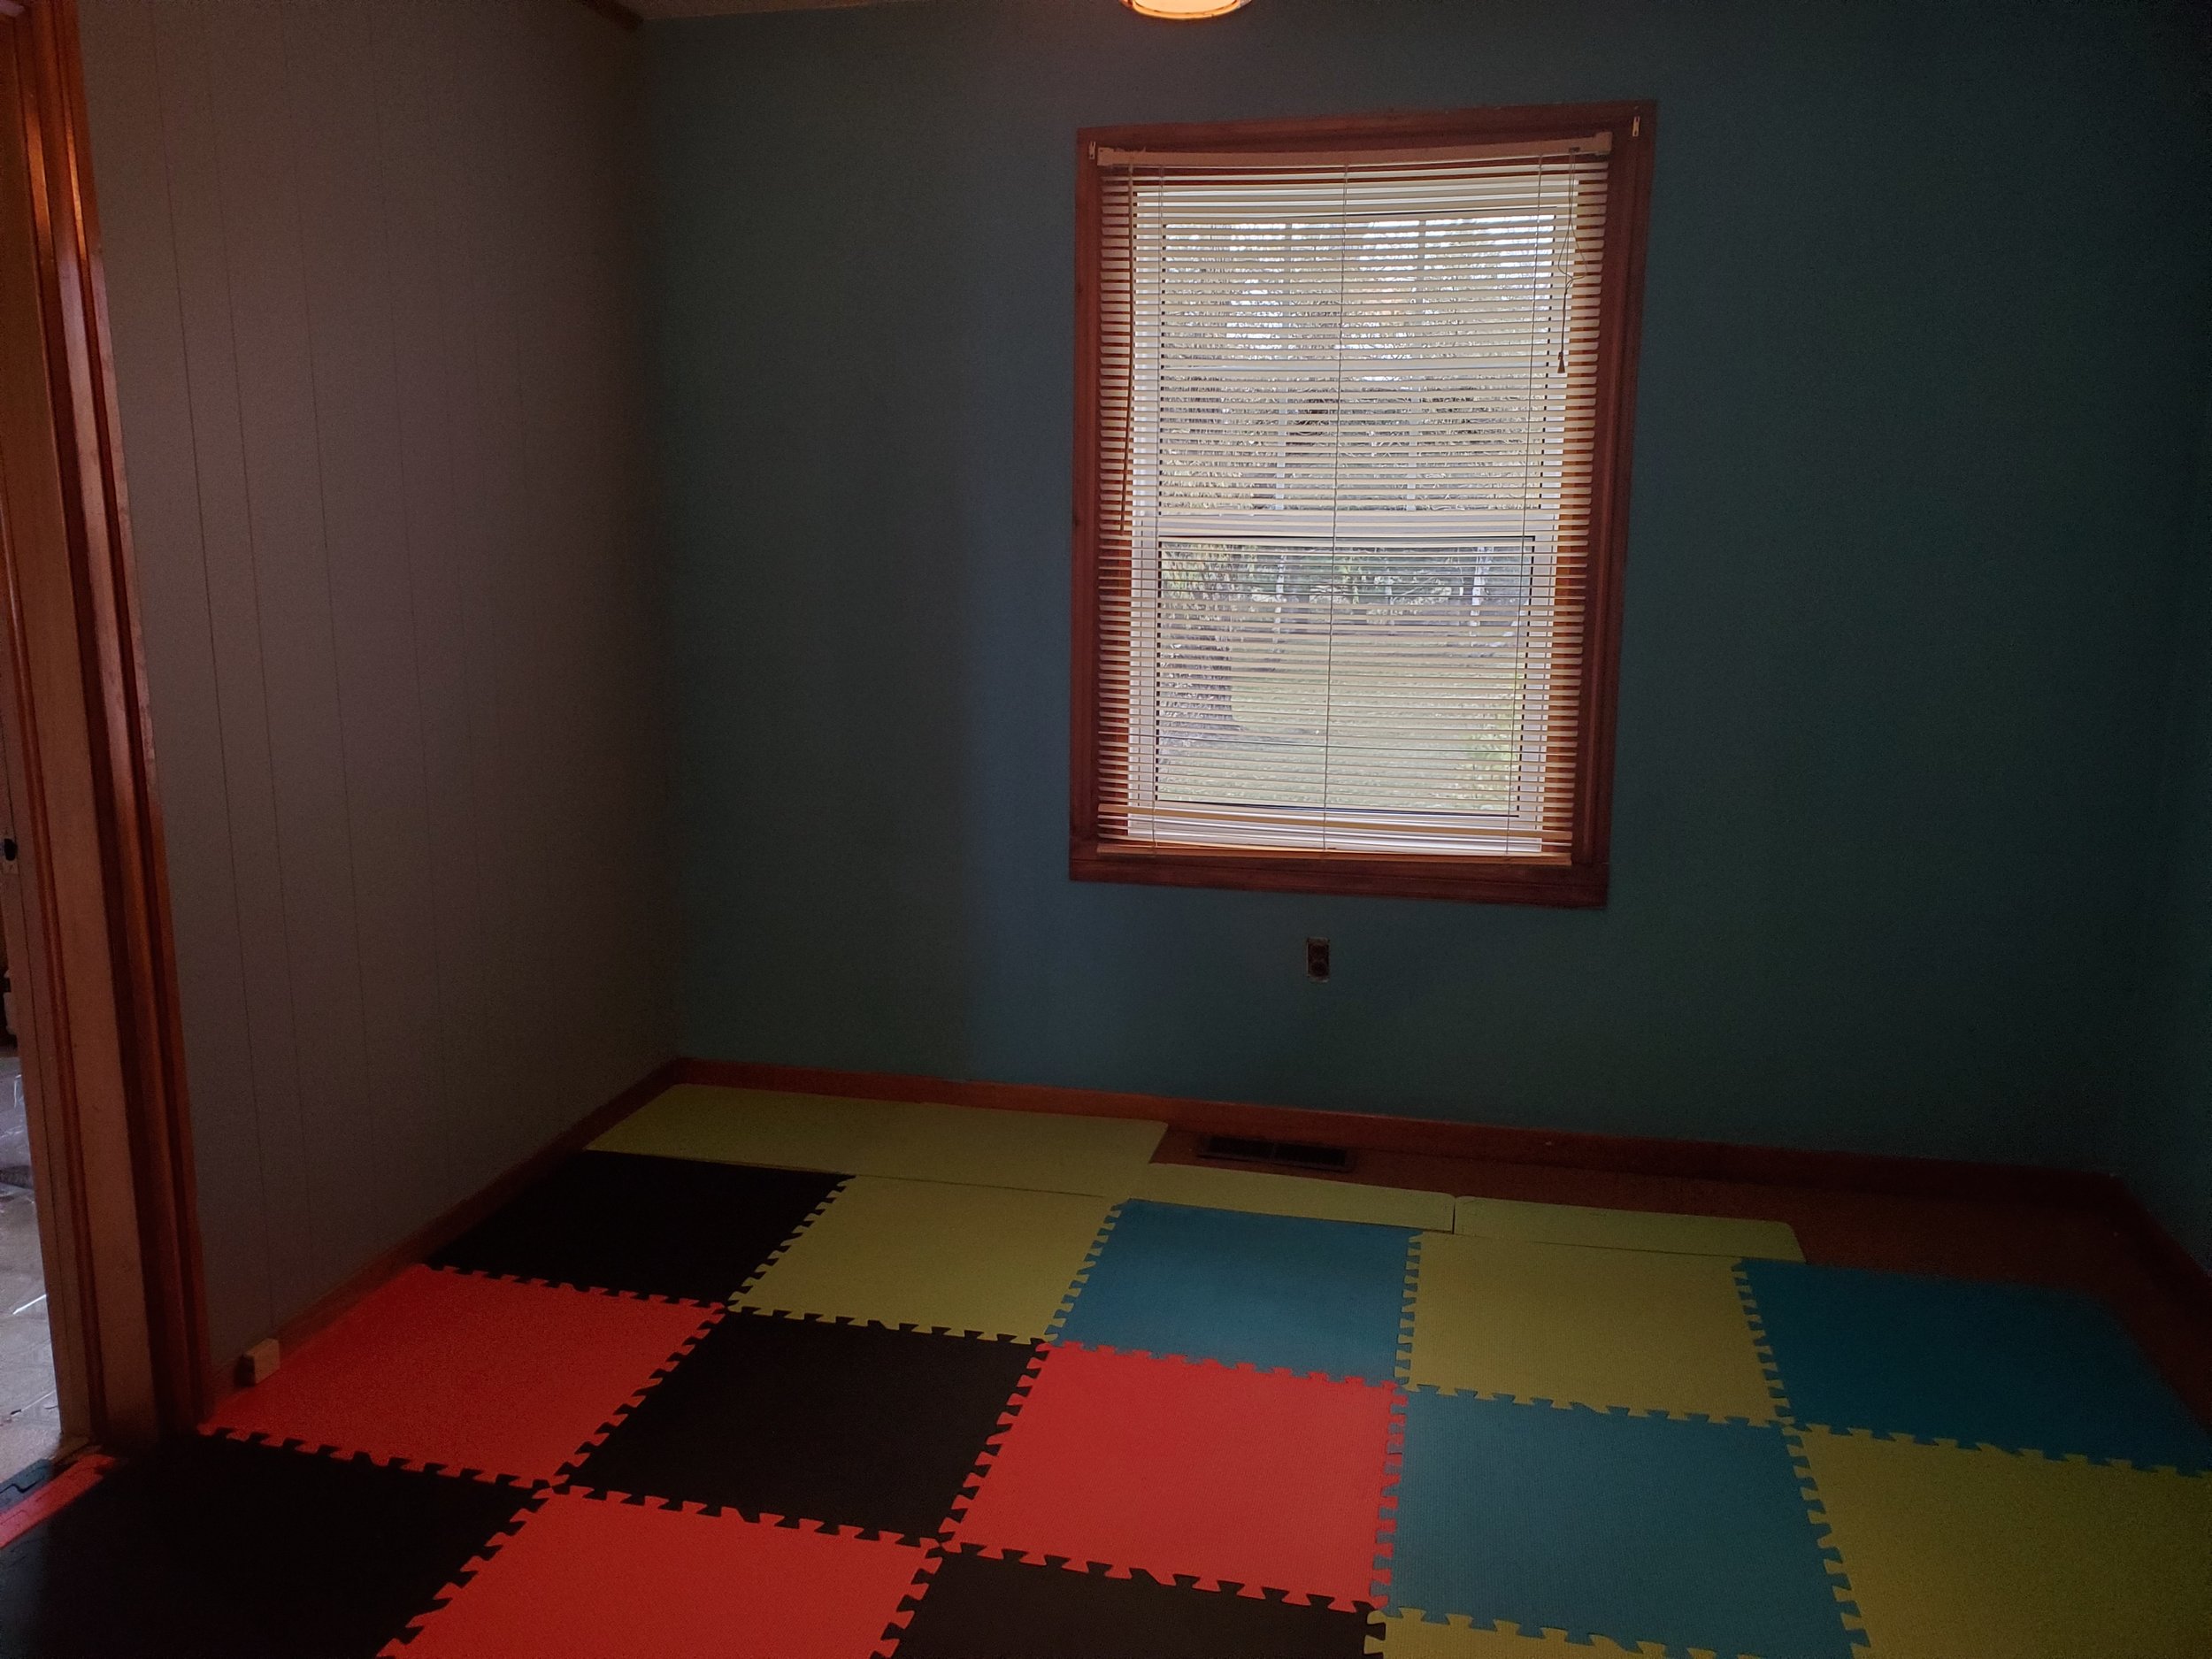
The place is coming together. Stay tuned for the final photos coming soon!